Suite101 is the go-to source for how-tos, home inspiration, DIY, and other ideas to try. Our team of experts is here to help you improve your home and life. Let's explore our site below:
Home Improvement
Discover expert home improvement instructions, creative inspiration, and unique ideas to transform your space beautifully and efficiently.
- 20 Raised Concrete Patio Ideas for A Stylish Backyard
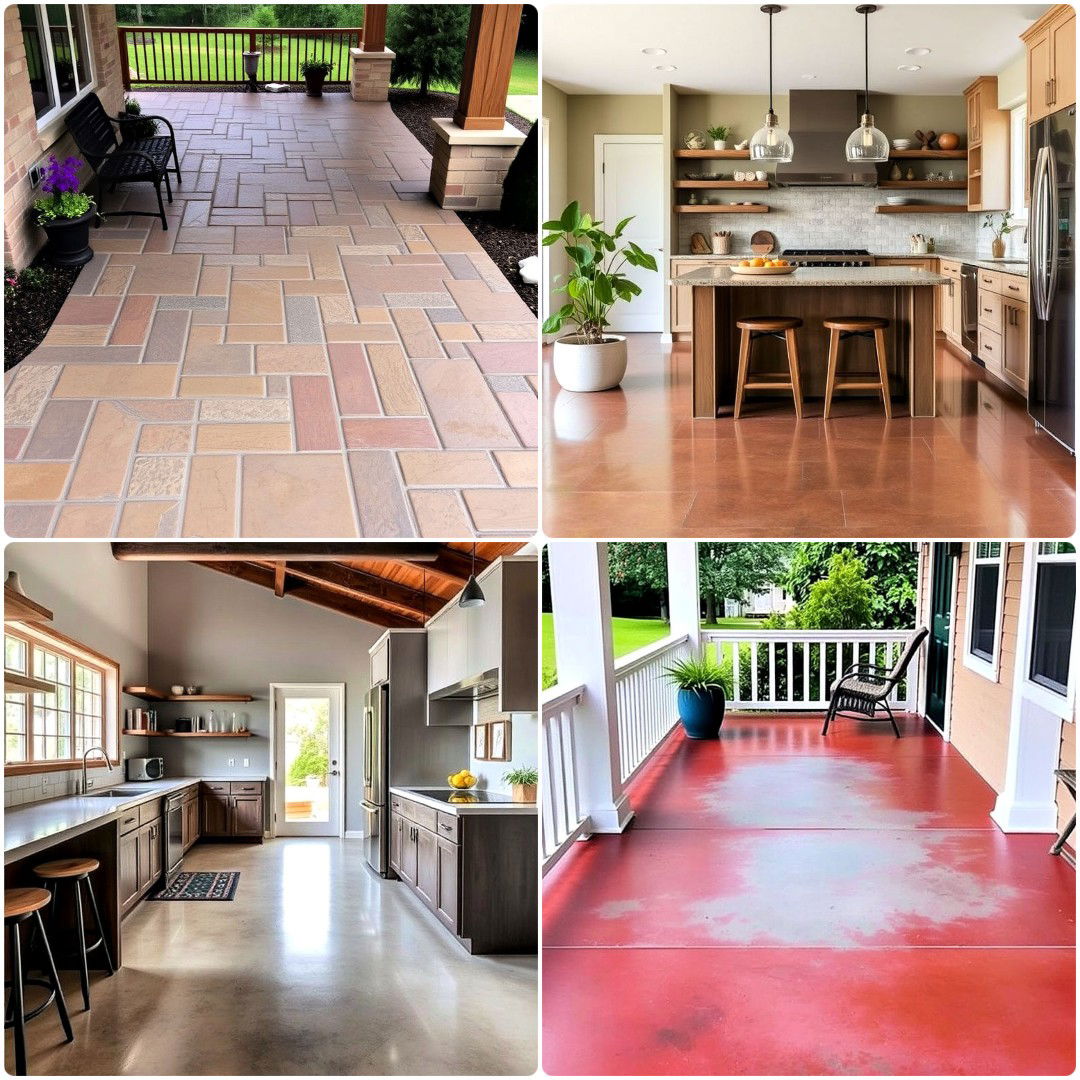
- 15 Types Of Concrete Floor Finishes for Any Home
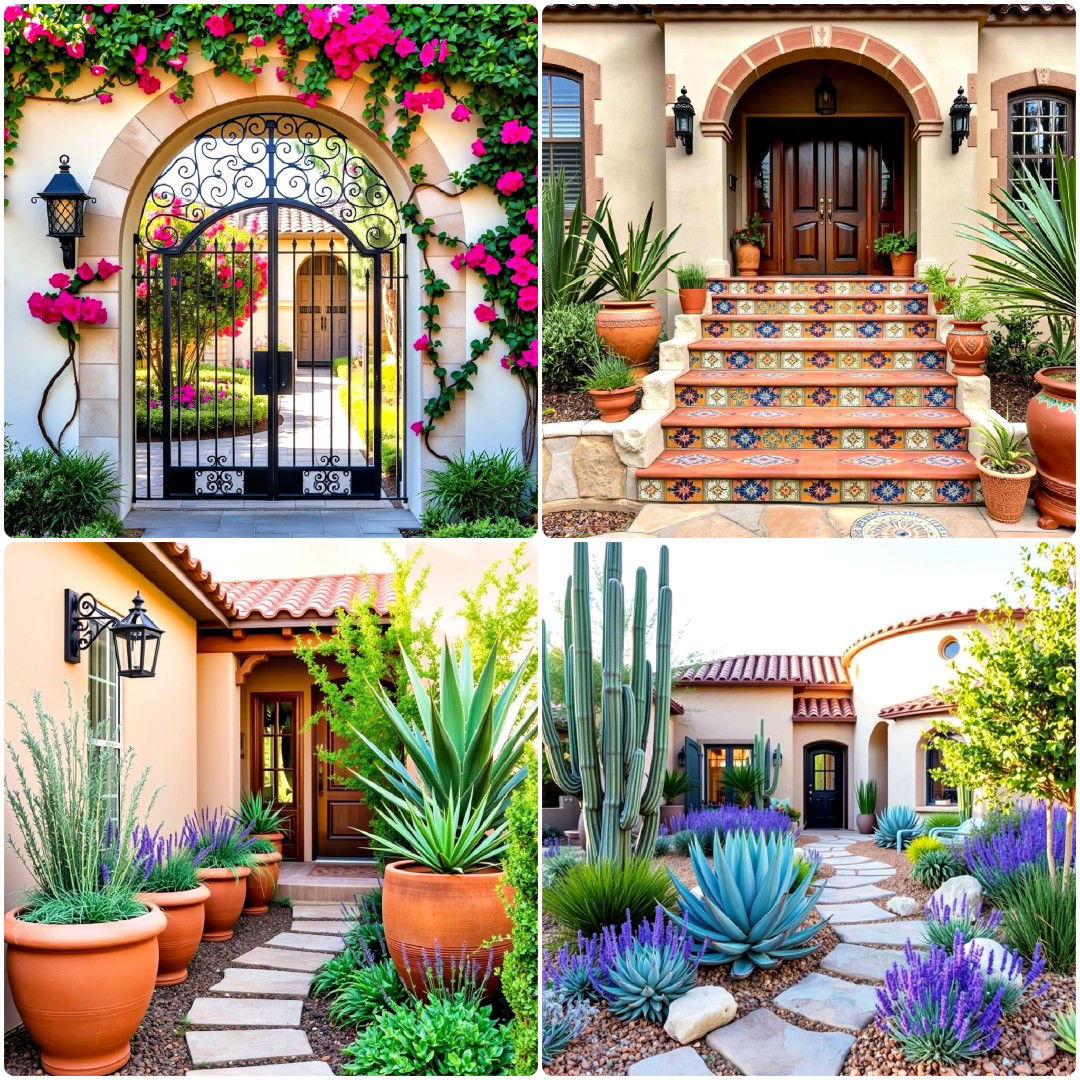
- 20 Front Yard Spanish Style Landscaping Ideas To Copy
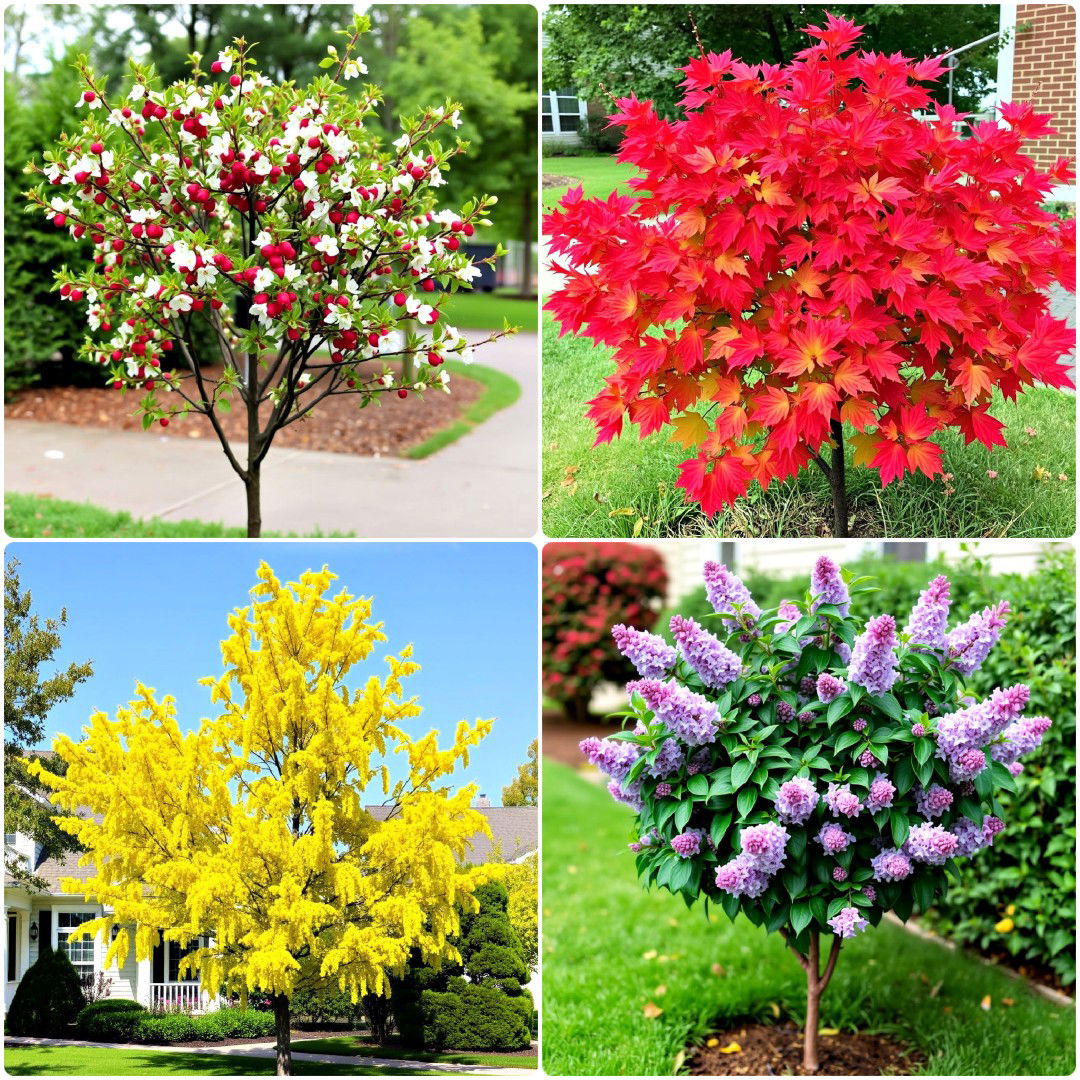
- 25 Small Trees for Front Yard To Elevate Your Curb Appeal
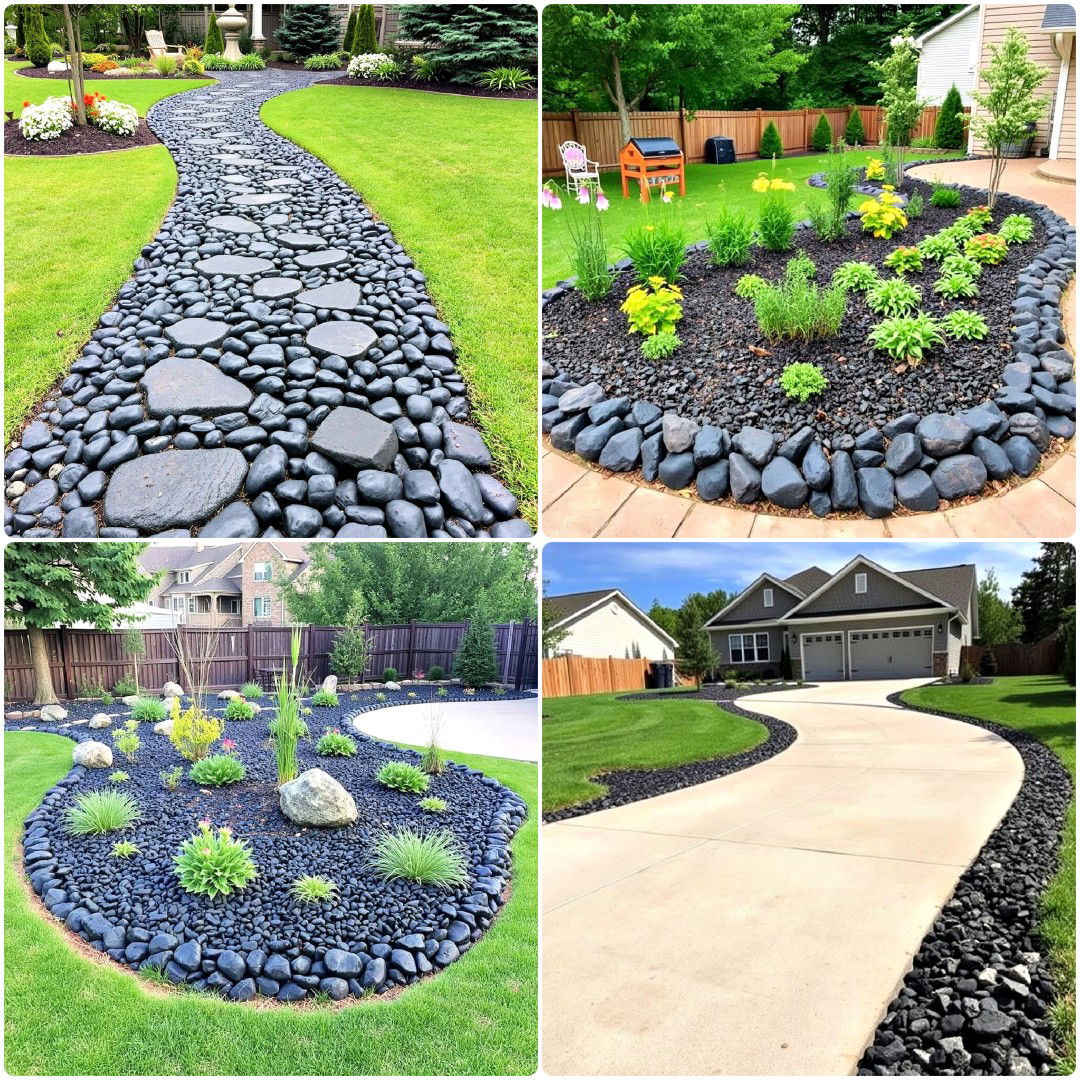
- 25 Black River Rock Landscaping Ideas To Copy
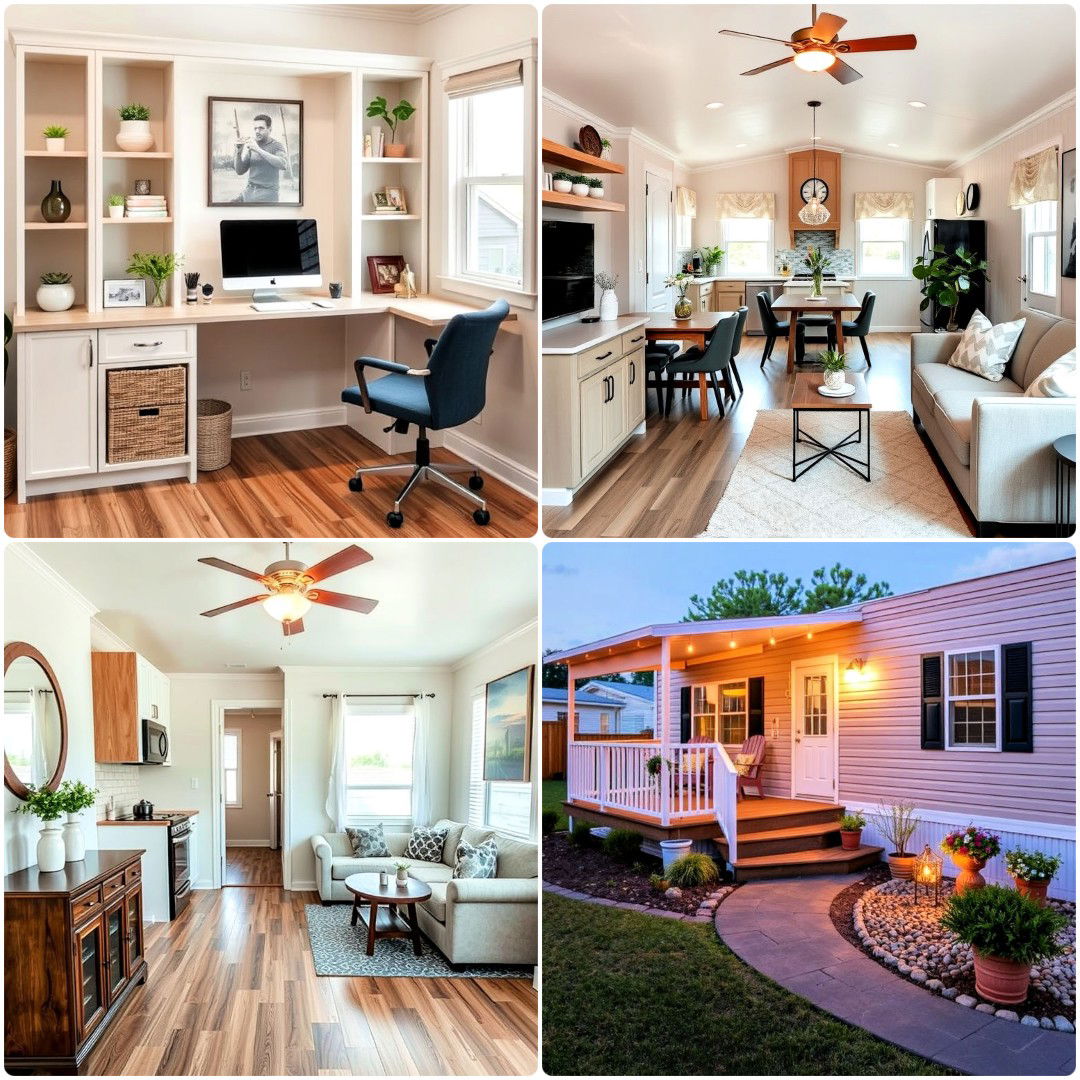
- 30 Mobile Home Remodel Ideas for A Modern Makeover
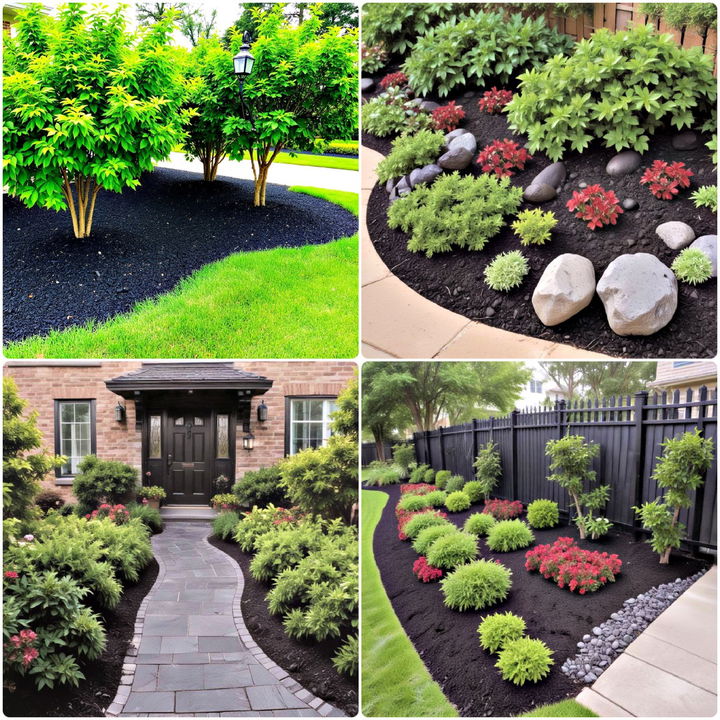
- 25 Black Mulch Landscaping Ideas To Inspire You
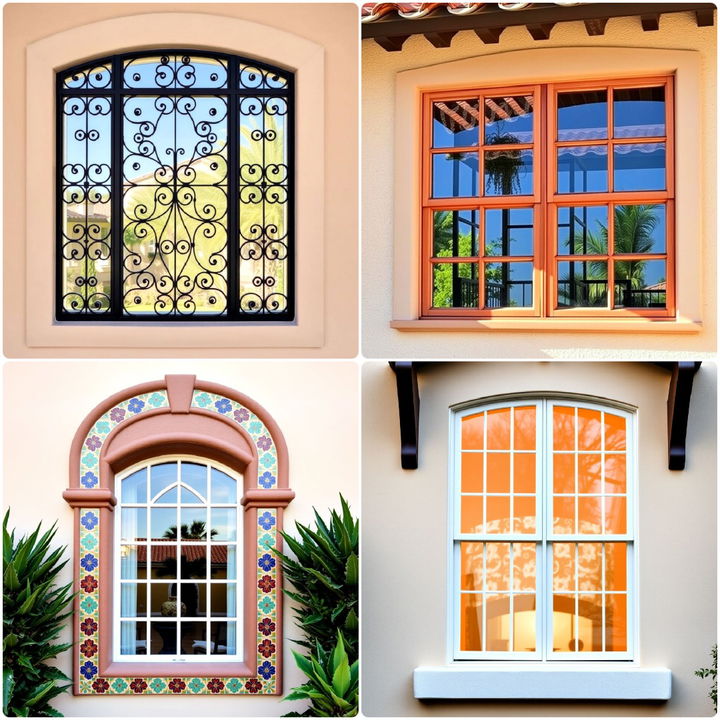
- 15 Spanish Style Windows To Enhance Your Exterior
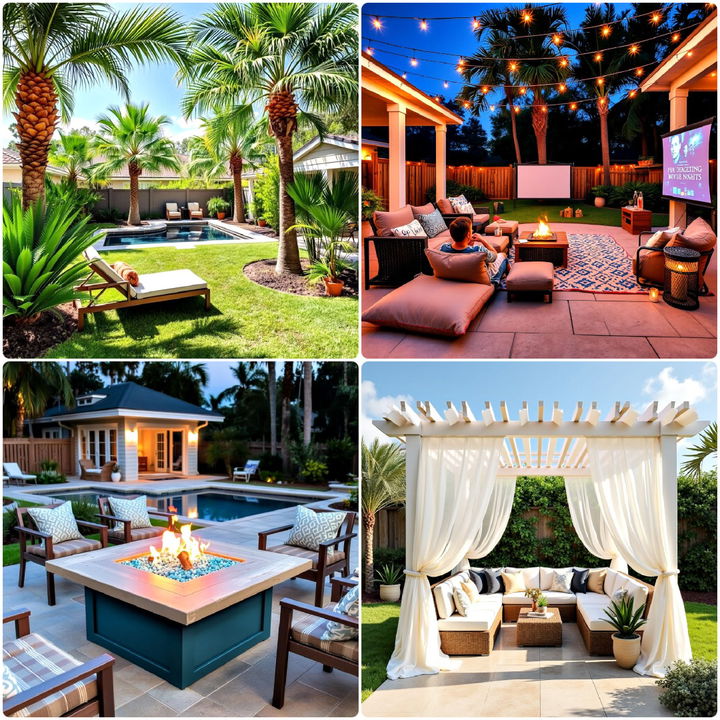
- 25 Florida Backyard Ideas for Tropical and Modern Homes
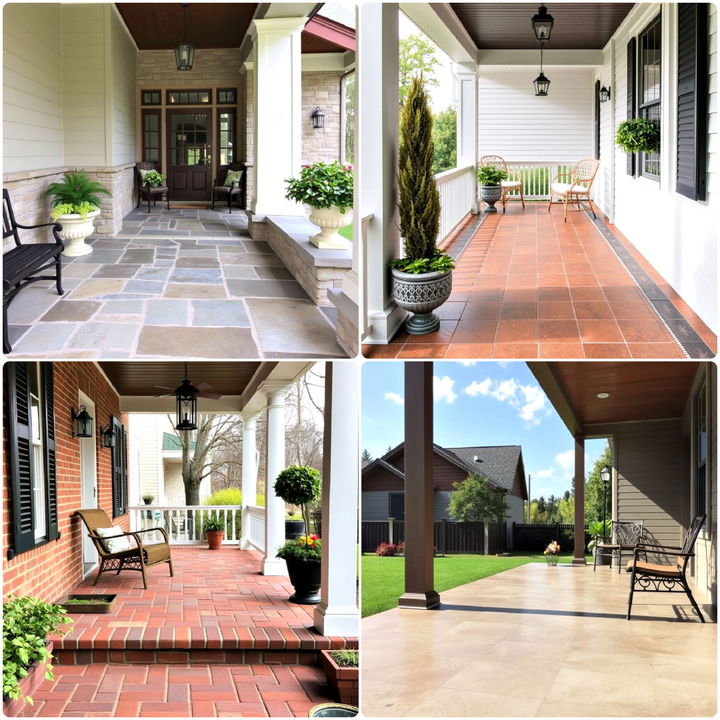
- 15 Porch Flooring Options To Enhance Curb Appeal

Gardening
Get gardening tips, inspiration, and ideas to create your perfect garden. Discover creative solutions and how-to guides for a stunning home garden.
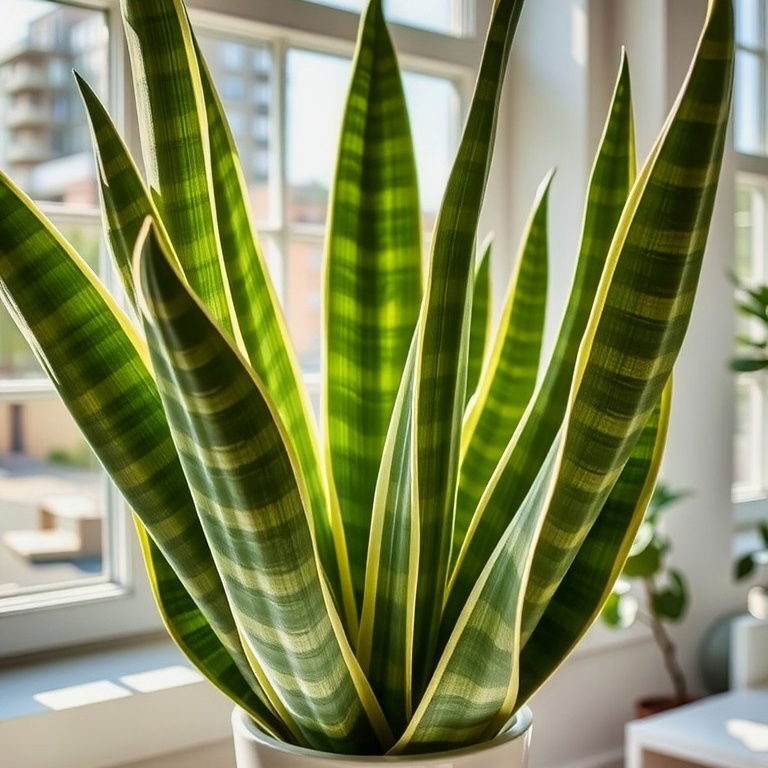
- Snake Plant: Care and Growing Guide (Updated 2025)
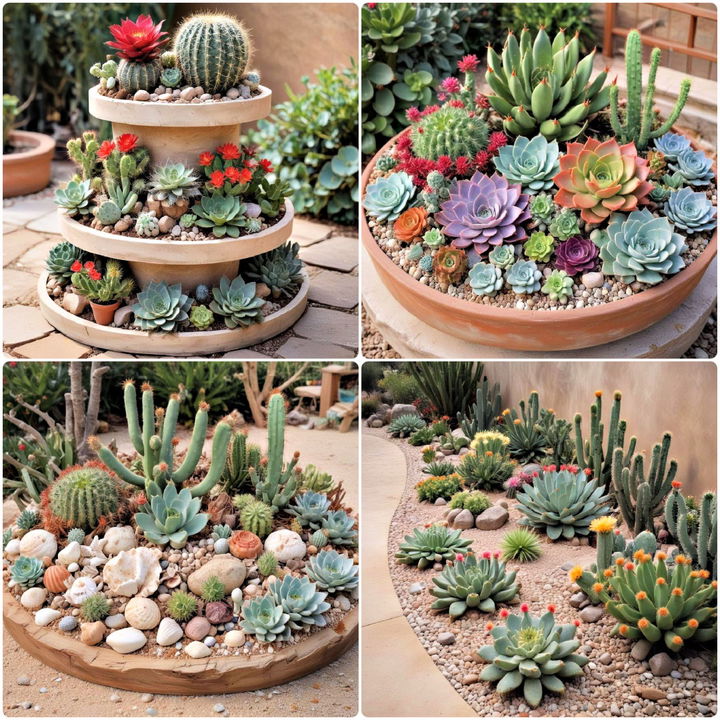
- 25 Cactus Garden Ideas To Get You Started
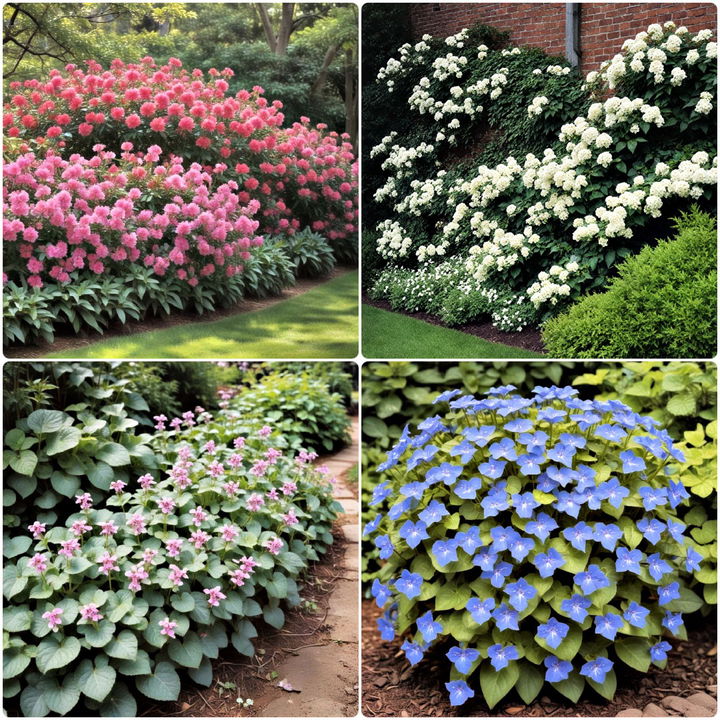
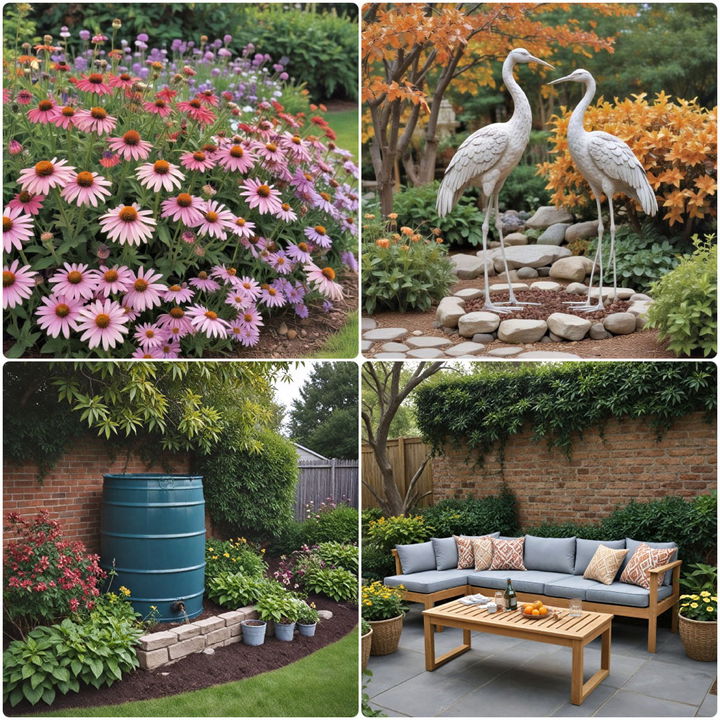
- 25 Shade Garden Design Ideas To Bring Life To Your Yard
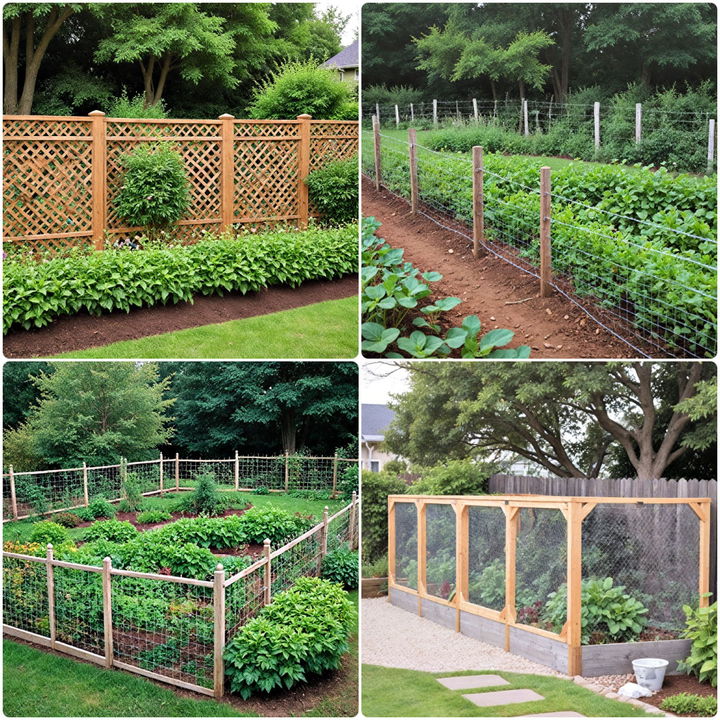
- 15 Vegetable Garden Fence Ideas To Keep Critters Out
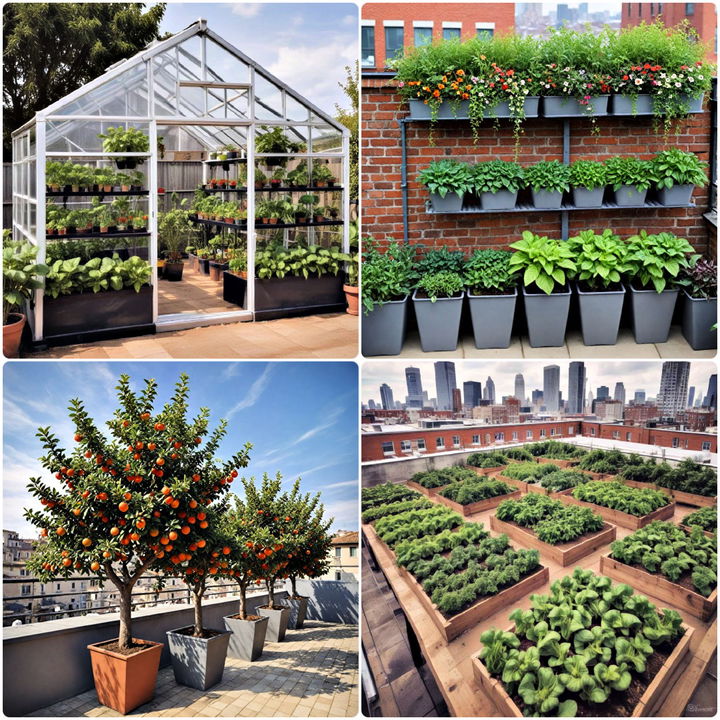
- 25 Rooftop Gardens You Will Want To Copy
- 15 Fall Garden Ideas for A Seasonal Makeover
- 15 Fall Window Boxes To Welcome Autumn
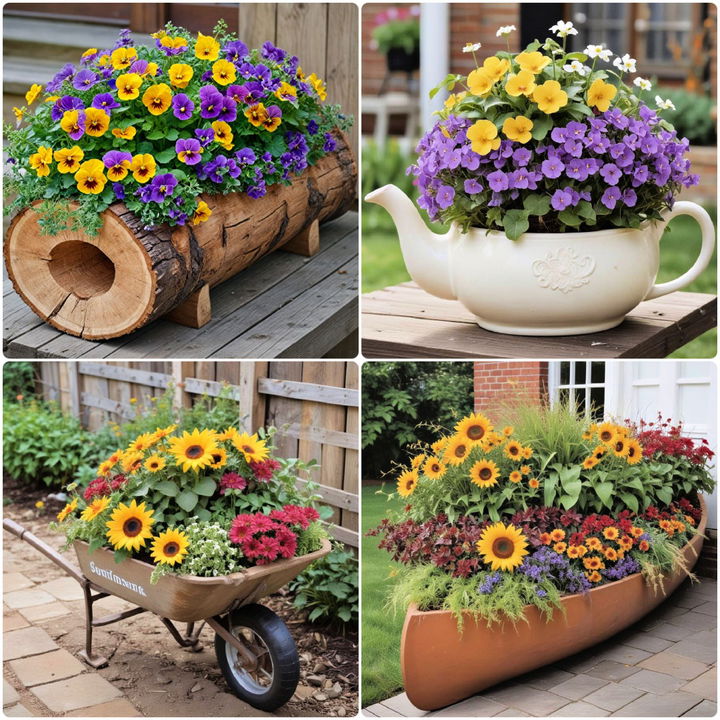
- 40 Garden Edging Ideas To Maximize Your Curb Appeal
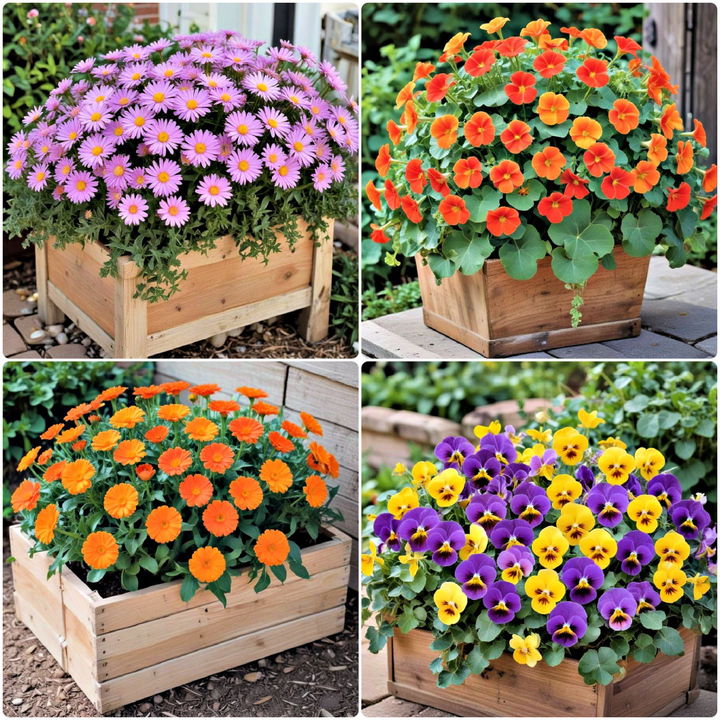
- 40 Fall Planter Ideas for A Seasonal Refresh
- 15 Garden Sleeper Ideas To Transform Your Outdoor Space


Outdoor Ideas
Discover outdoor ideas, backyard inspiration, DIY patios, and seating solutions. Transform your outdoor space with creative how-to guides.
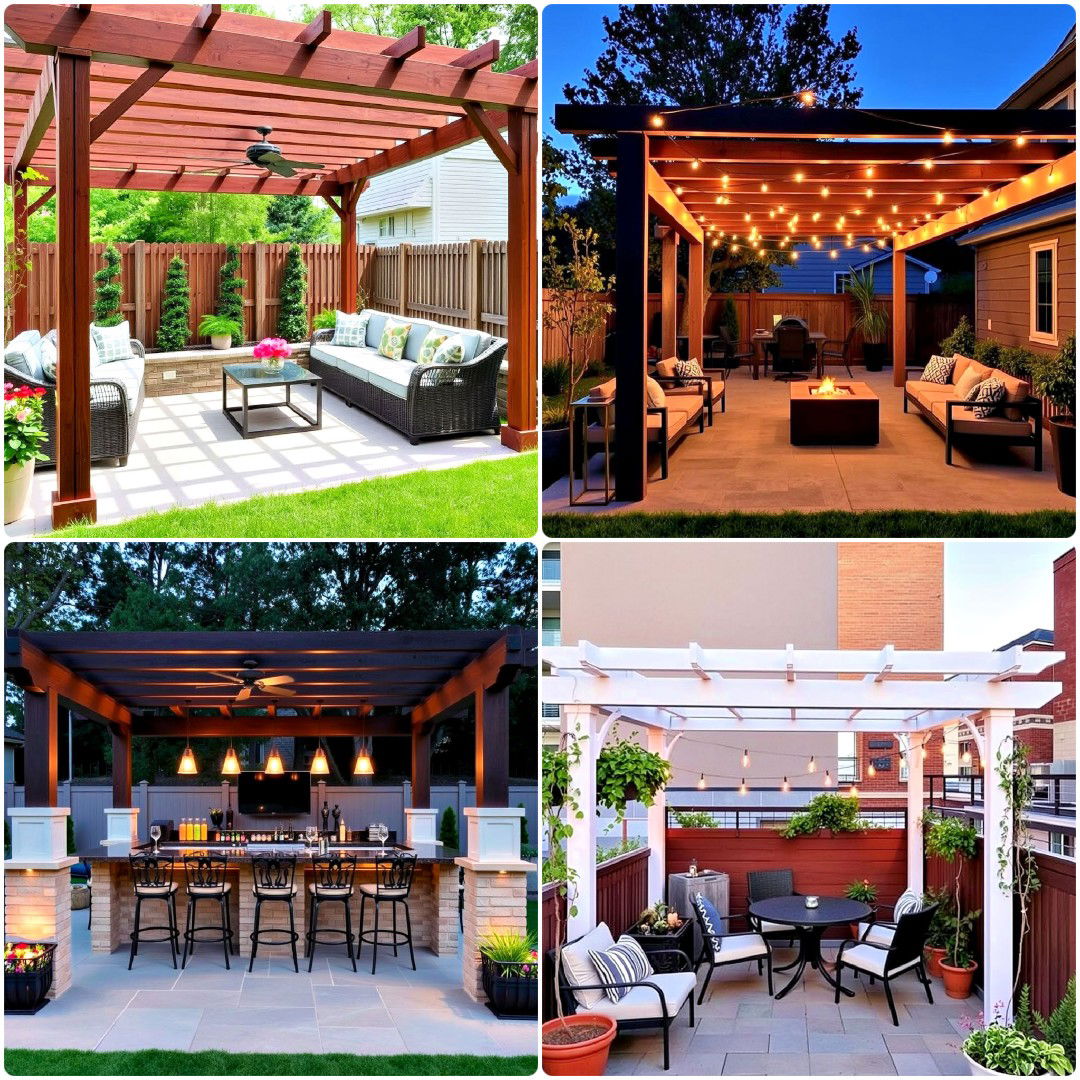
- 40 Patio Ideas With Pergolas To Enhance Your Backyard
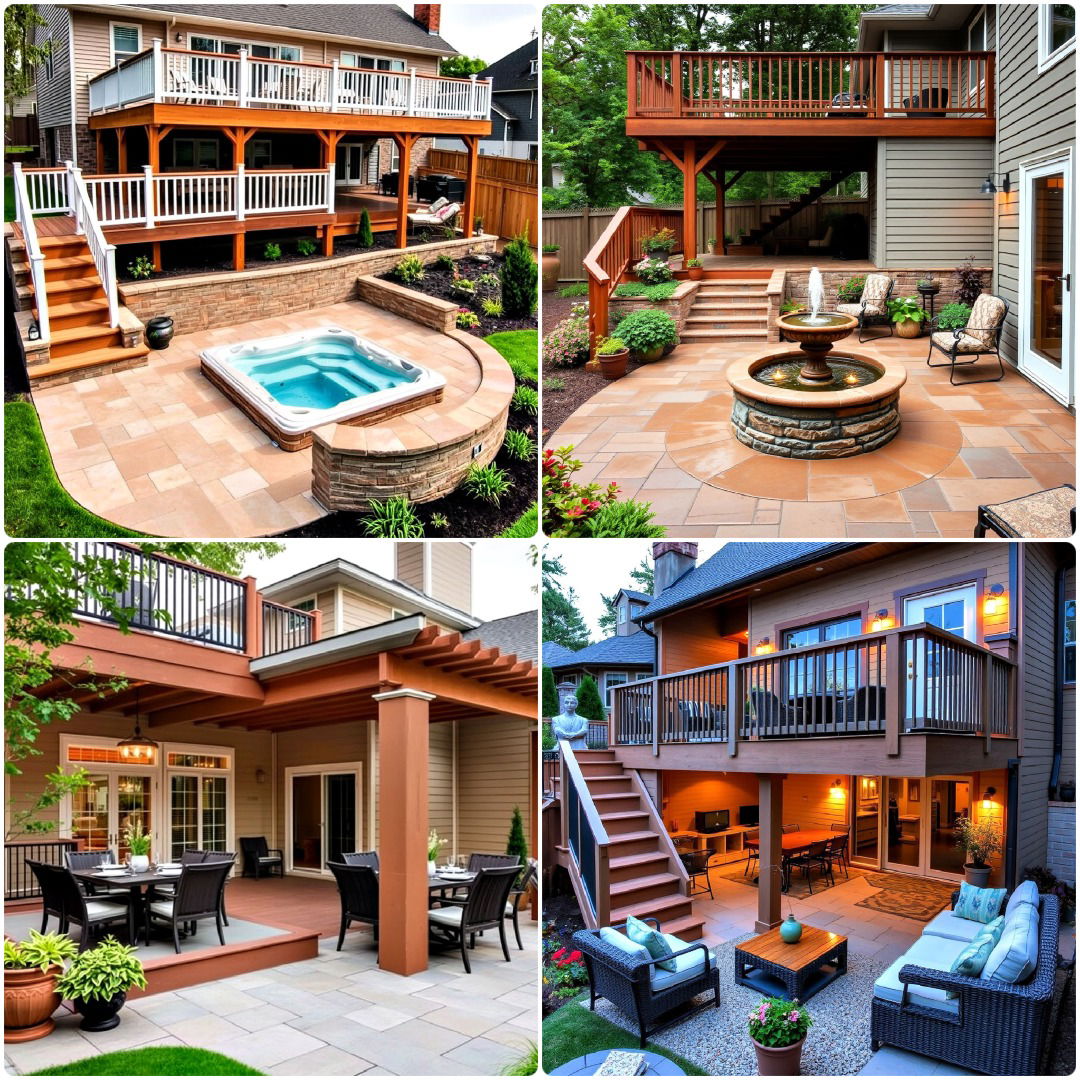
- 30 Deck and Patio Combination Ideas You’ll Want To Try
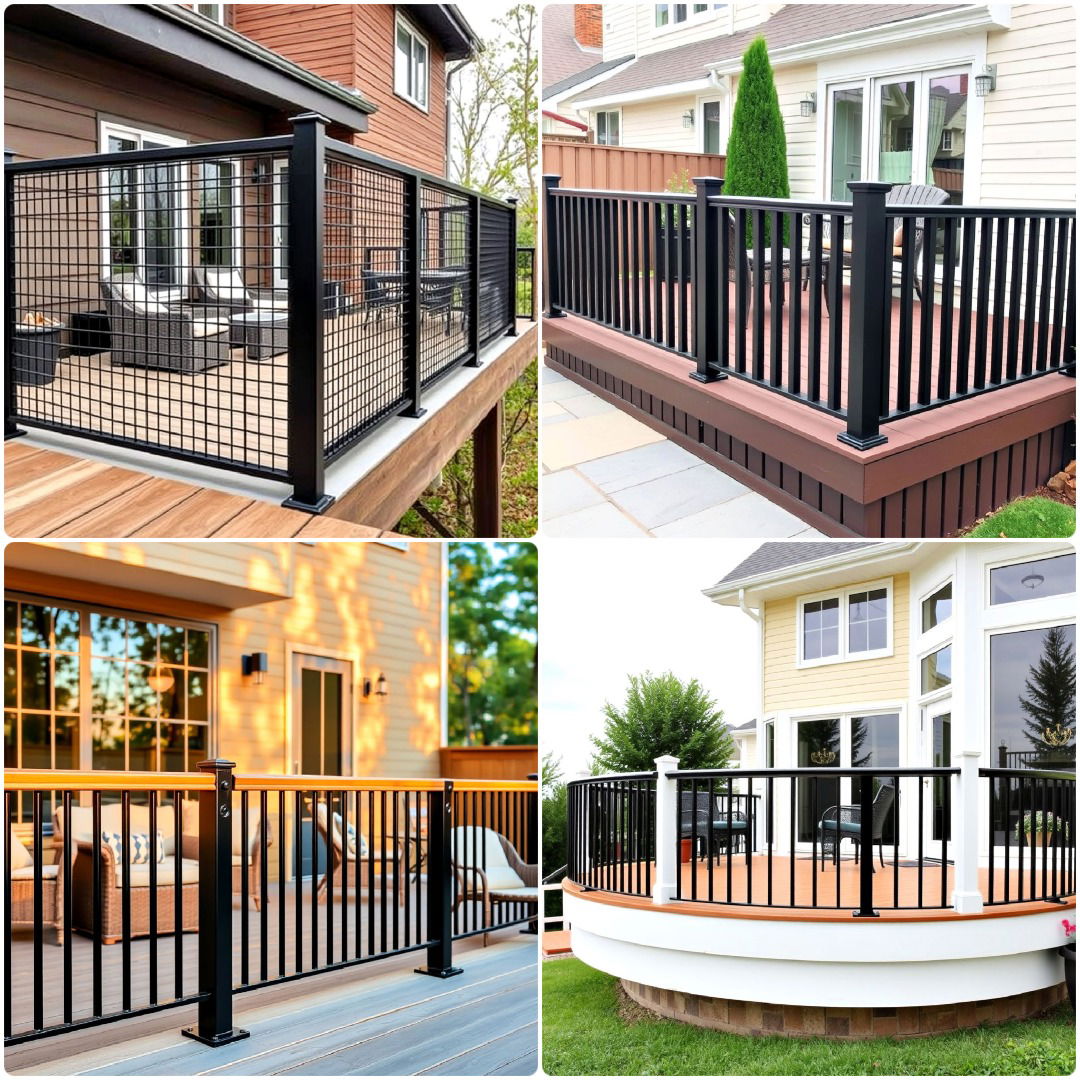
- 15 Black Deck Railing Ideas That Make A Statement
- 30 Semi-Inground Pool Ideas for A Stunning Backyard
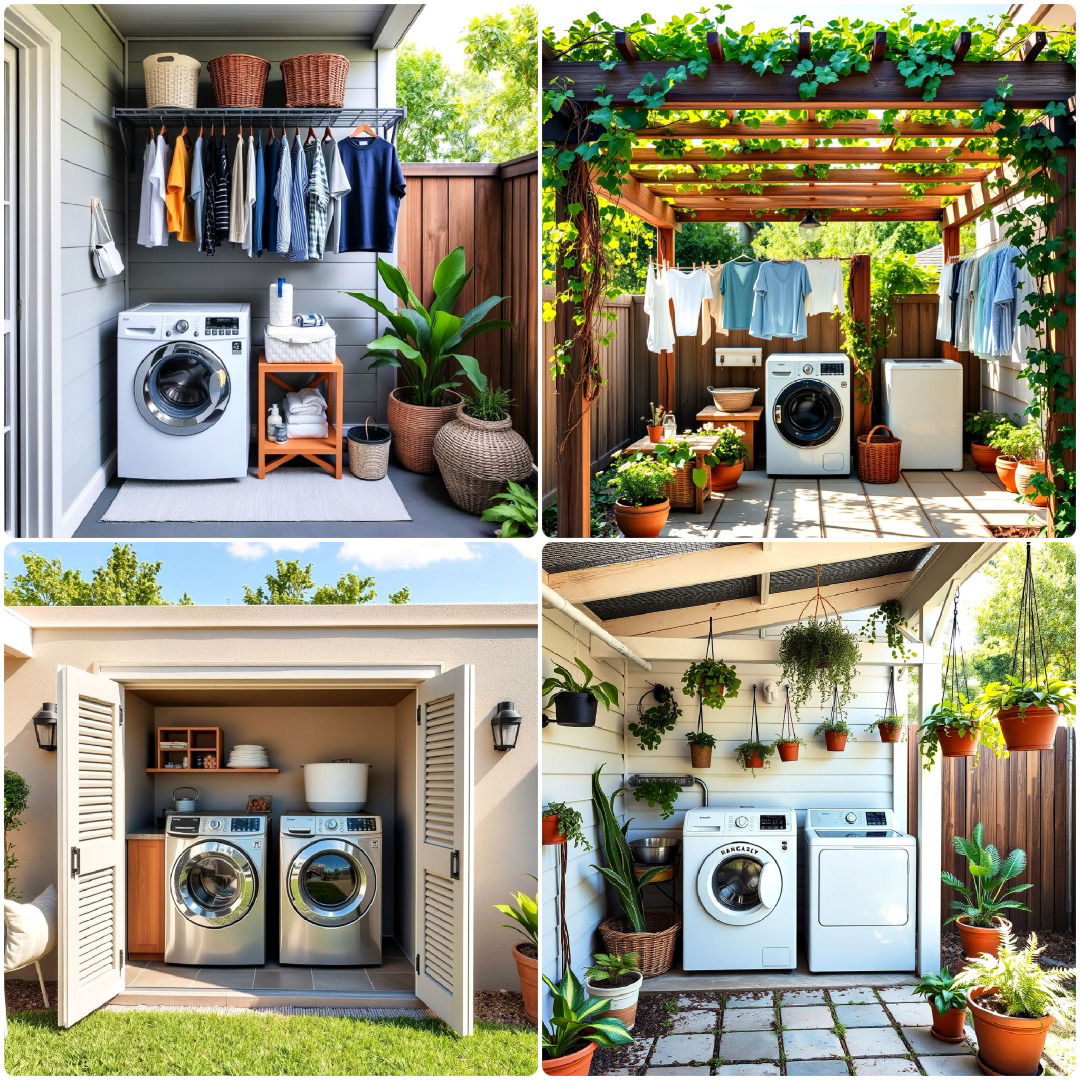
- 25 Outdoor Laundry Area Ideas for Every Home
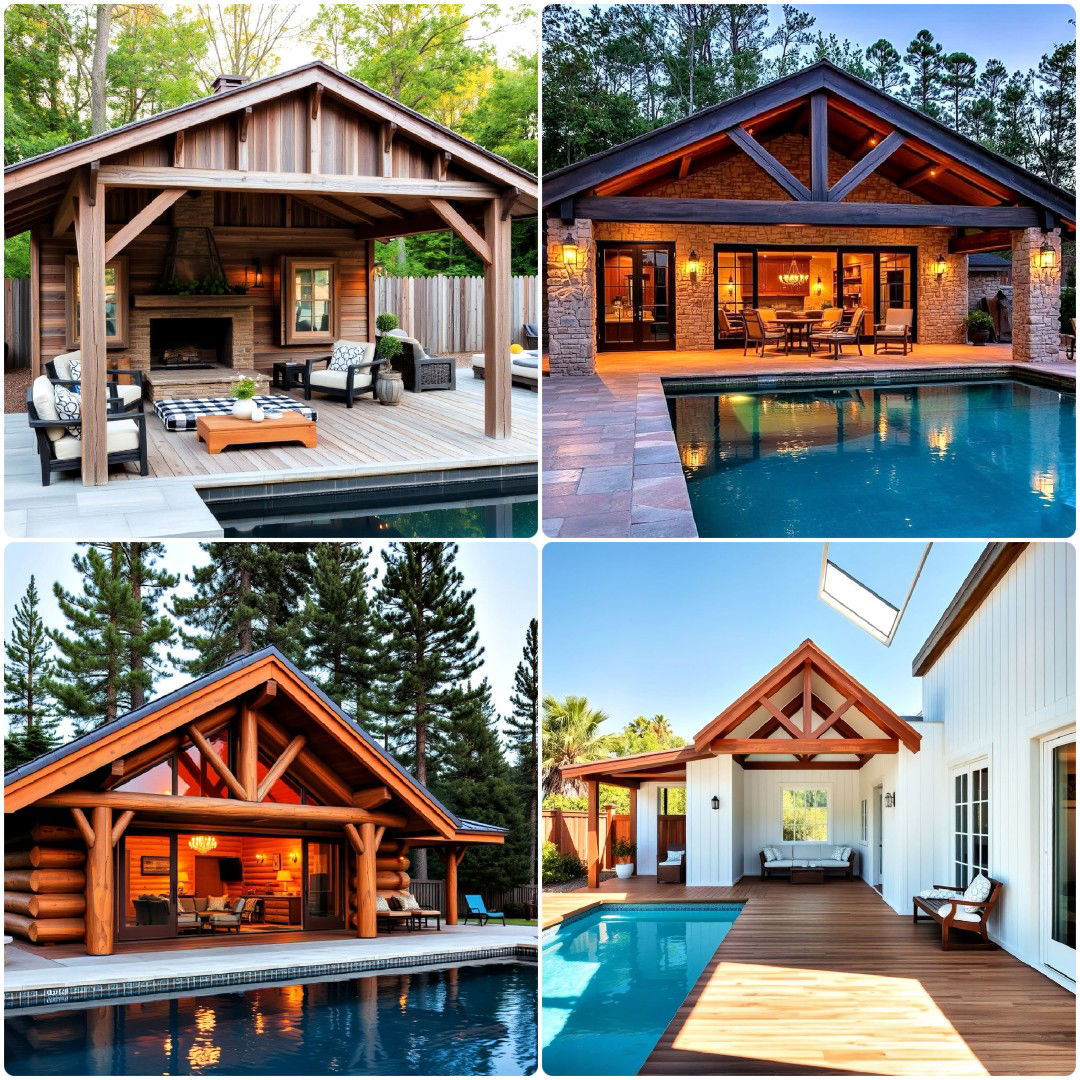
- 15 Rustic Pool House Ideas To Enhance Outdoor Living
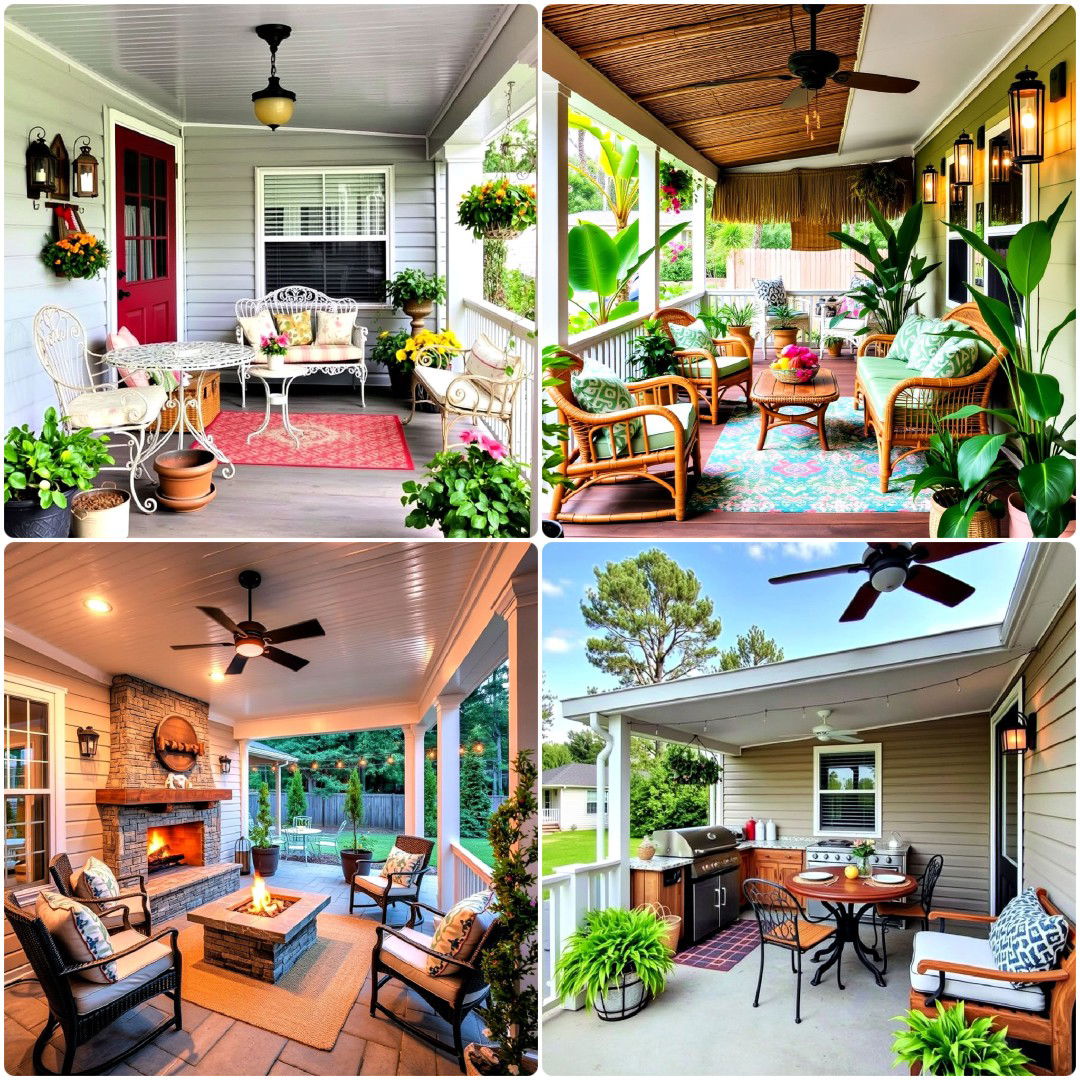
- 30 Mobile Home Porch Ideas You'll Love This Year
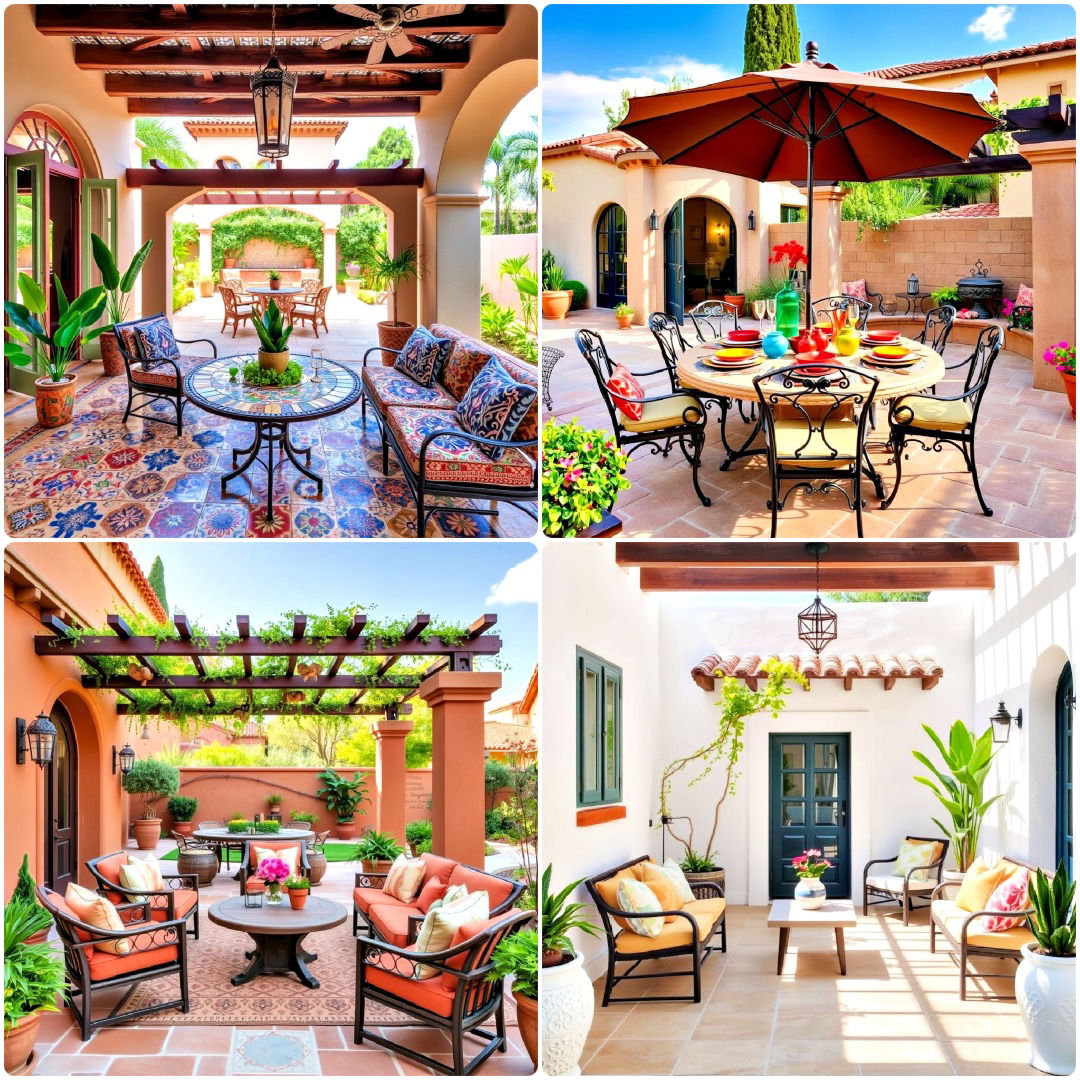
- 25 Mediterranean Patio Ideas for A Relaxing Escape
- 25 Farmhouse Patio Ideas for Rustic Charm
- 20 Raised Ranch Front Porch Ideas To Boost Curb Appeal


Ideas by Rooms
Explore room design ideas, decorating tips, and inspiration for every room in your home, including bedroom, bathroom, kitchen, living room, and more.
Bedroom Ideas
Discover creative bedroom ideas to transform your space with stylish decor, smart storage solutions, and cozy ambiance.
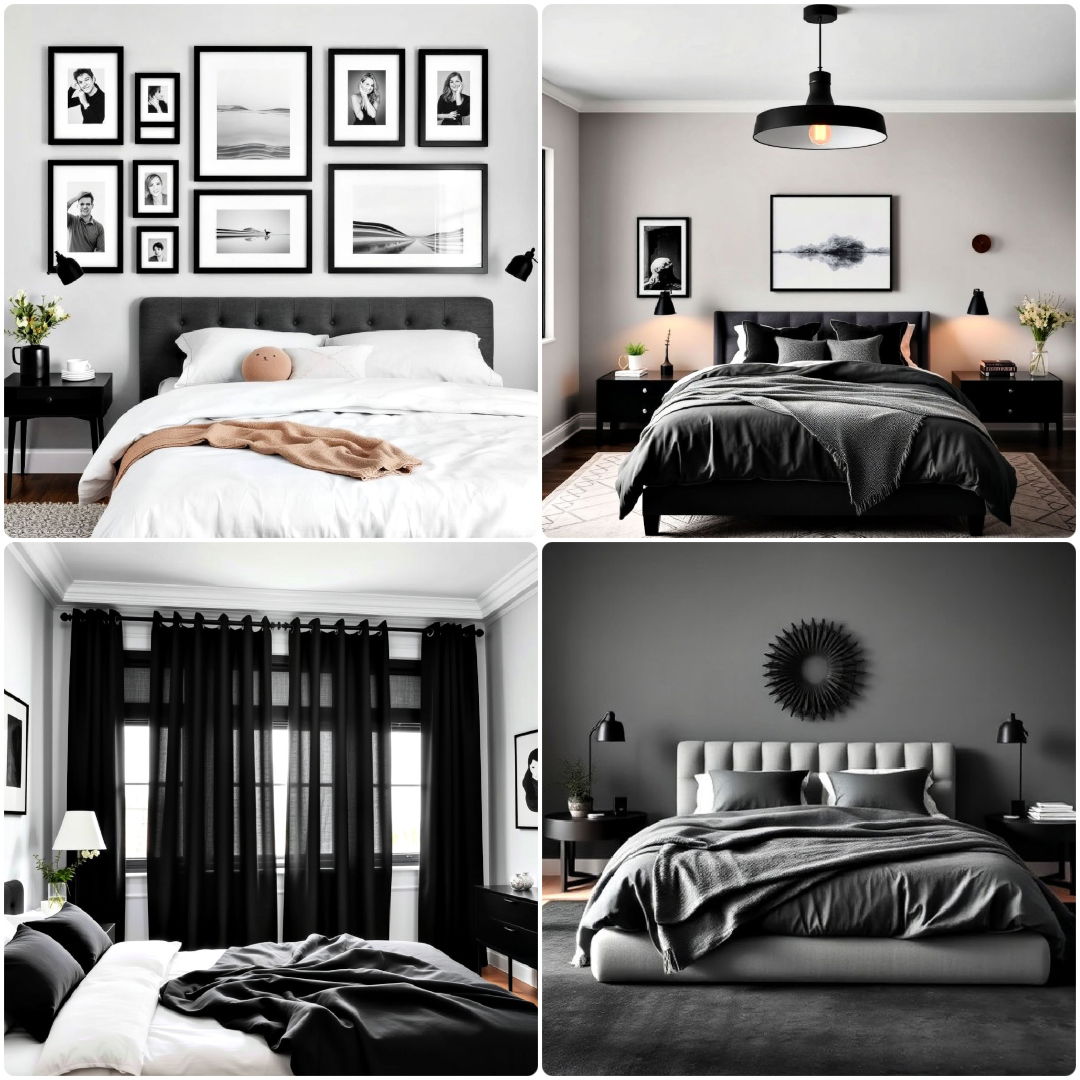
- 20 Matte Black Bedroom Ideas for A Dramatic Look
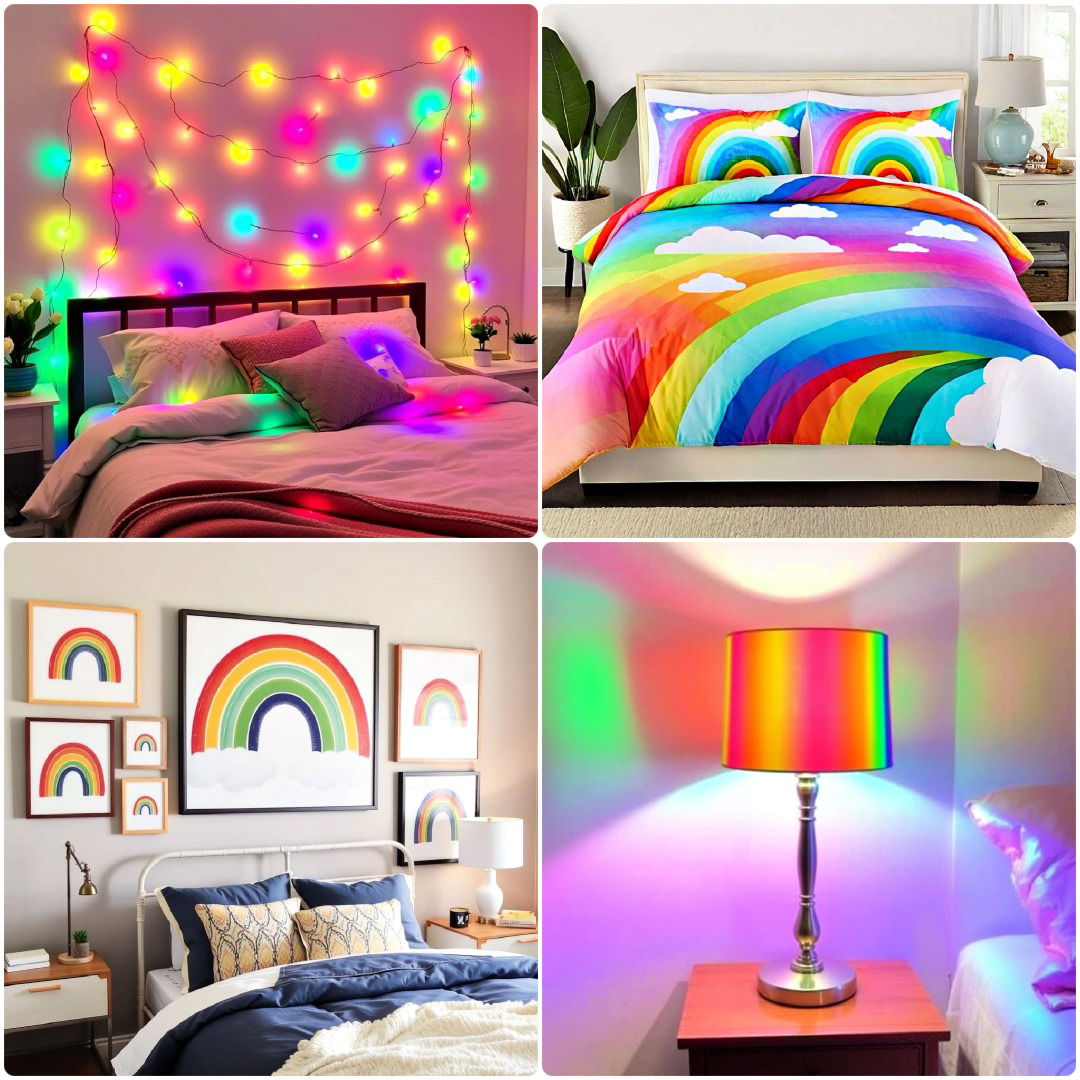
- 20 Rainbow Bedroom Ideas for Vibrant Spaces
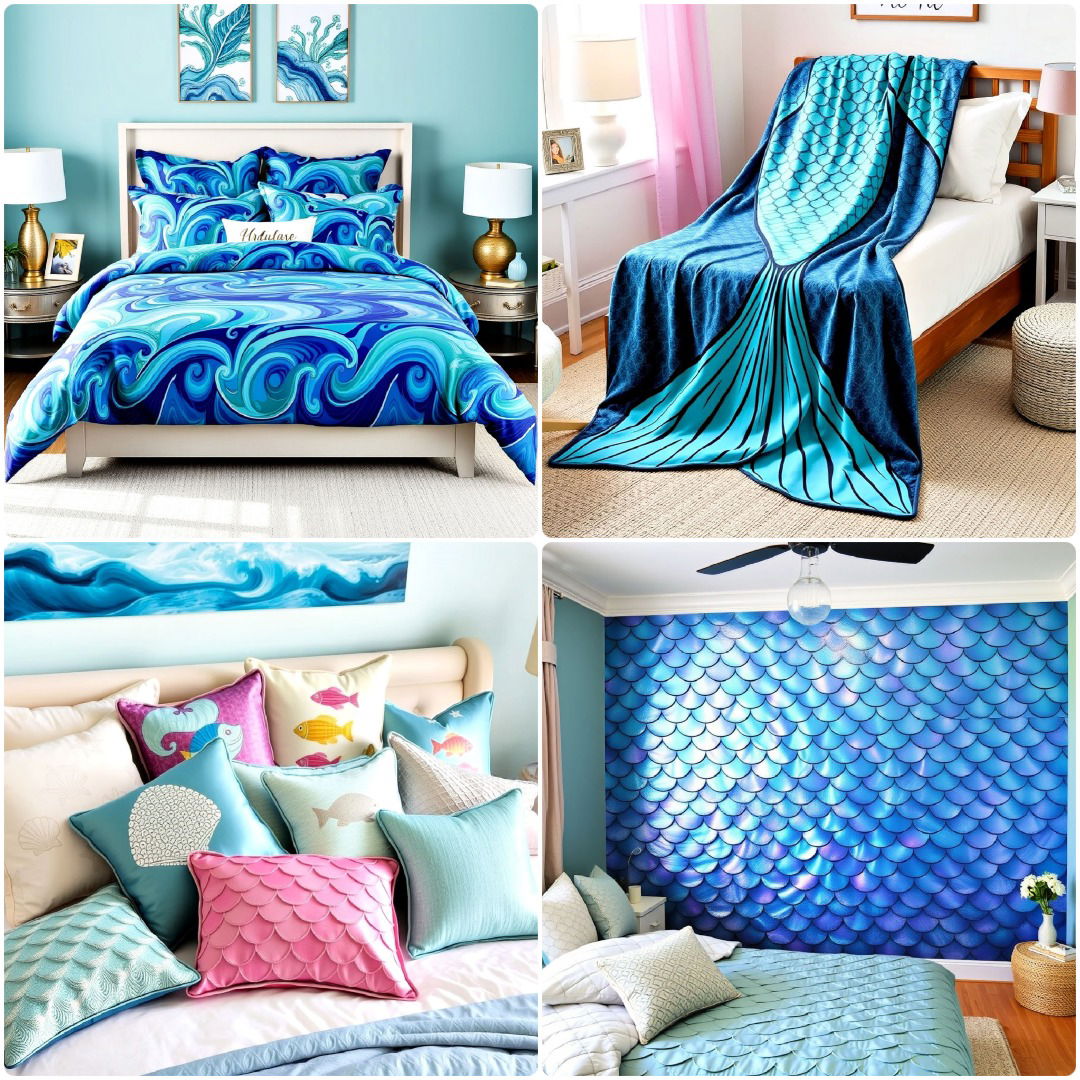
- 25 Mermaid Bedroom Ideas for Enchanting Spaces
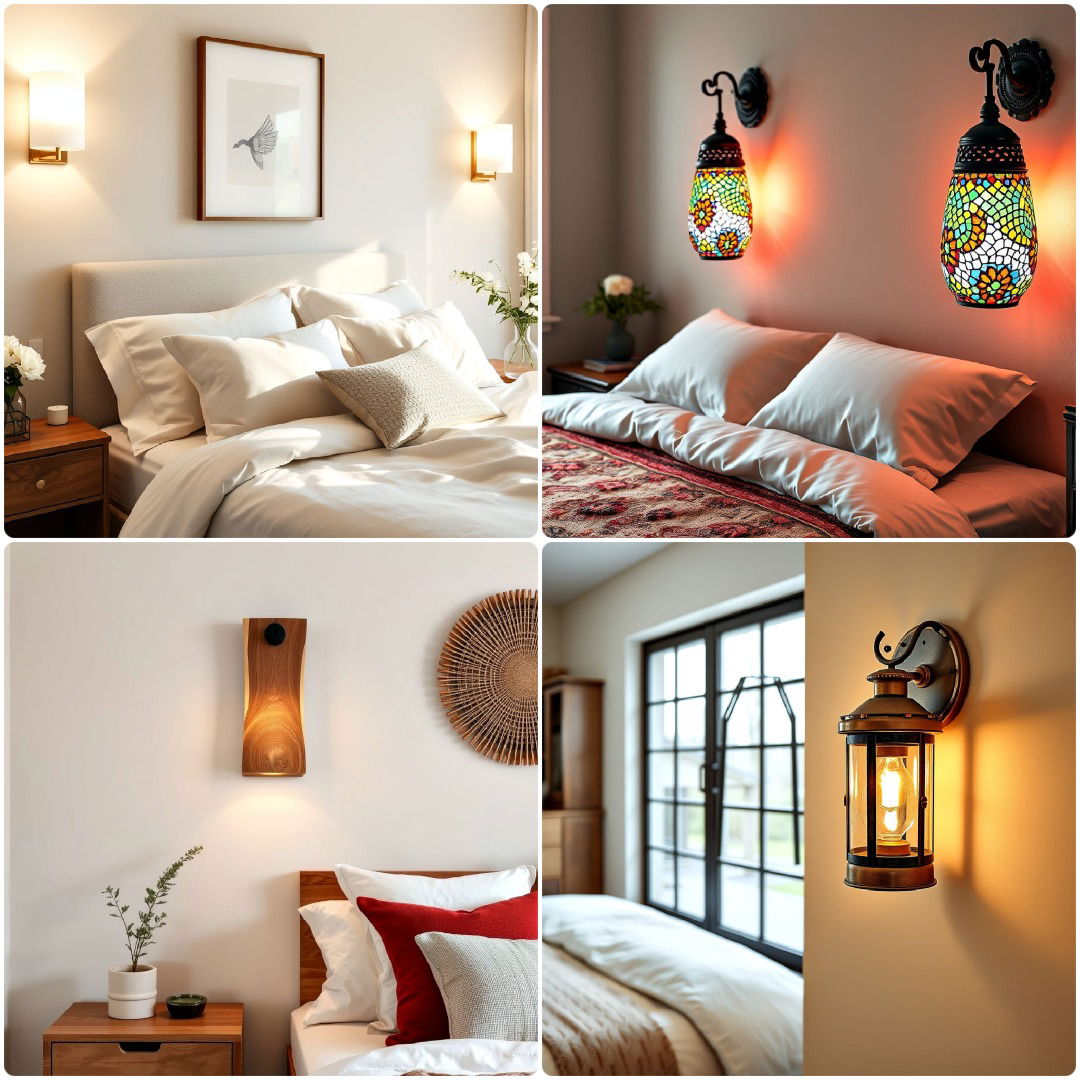
- 25 Bedroom Wall Sconce Ideas To Refresh Your Space
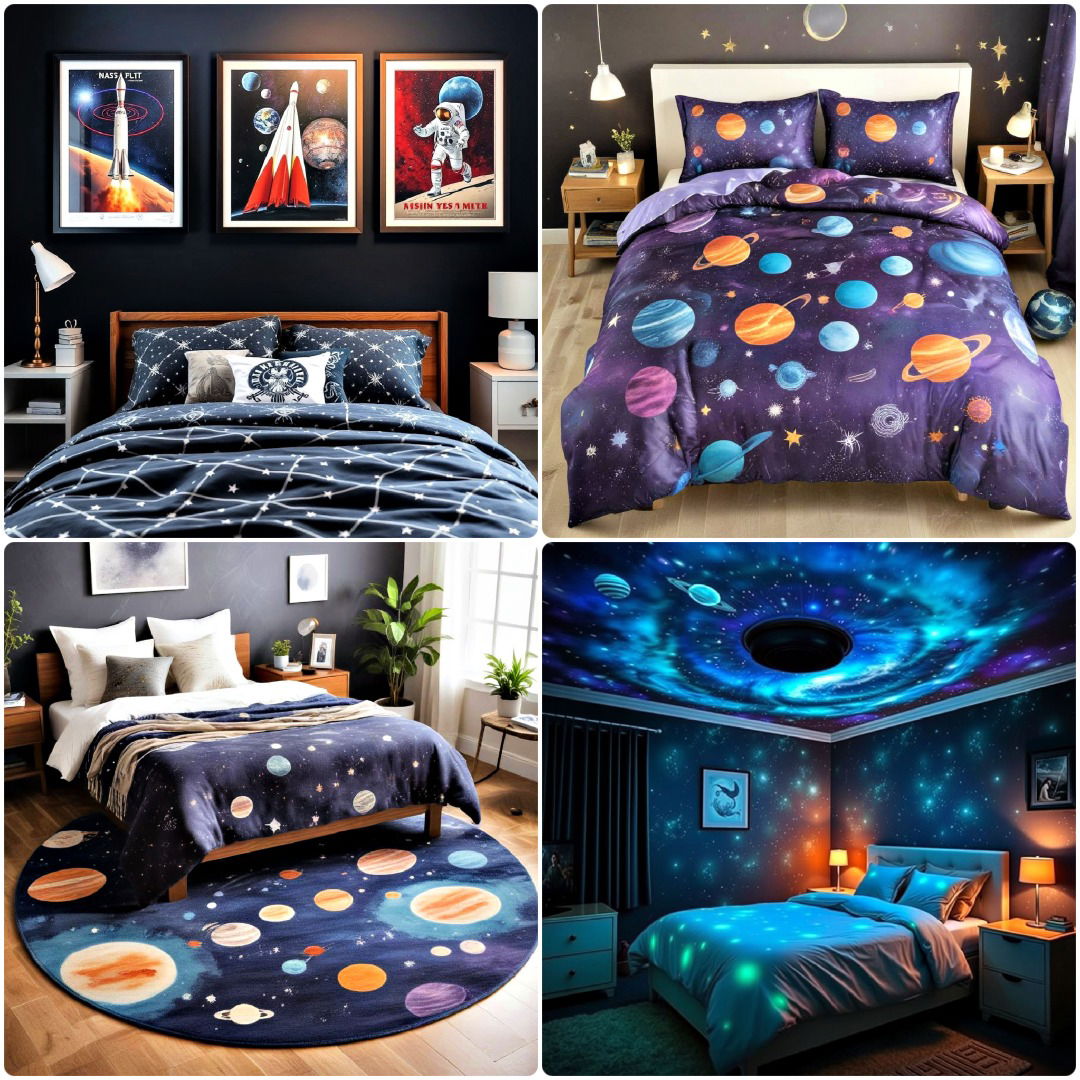
- 15 Galaxy Space Themed Bedroom Ideas for Dreamers
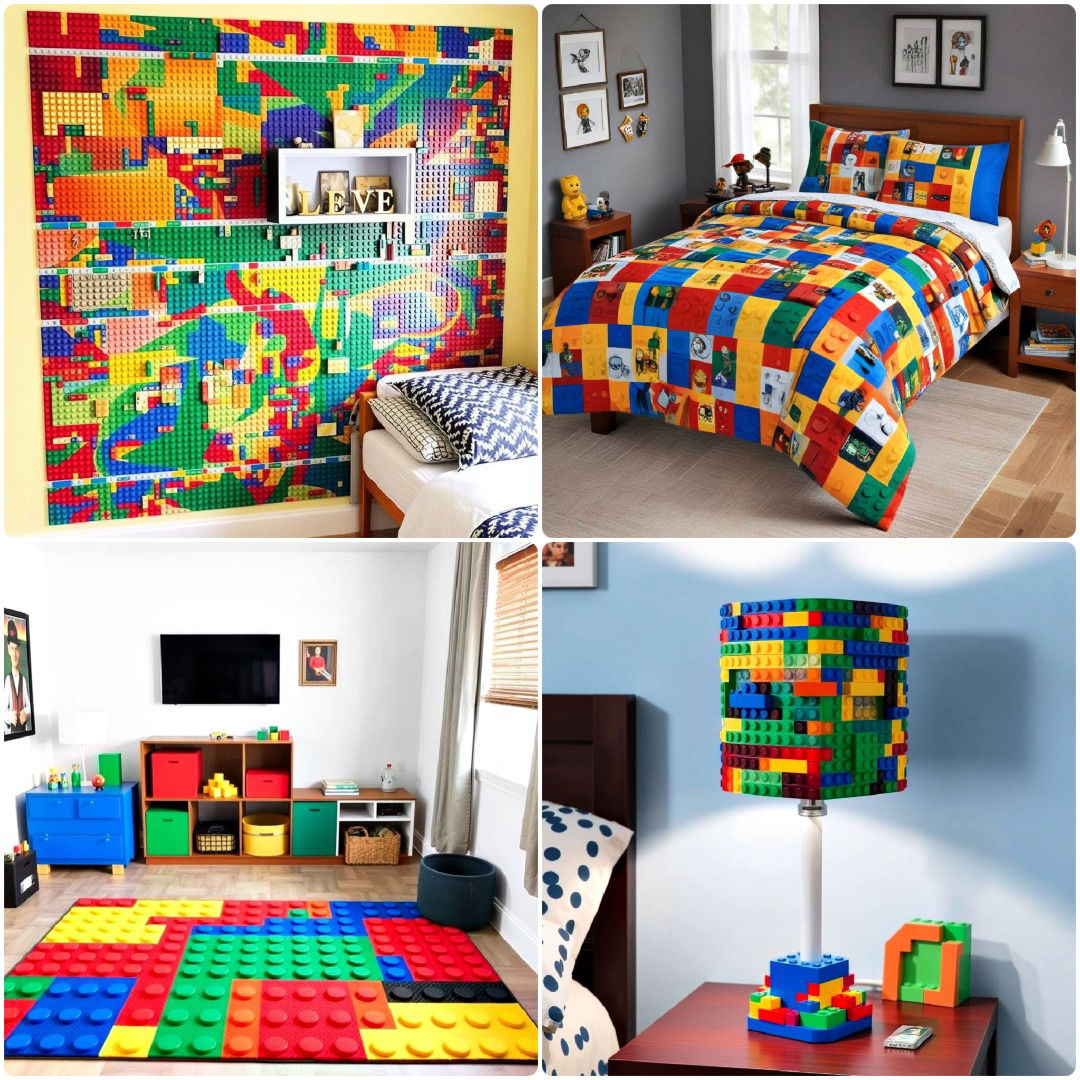
- 25 Lego Bedroom Ideas To Spark Imagination
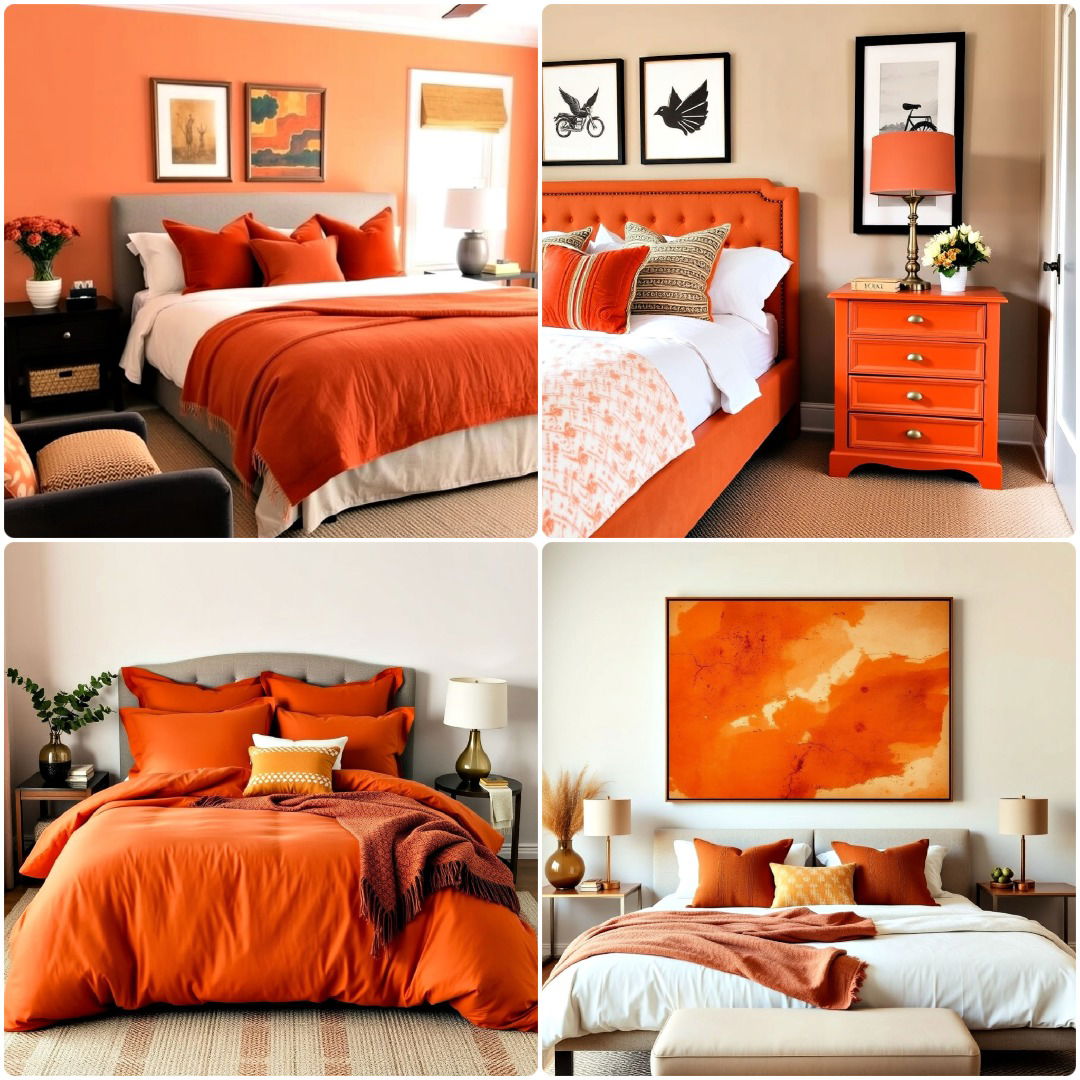
- 25 Burnt Orange Bedroom Ideas To Refresh Your Space
- 25 Best 90s Bedroom Decor Ideas for A Trendy Throwback
- 15 Grandmillennial Bedroom Ideas for Cozy Elegance
- 25 French Bedroom Decor Ideas To Add Parisian Charm


Bathroom Ideas
Transform your space with these bathroom ideas. Discover modern, budget-friendly bathroom design ideas that blend functionality and style effortlessly.
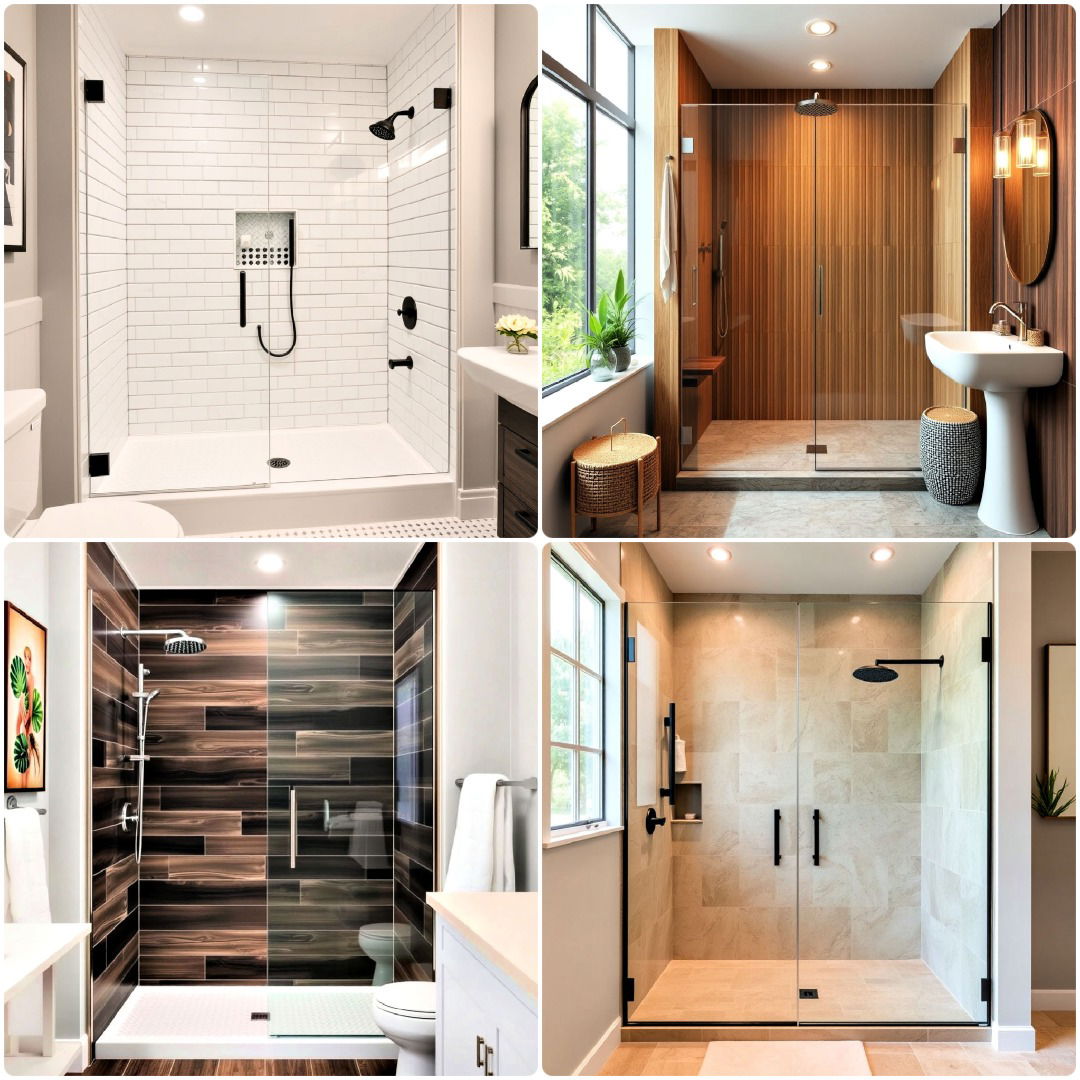
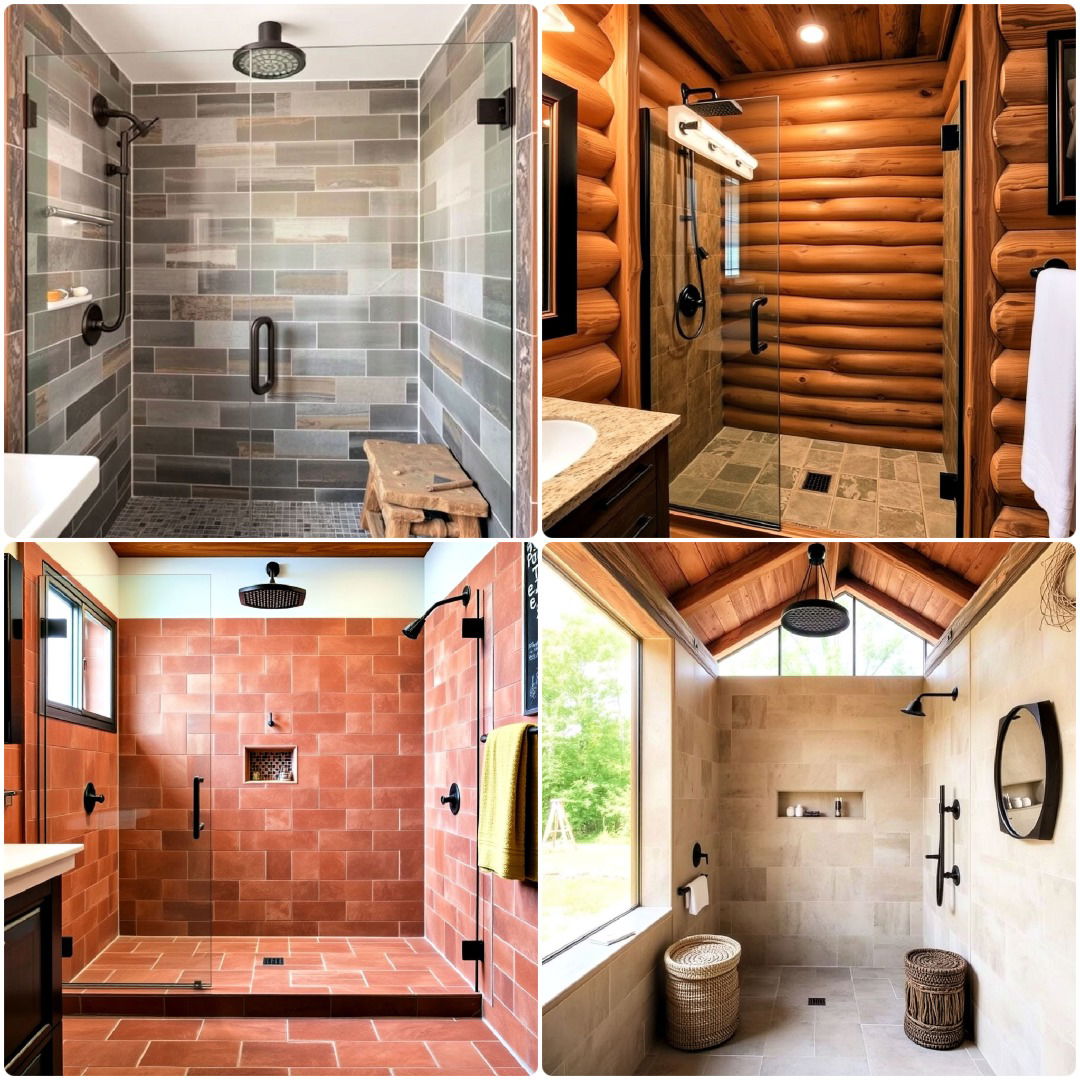
- 20 Shower Surround Ideas for A Luxe Bathroom
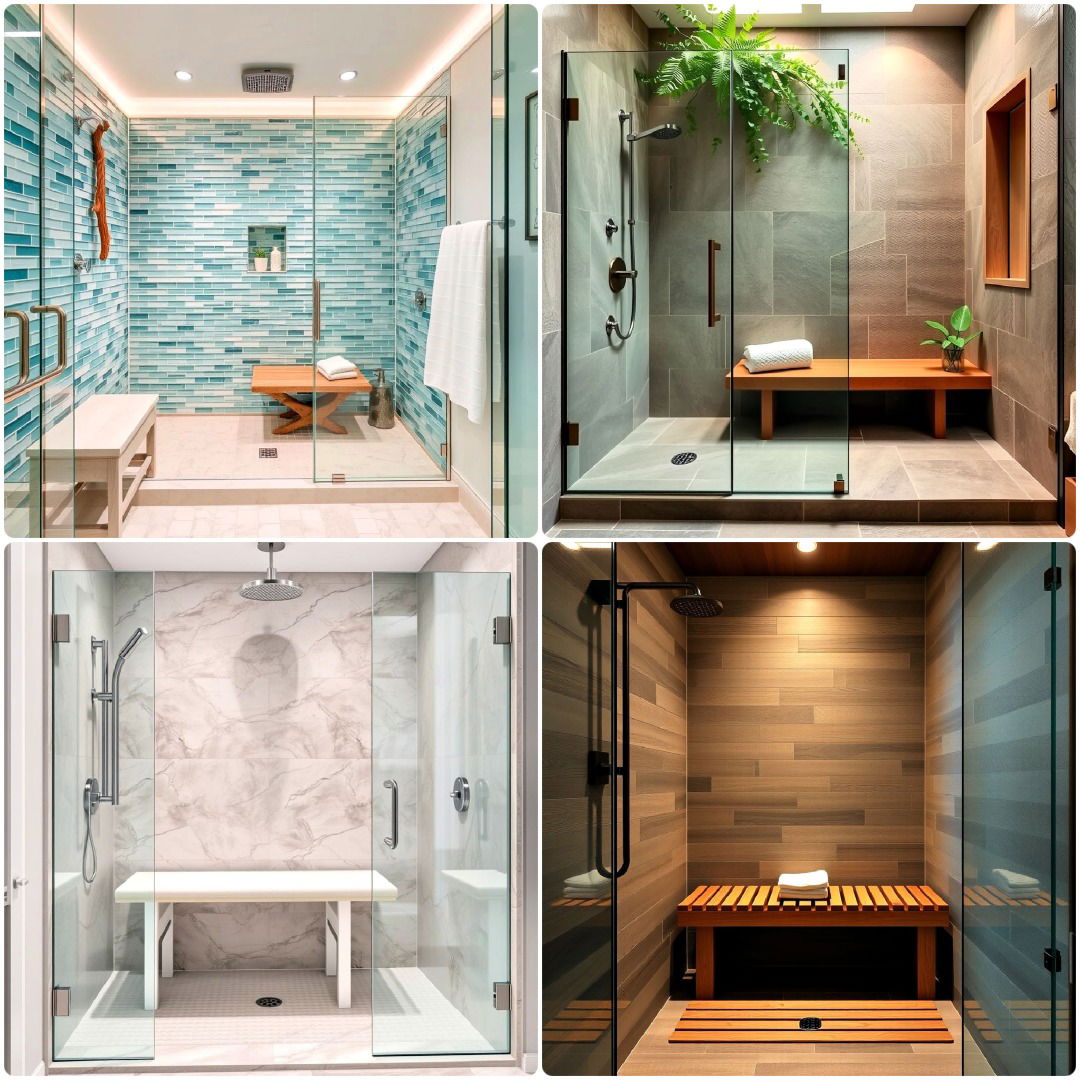
- 40 Walk-in Showers With Benches To Inspire Your Remodel
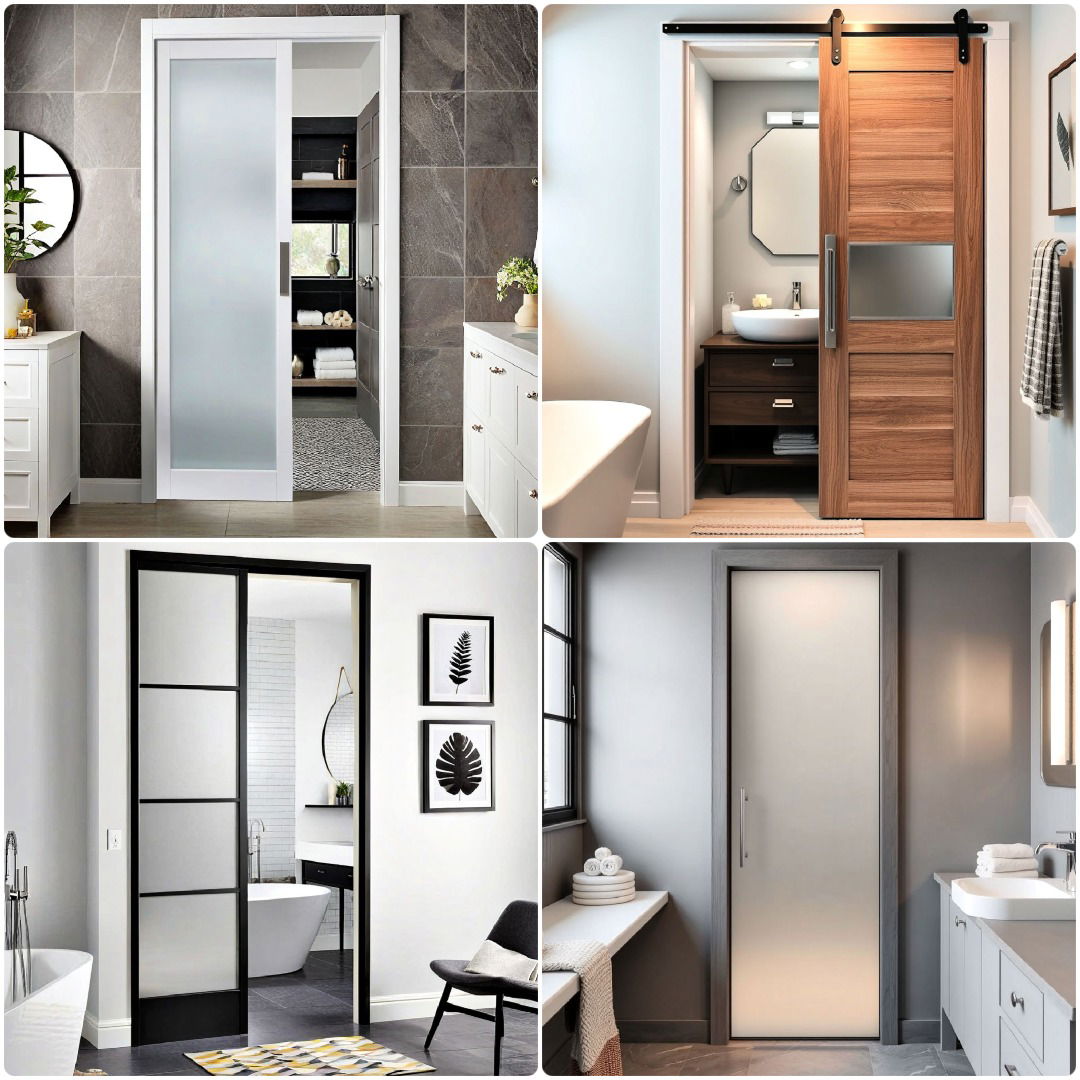
- 15 Bathroom Pocket Door Ideas for A Clean Look
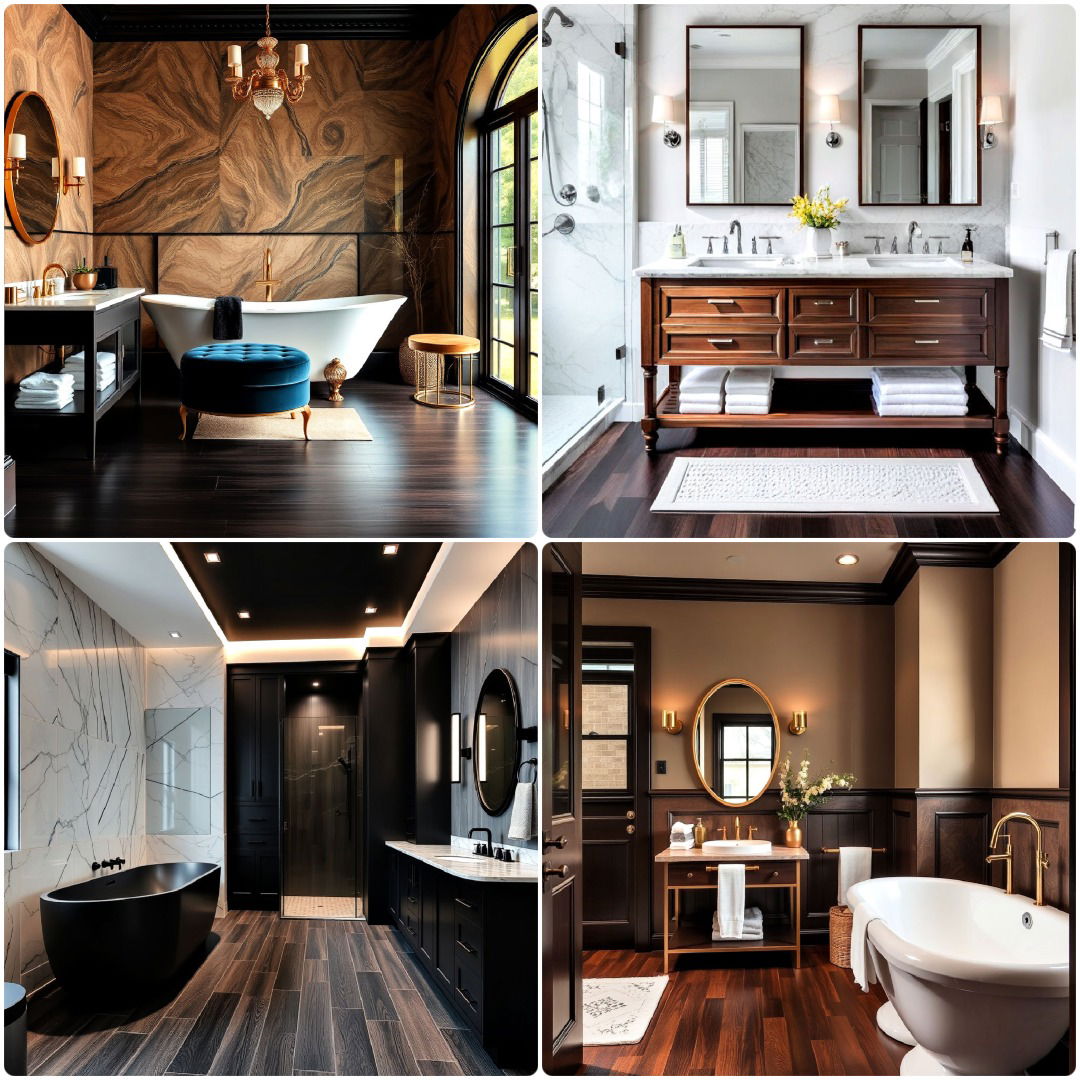
- 25 Dark Wood Floor Bathroom Ideas That Impress
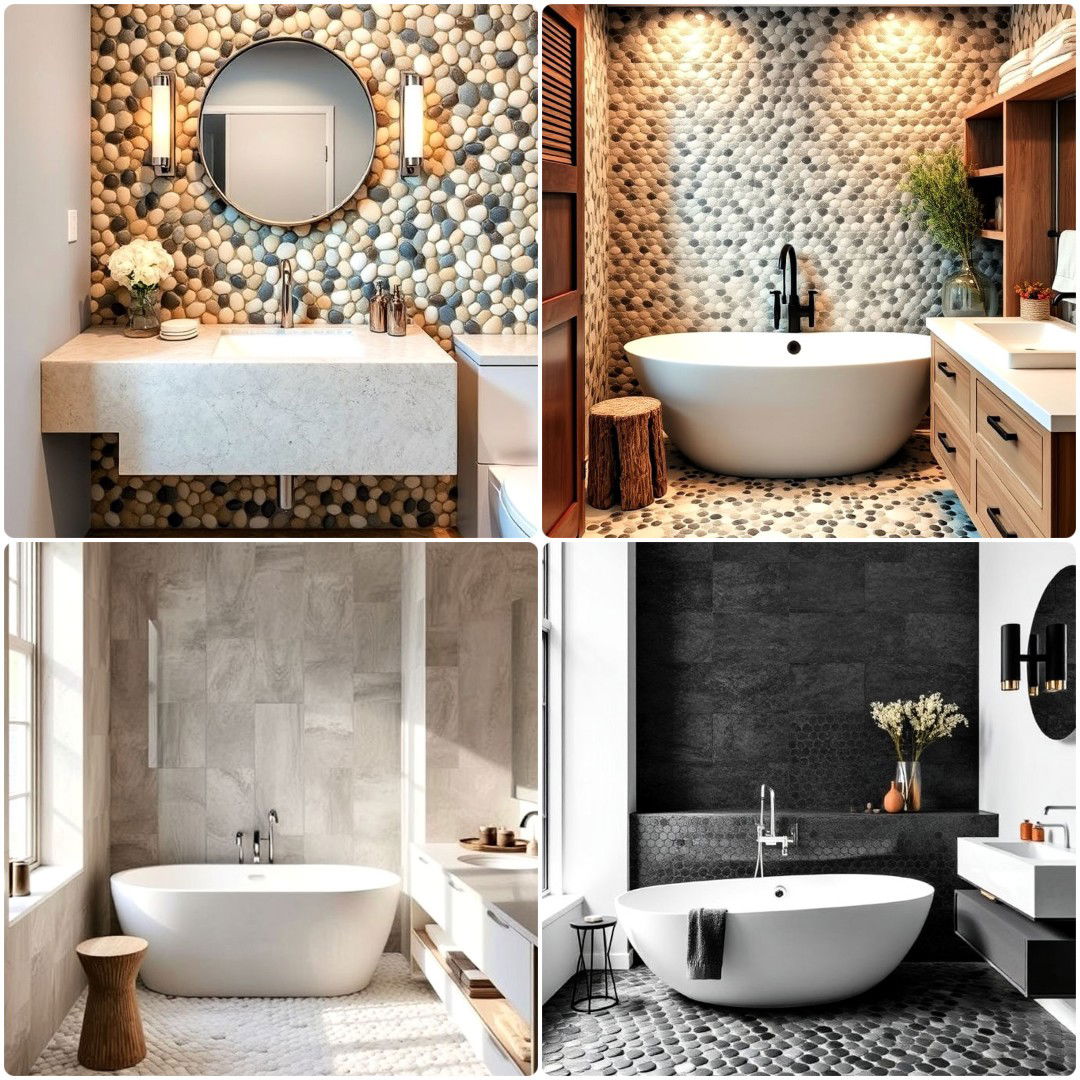
- 15 Pebble Tile Bathroom Ideas for Unique Flooring
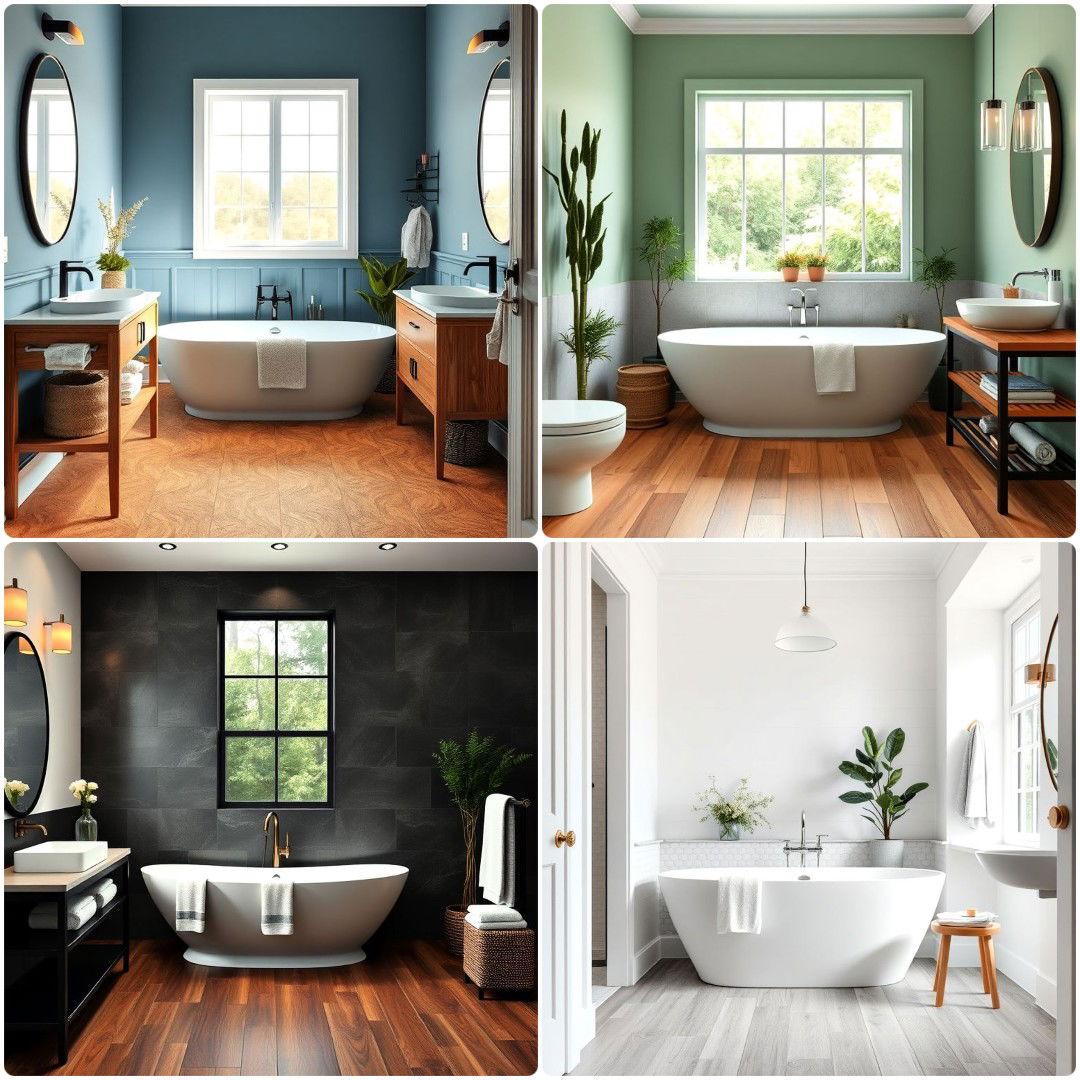
- 25 Wood Floor Bathroom Ideas You’ll Love
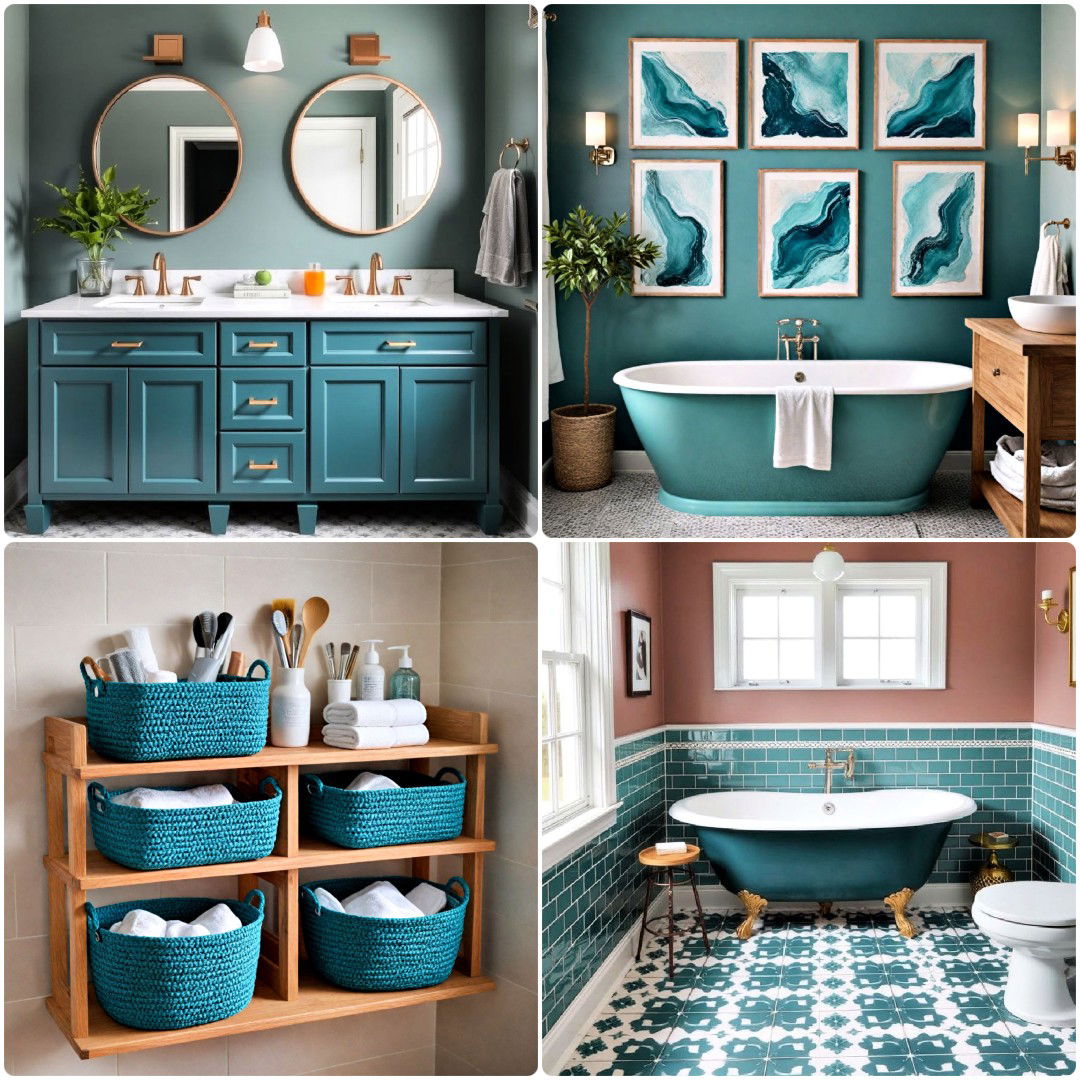
- 25 Teal Bathroom Ideas To Add a Pop of Color
- 25 Rustic Walk-in Shower Ideas To Inspire Your Remodel
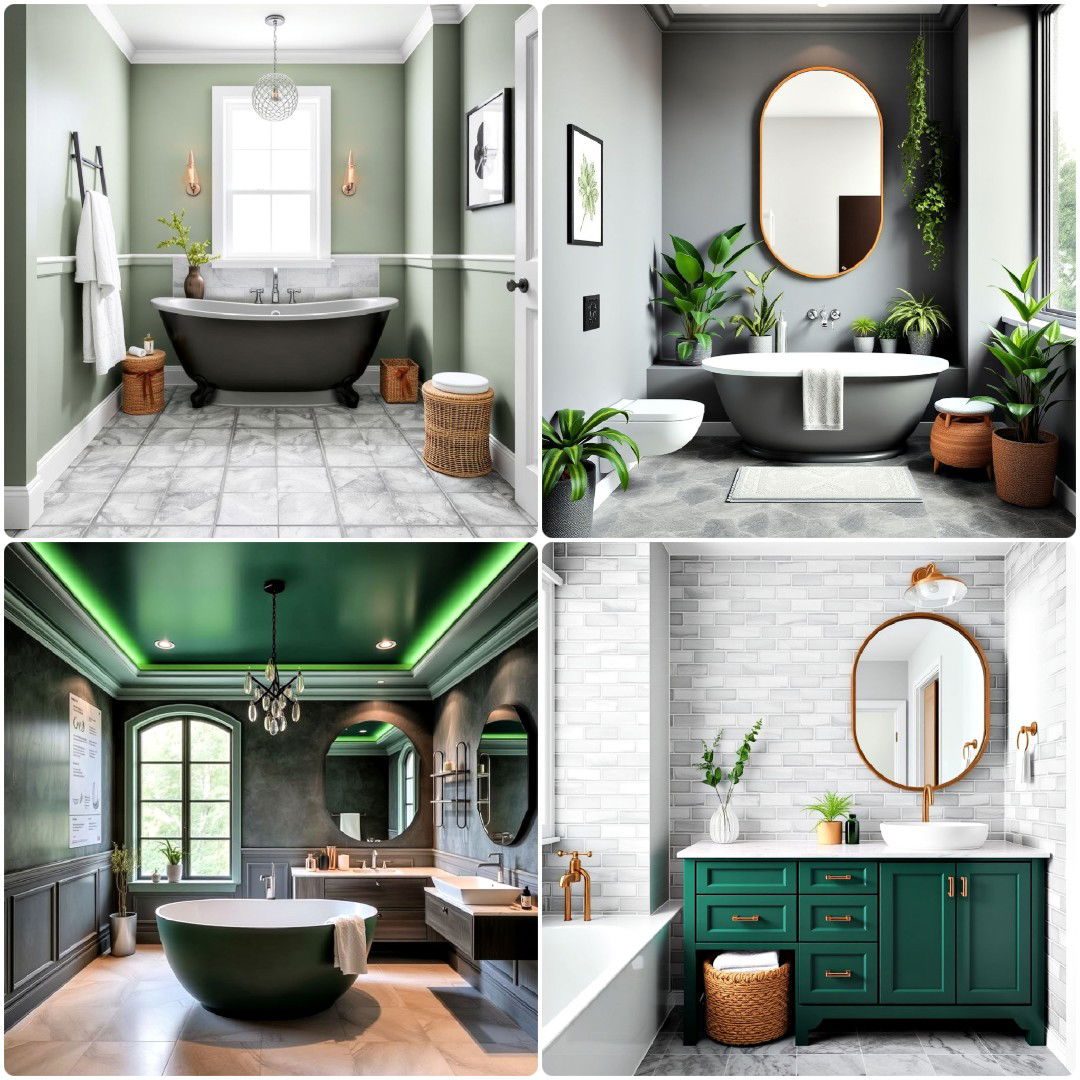
- 15 Green and Grey Bathroom Ideas for A Serene Space
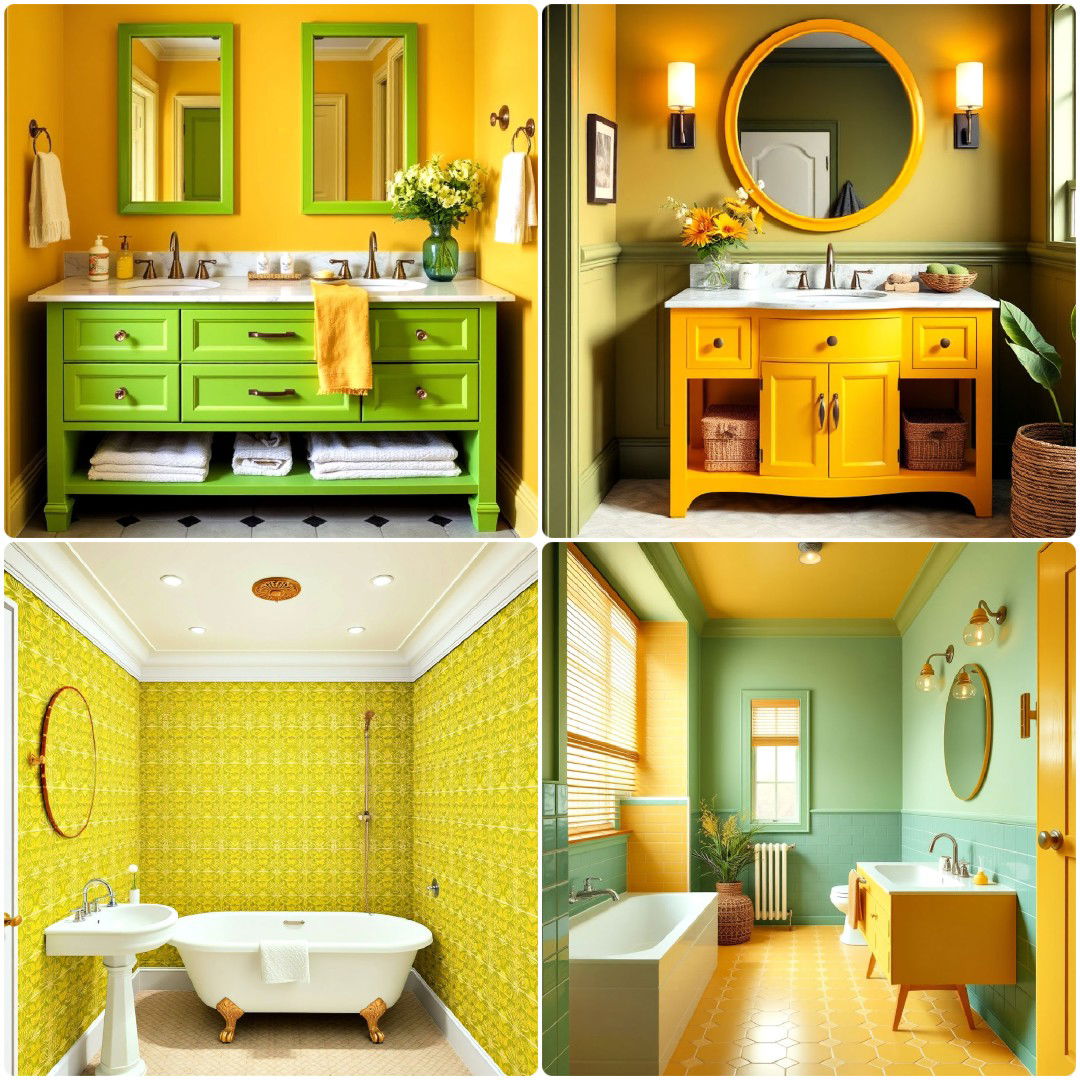
- 15 Yellow and Green Bathroom Ideas for A Vibrant Look
Living Room Ideas
Discover stylish and contemporary living room ideas to transform your space with the latest trends and creative decor tips.
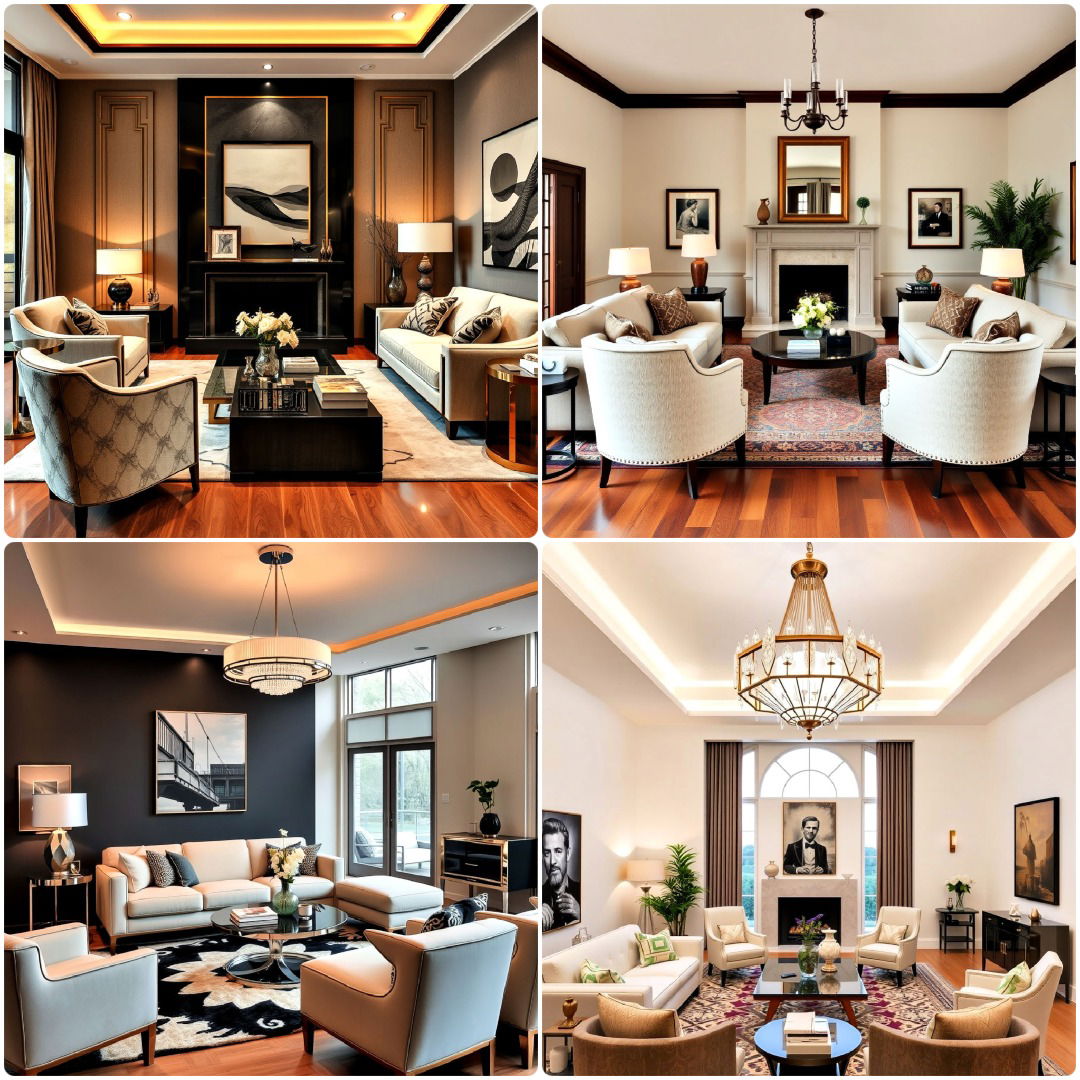
- 25 Cool 1930s Living Room Ideas for A Timeless Look
- 15 Magnolia Living Room Ideas To Get Inspired
- 20 Blue and Orange Living Room Ideas for A Unique Style
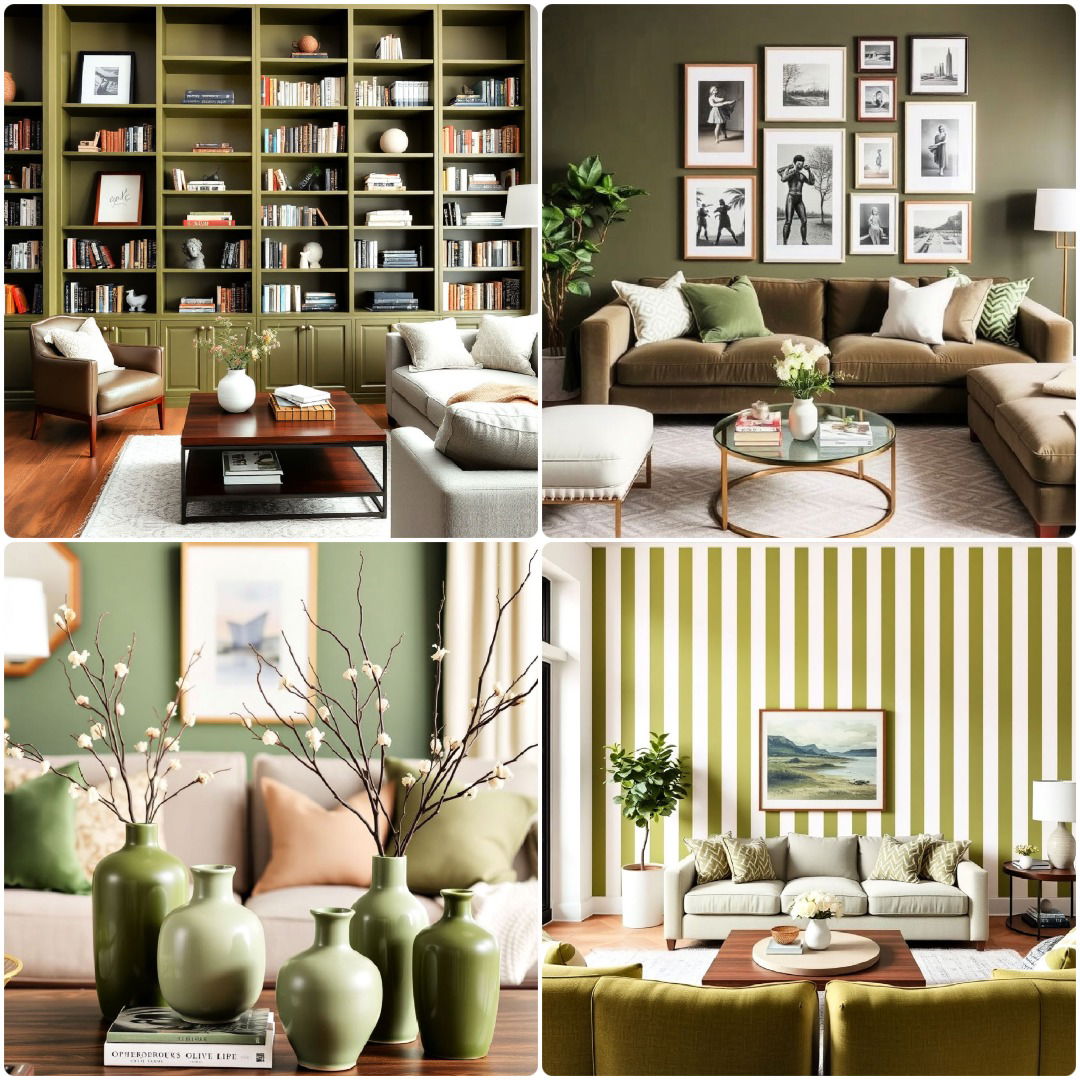
- 20 Olive Green Living Room Ideas To Refresh Your Space
- 15 Colonial Living Room Ideas To Add Charm
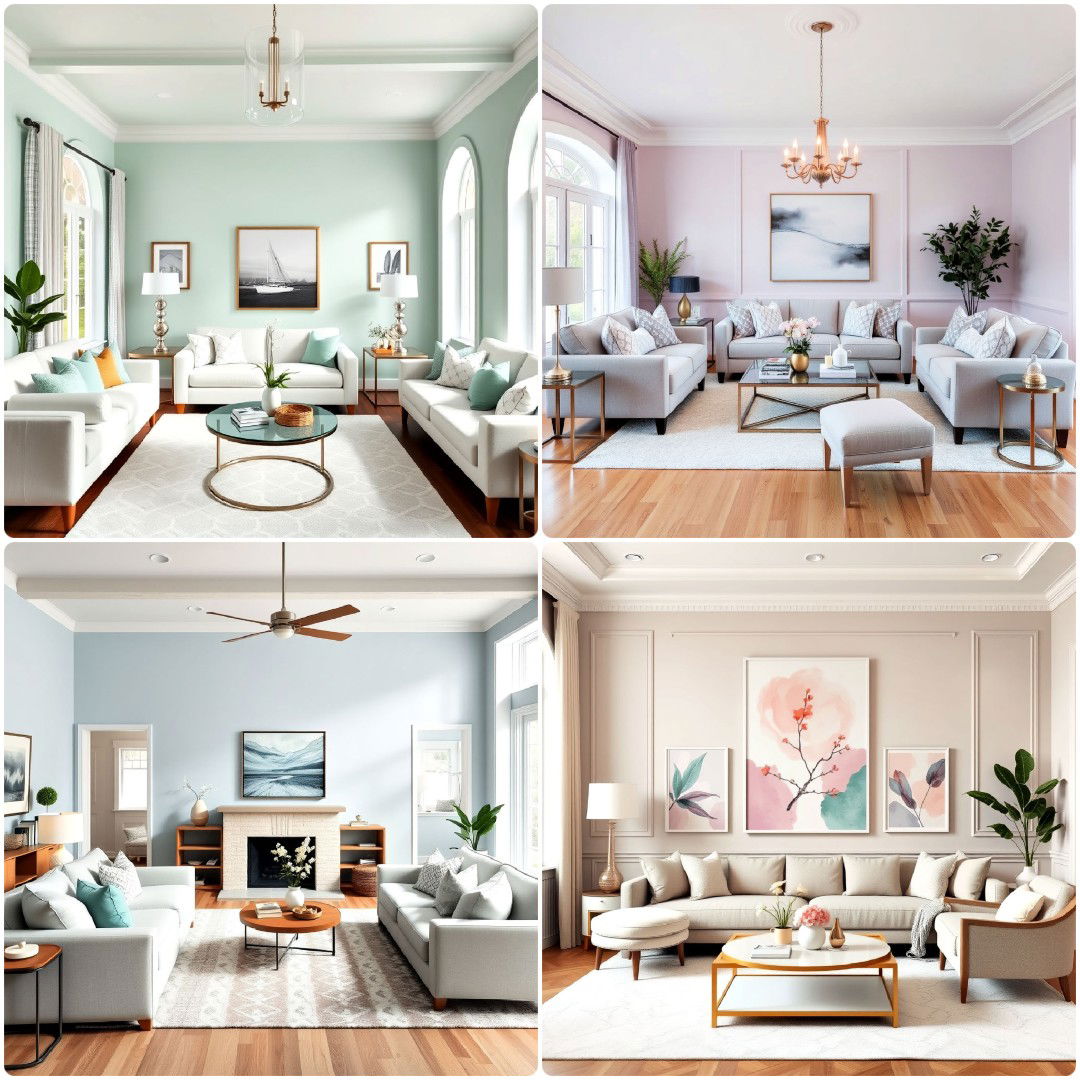
- 15 Pastel Living Room Ideas You’ll Adore
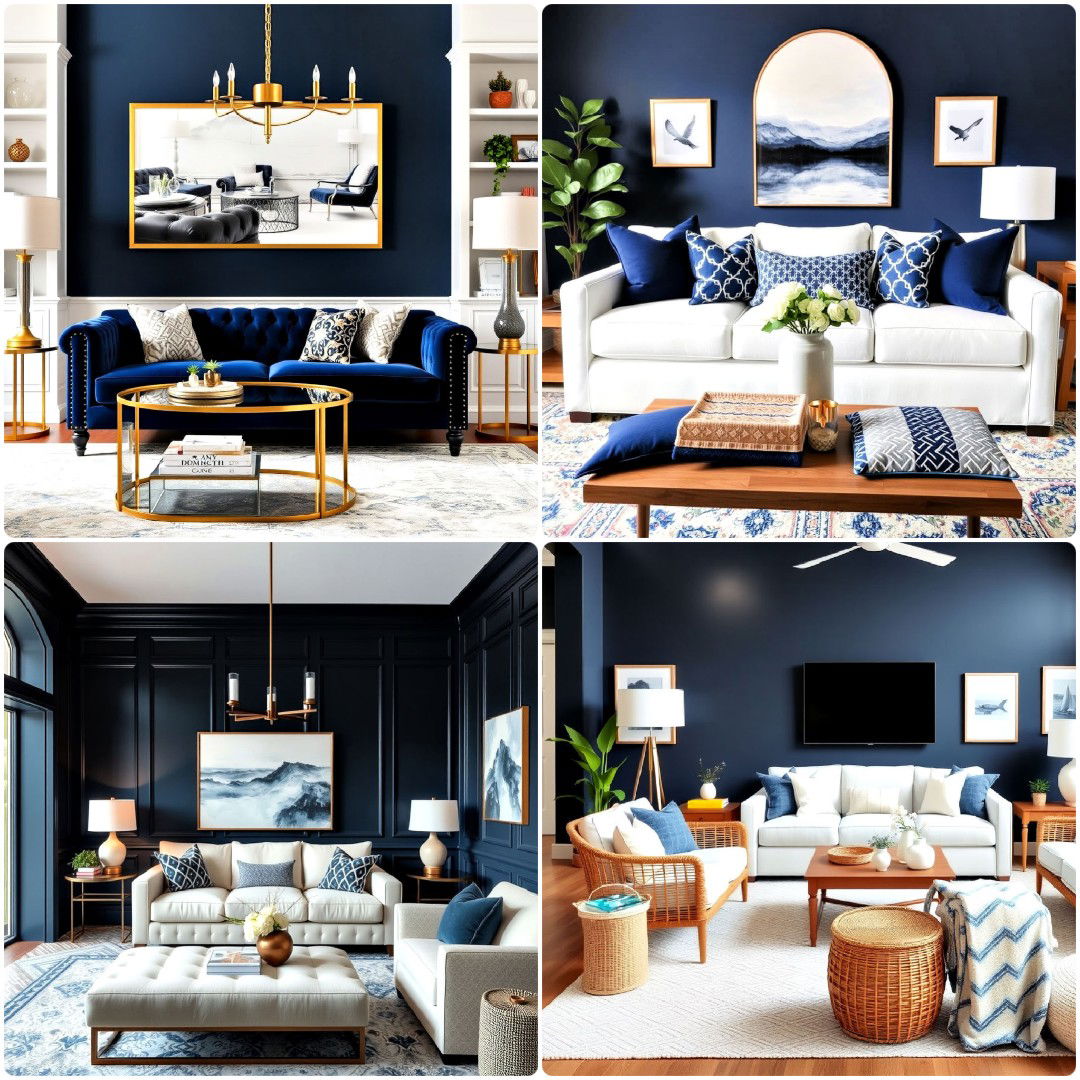
- 15 Navy Blue Living Room Ideas for Bold Elegance
- 25 Best 1980s Living Room Ideas for A Retro Revival
- 15 Mansion Living Room Ideas for Luxurious Spaces
- 25 Shiplap Wall Living Room Ideas for Rustic Charm


Kitchen Ideas
Discover unique kitchen ideas for a stylish and functional space. Get expert tips on design, organization, and decor for your dream kitchen.
- 40 Kitchens with White Appliances To Refresh Your Space
- 15 Tudor-style Kitchen Ideas To Inspire Rustic Elegance
- 15 Blue Kitchen Cabinets With Brown Granite Countertops
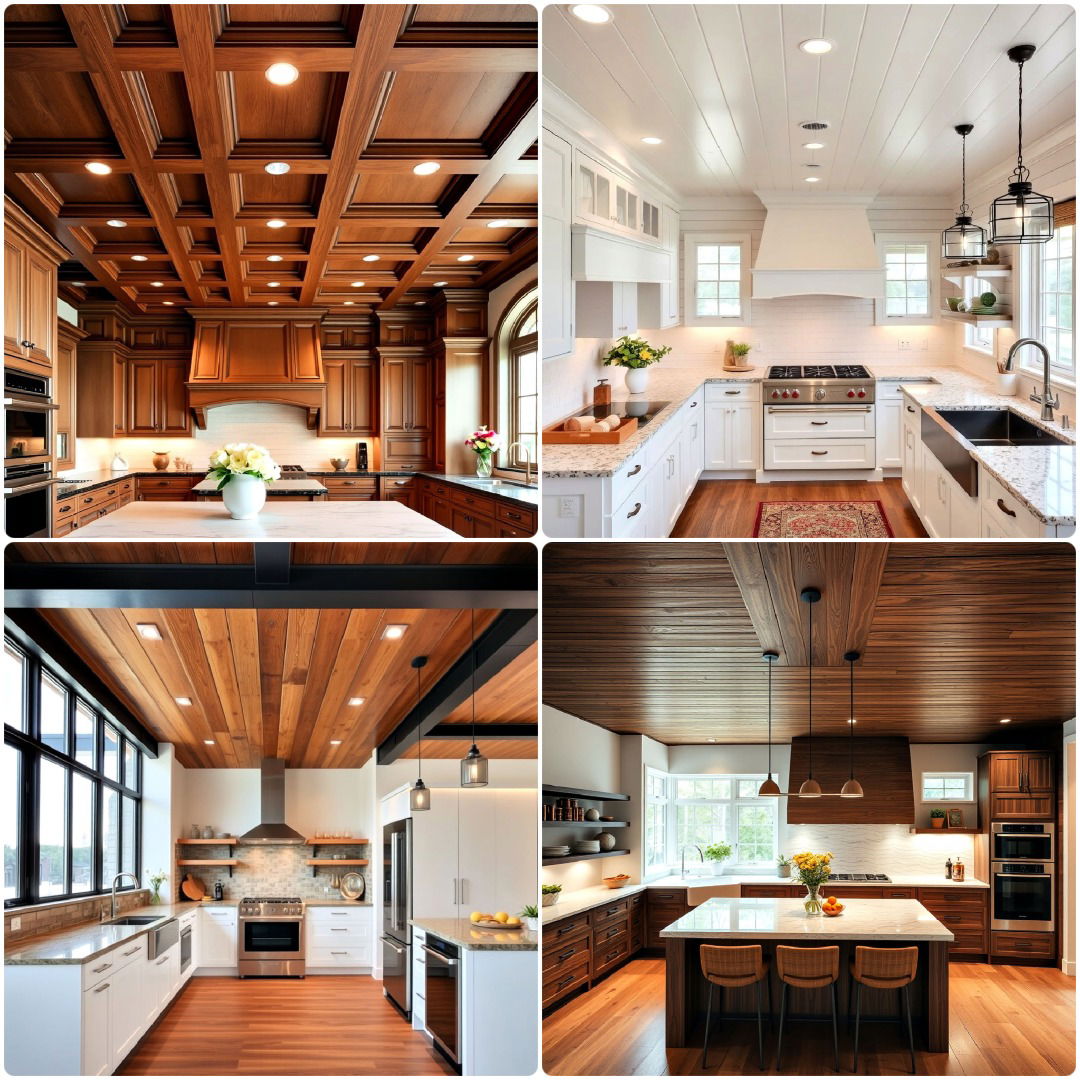
- 15 Wood Ceiling Kitchen Ideas for Warm Interiors
- 15 Kitchen Door Design Ideas You’ll Love
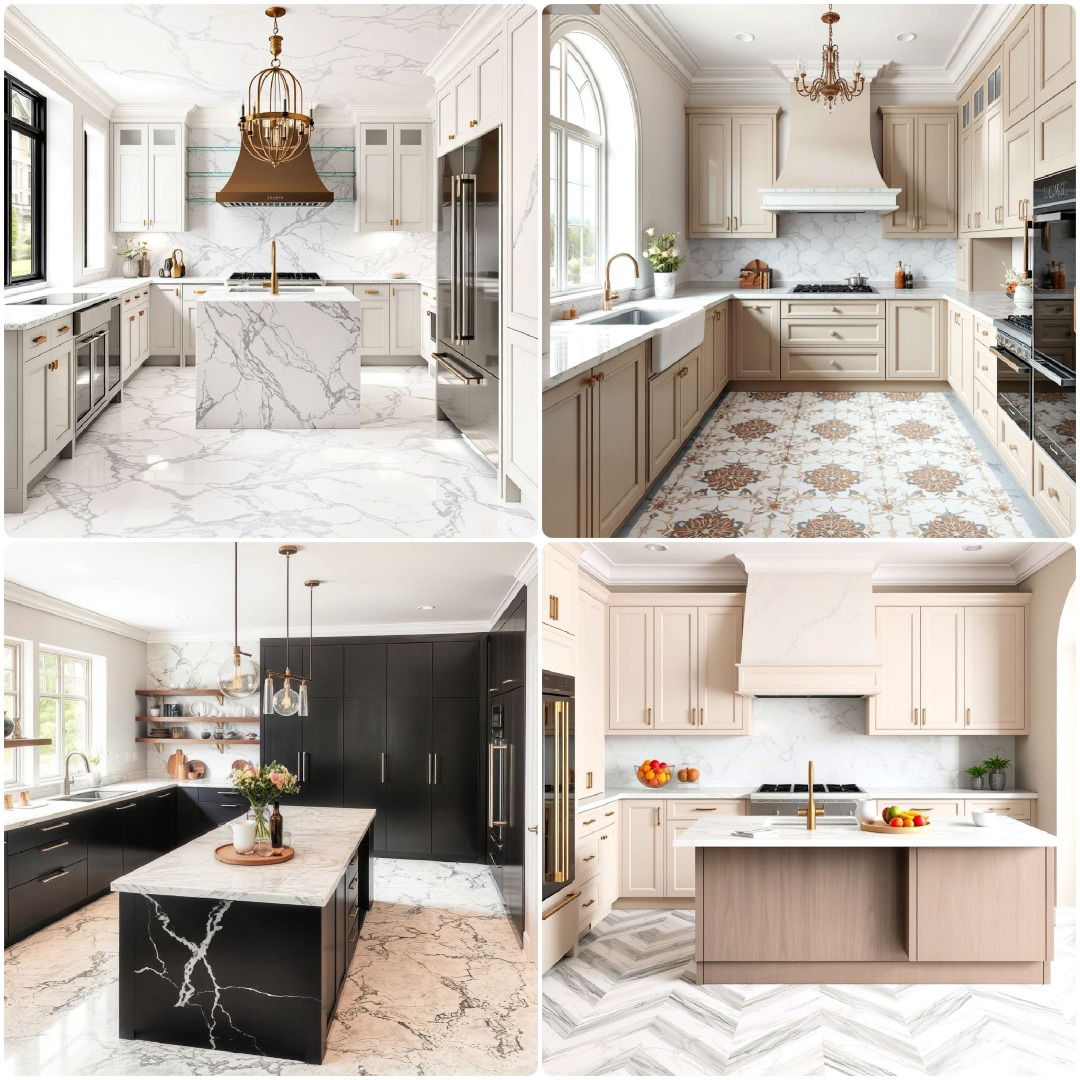
- 20 Marble Kitchen Floor Ideas That Feel Timeless
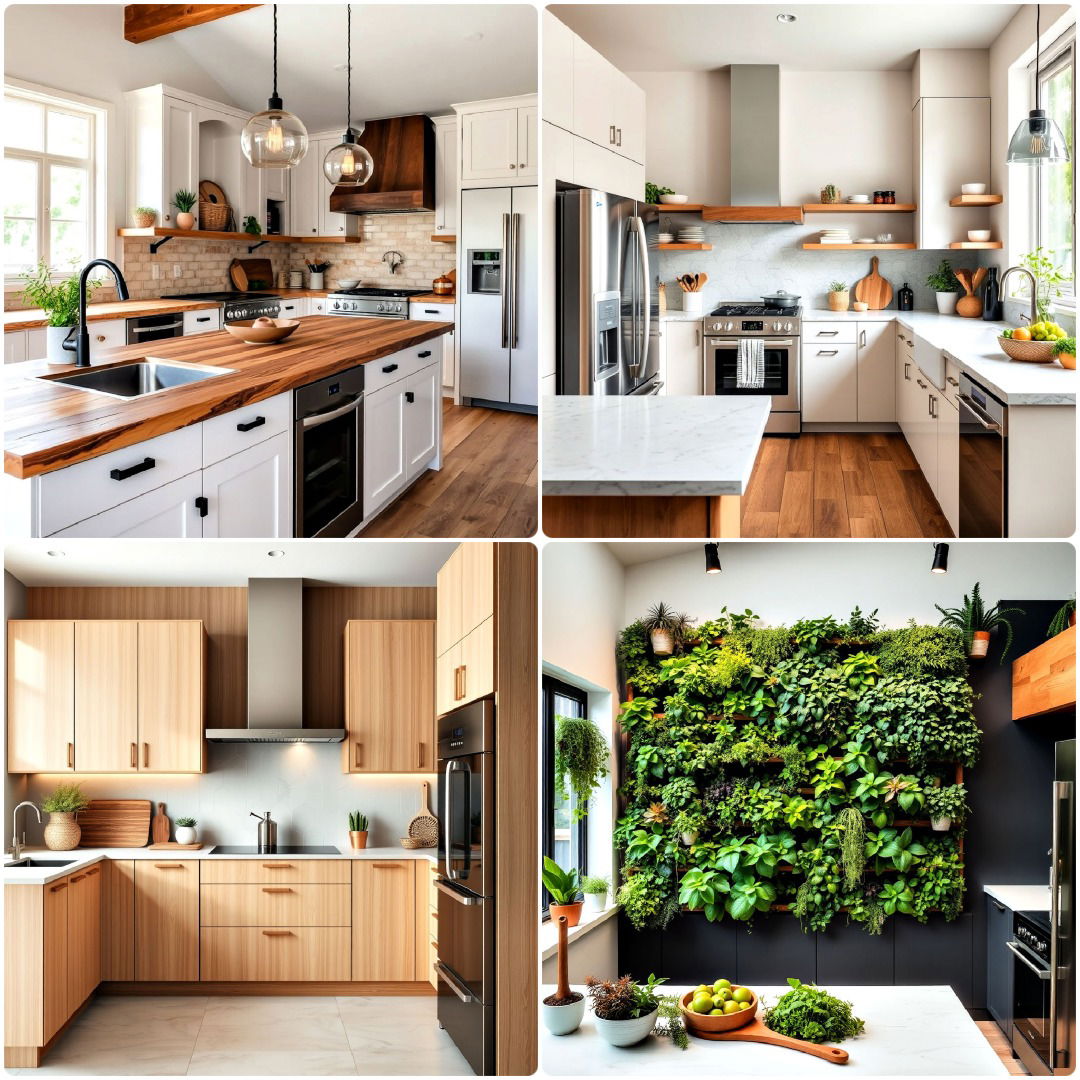
- 20 Organic Modern Kitchen Ideas To Refresh Your Space
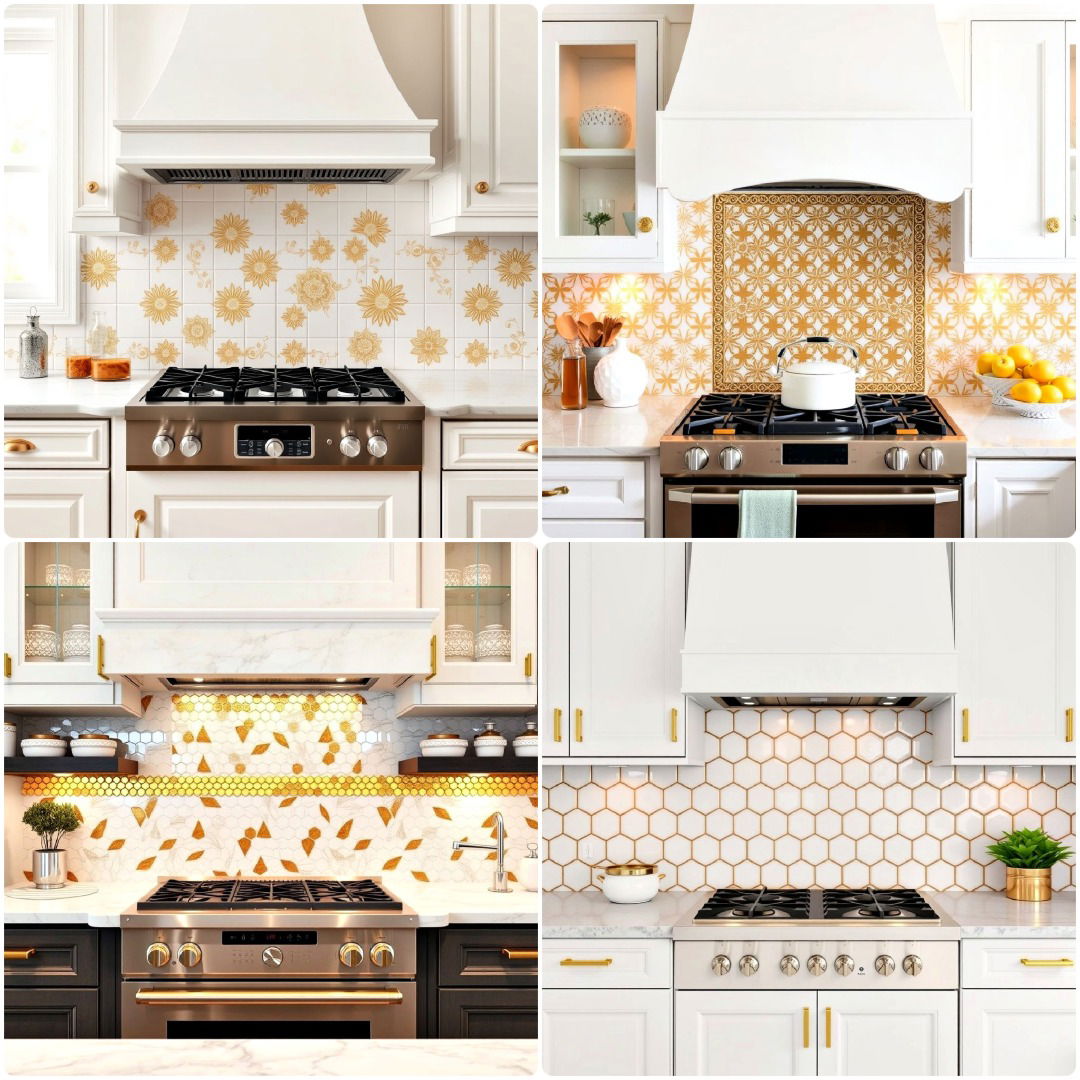
- 15 White and Gold Kitchen Backsplash Ideas That Shine
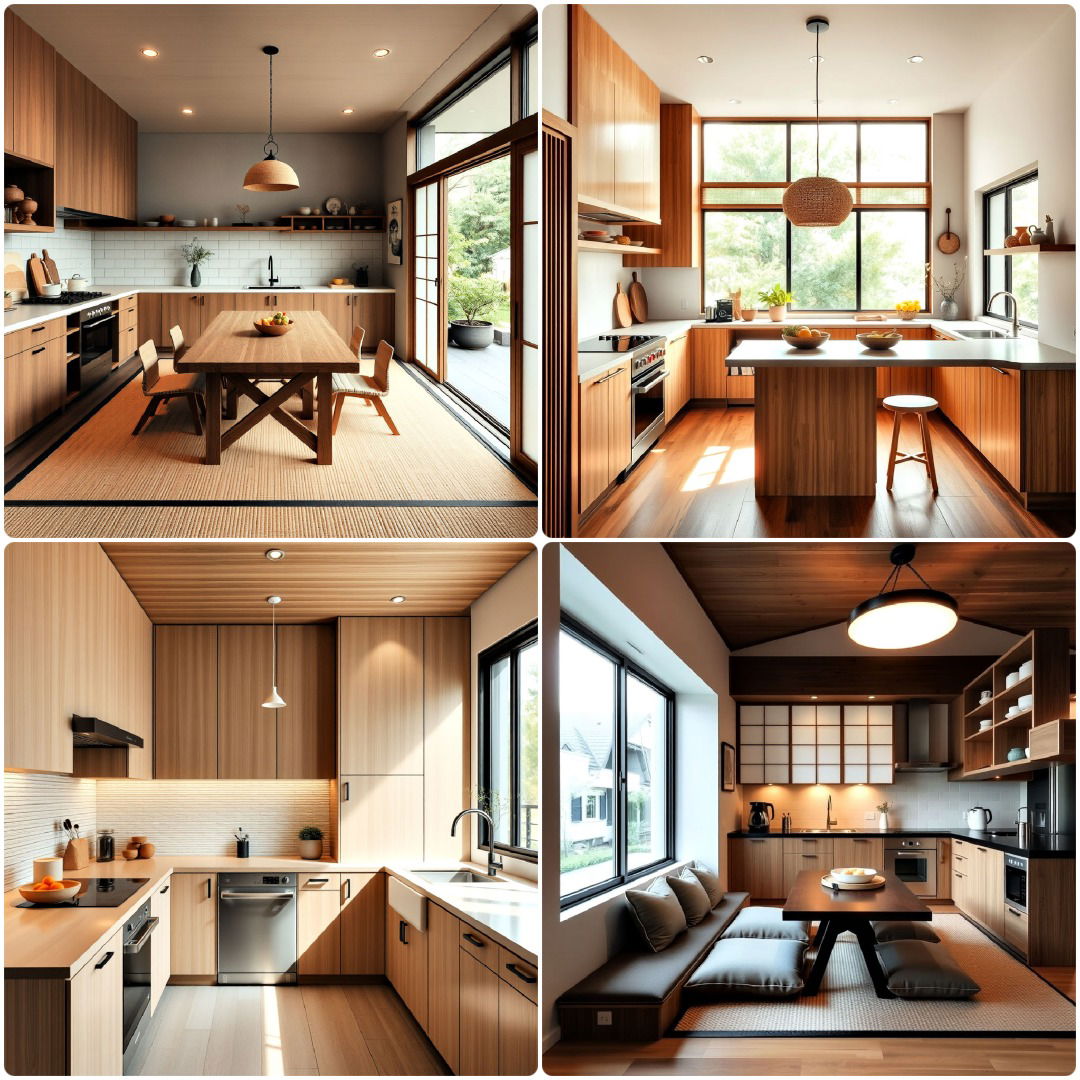
- 25 Japanese Kitchen Design Ideas for Minimalist Living
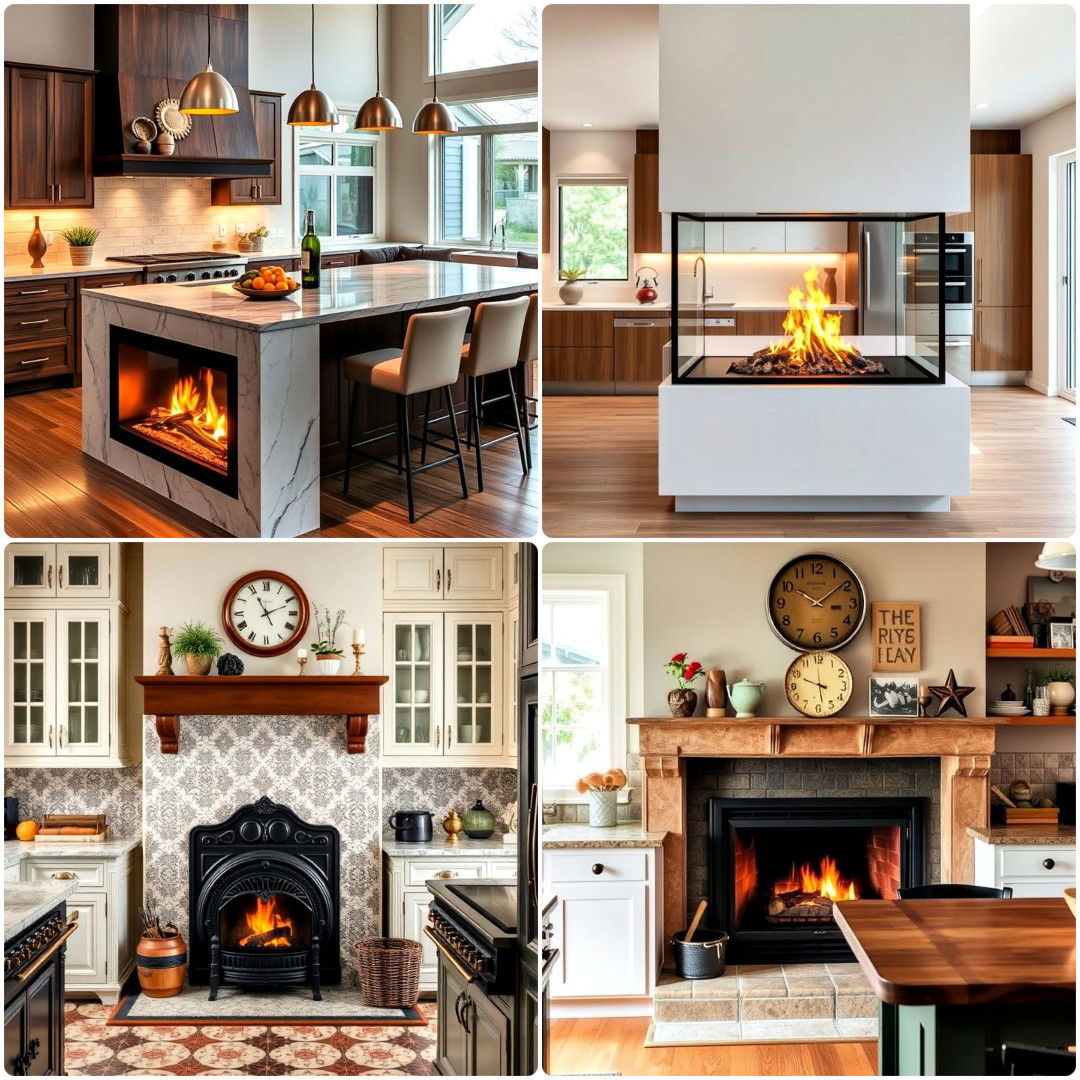
- 30 Fireplace in Kitchen Ideas to Add Unique Style


Design Ideas for Every Room Type
Discover captivating design ideas for every room type. Transform your spaces with our clever interior design tips and inspirations.
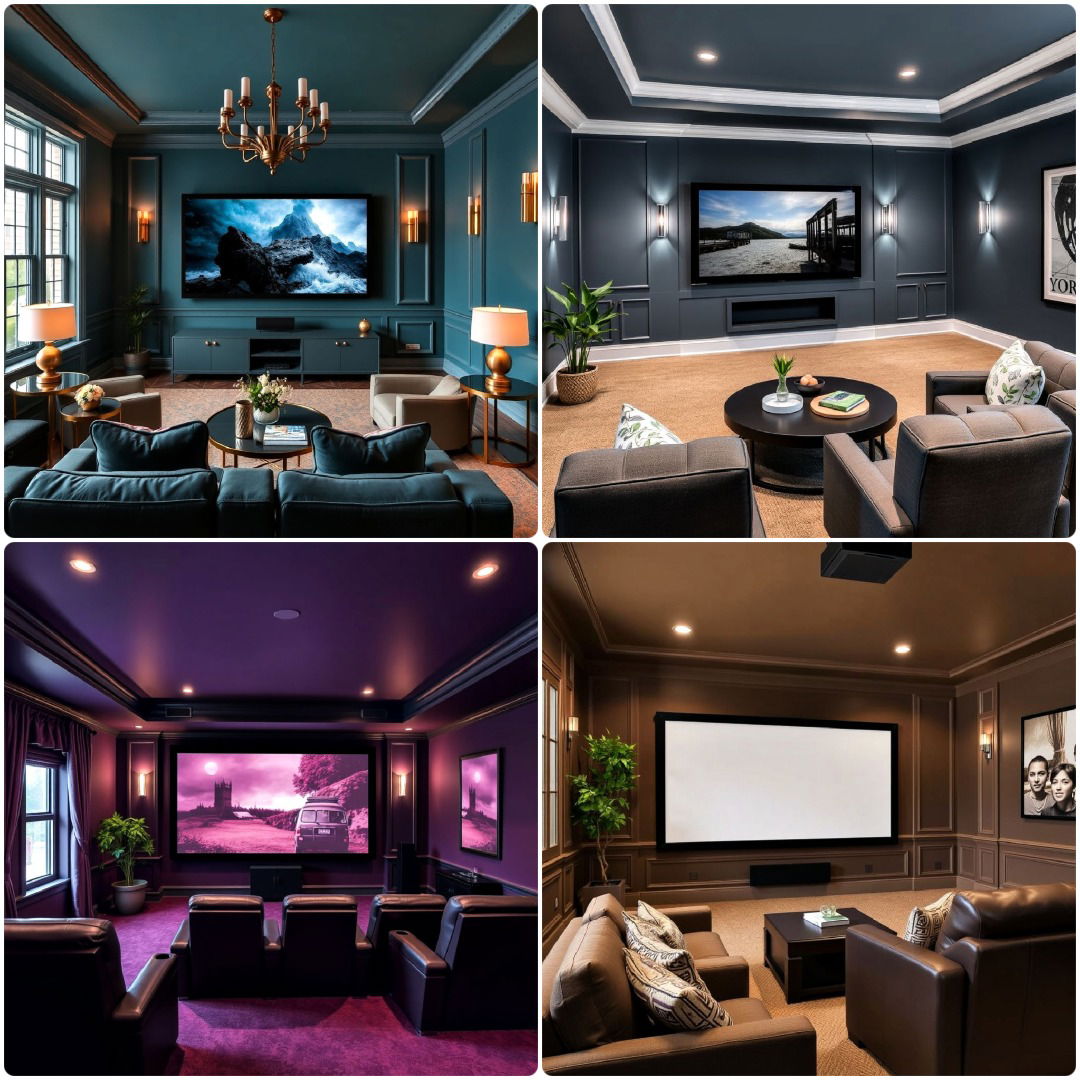
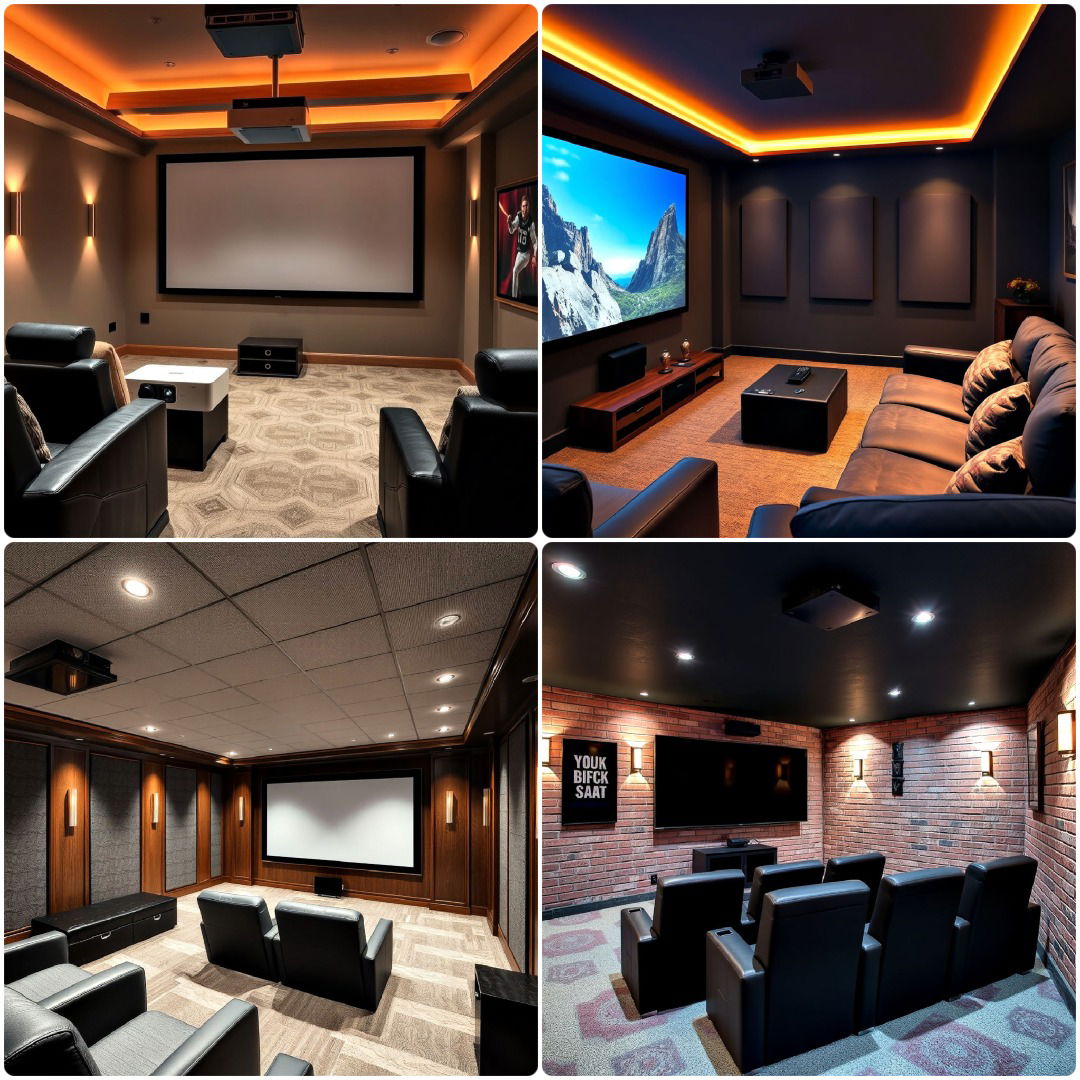
- 25 Basement Home Theater Ideas To Upgrade Your Space
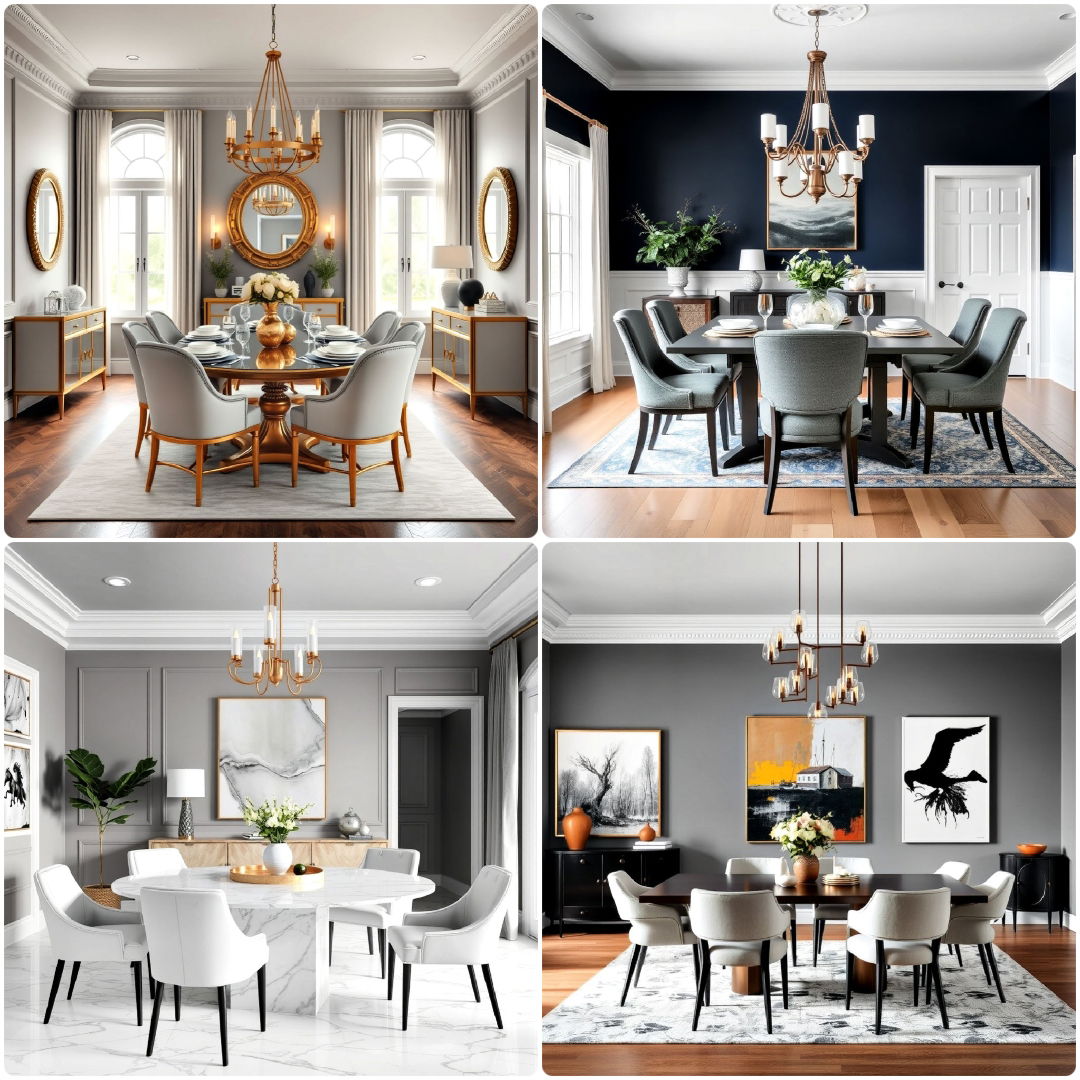
- 25 Gray Dining Room Ideas for Every Aesthetic
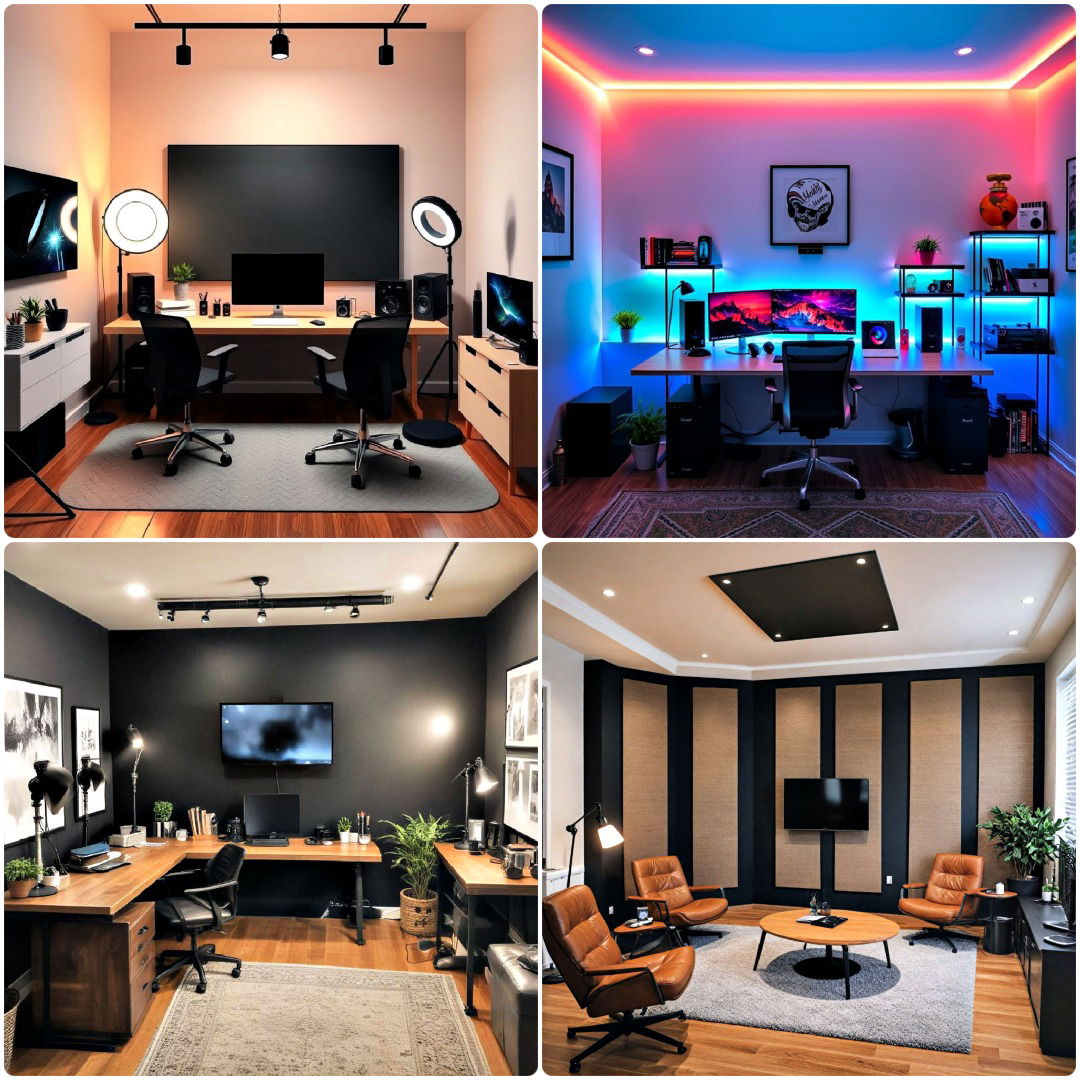
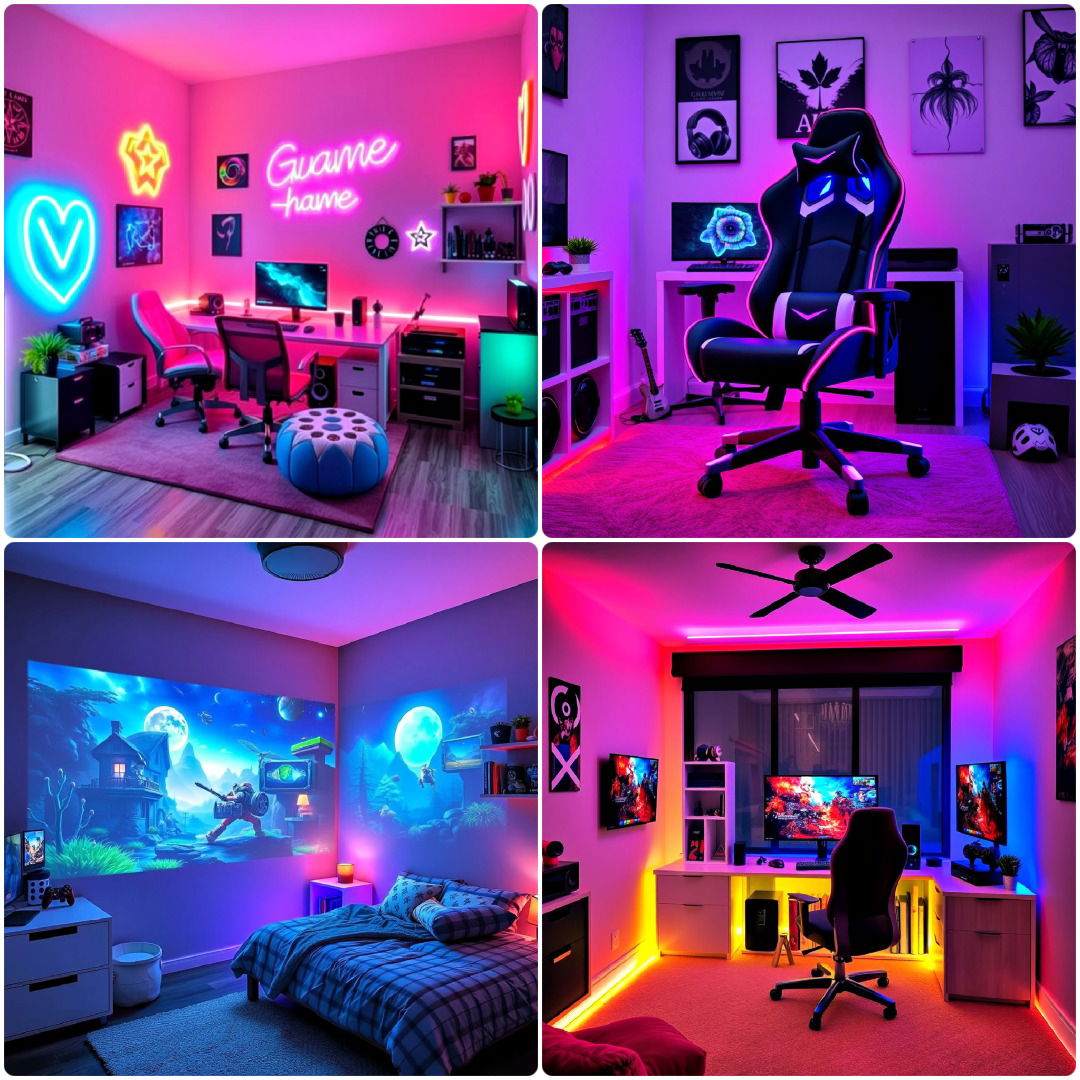
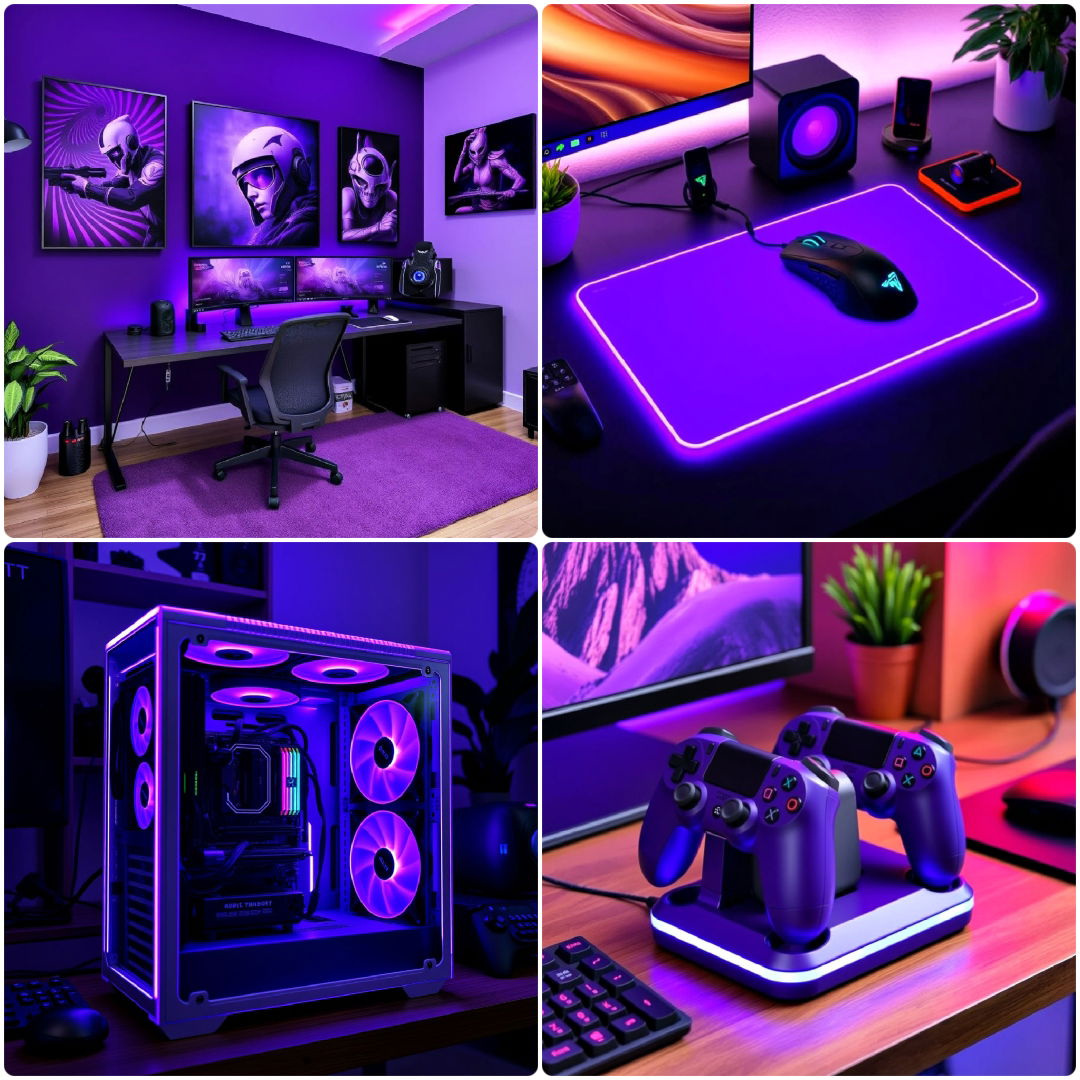
- 20 Purple Gaming Setup Ideas To Inspire You
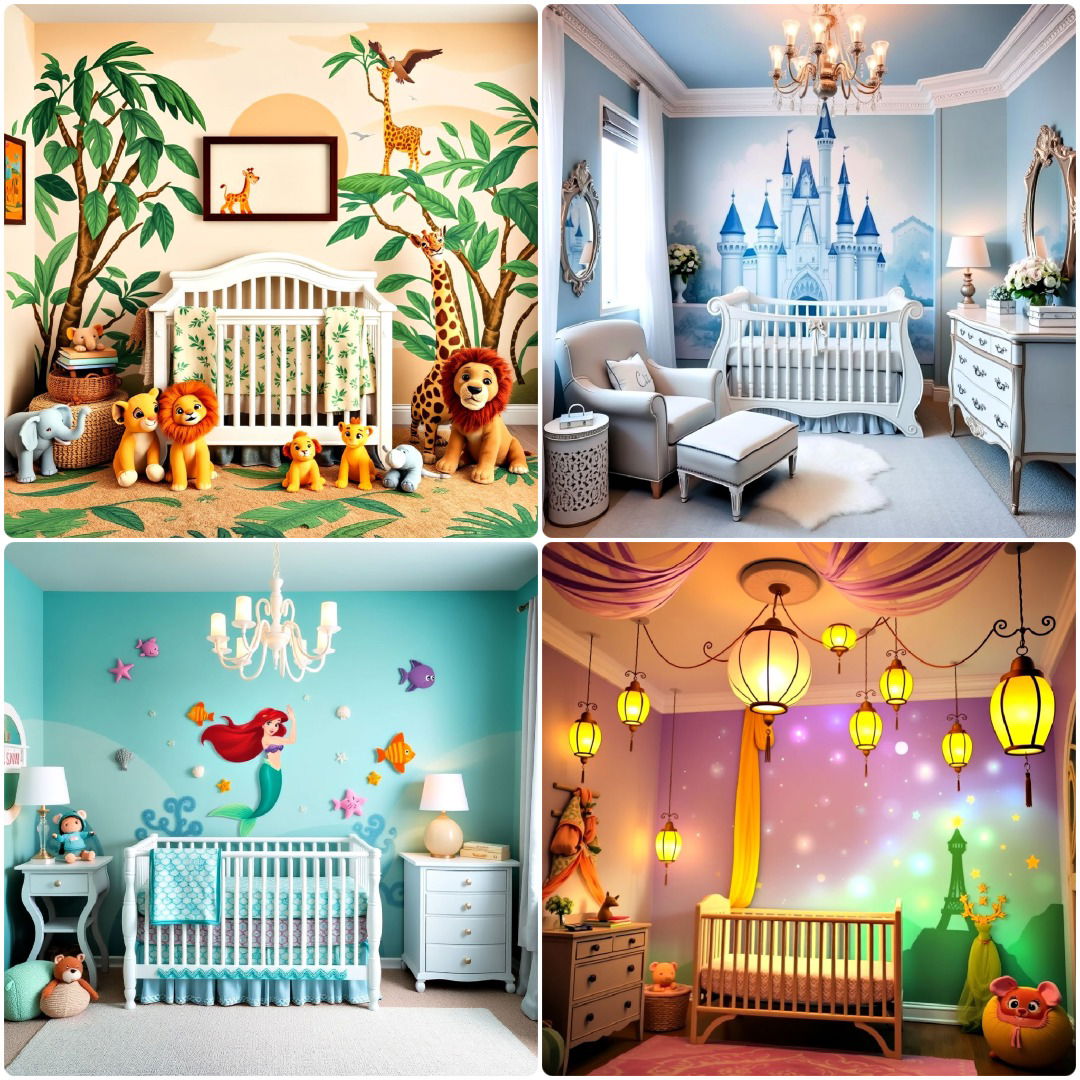
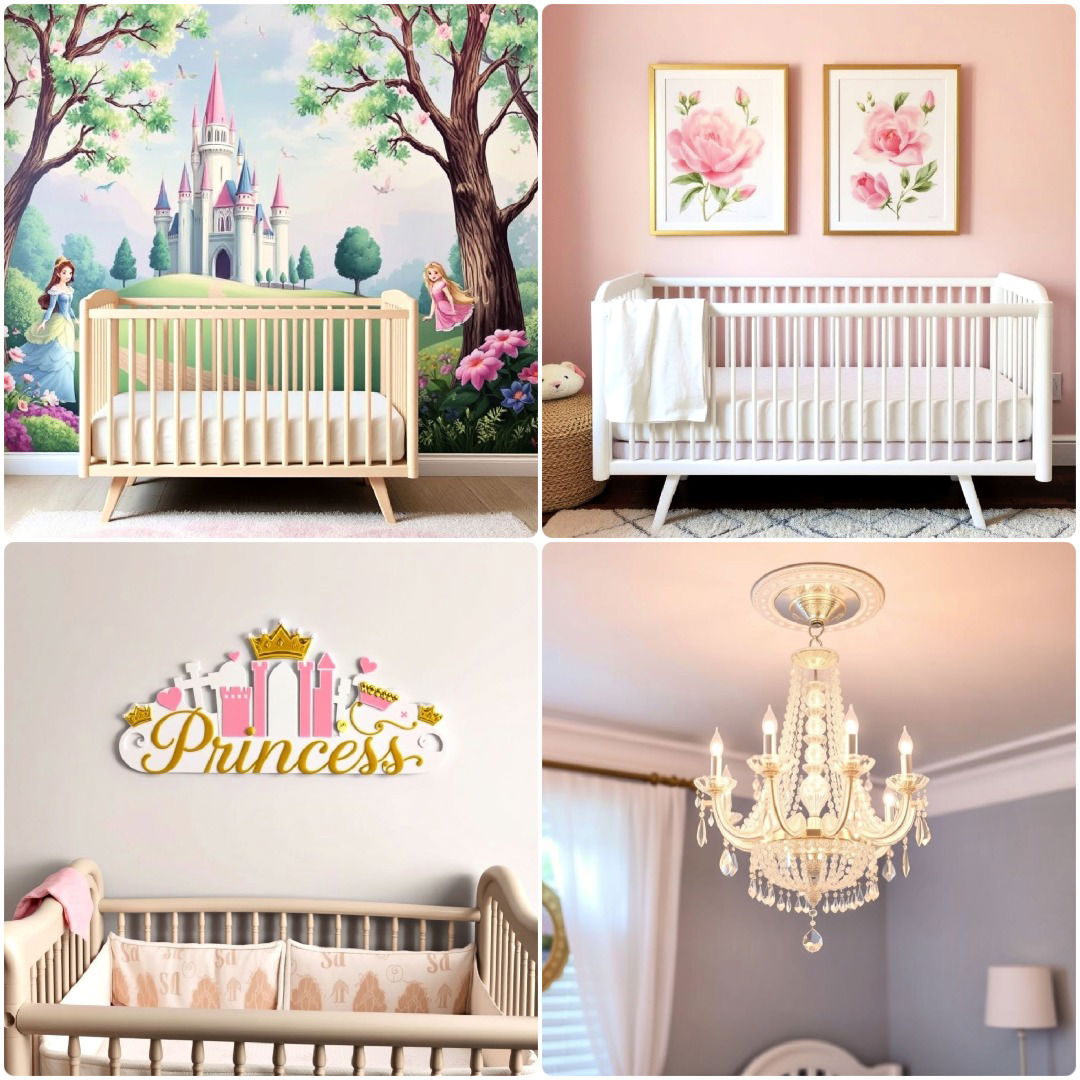
- 20 Princess Nursery Ideas Fit for A Queen-To-Be
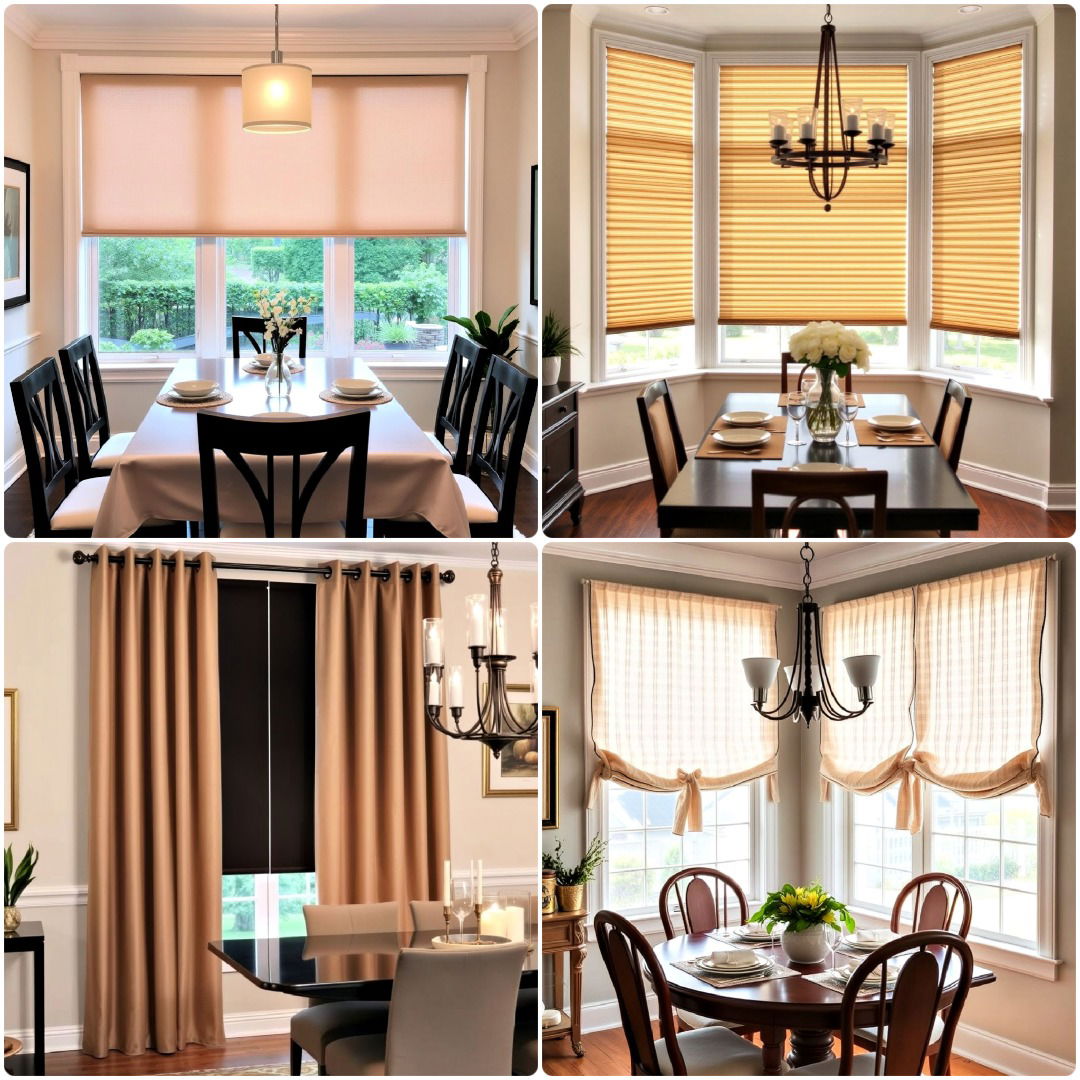
- 25 Dining Room Window Treatments for A Chic Look
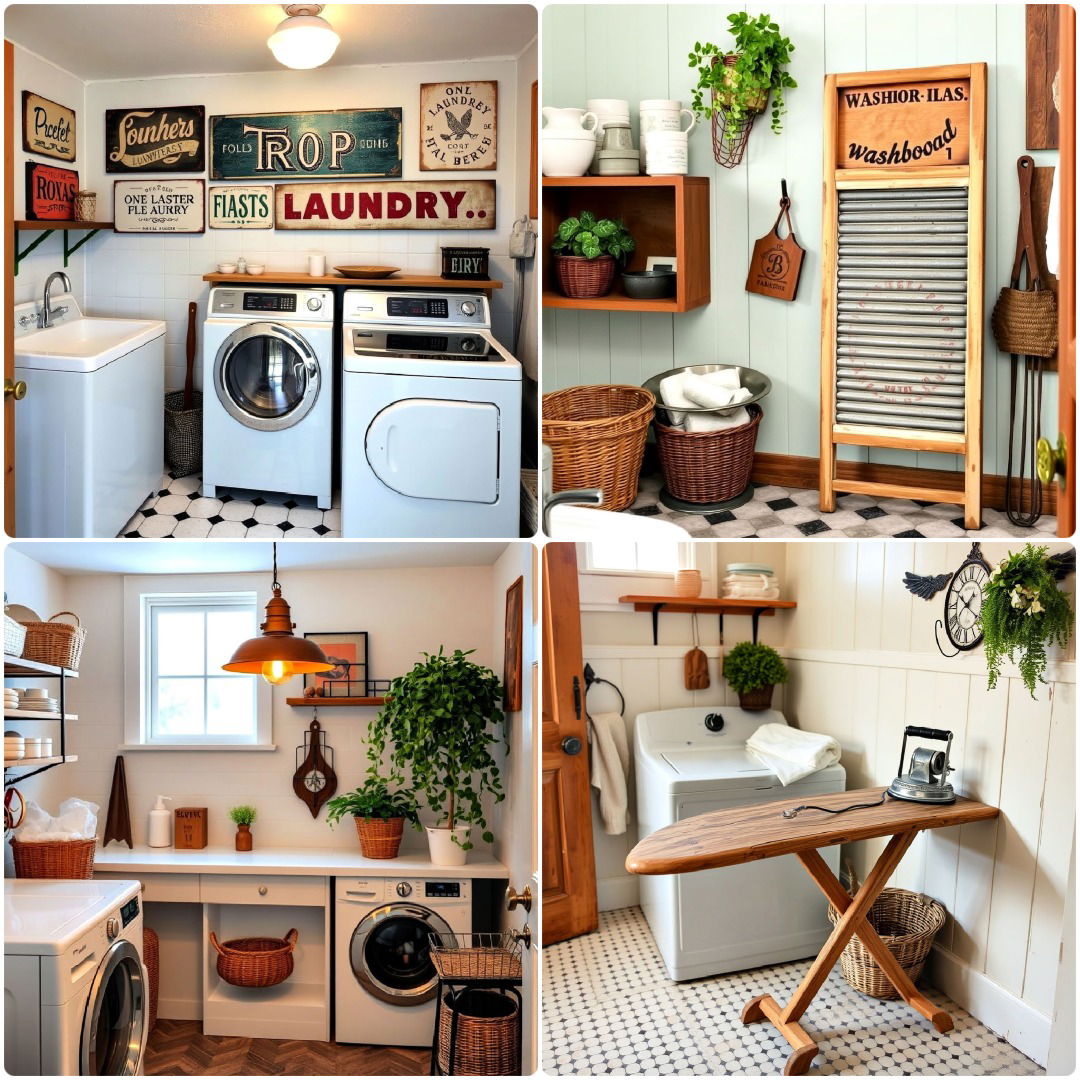
- 15 Vintage Laundry Room Ideas for A Retro Vibe
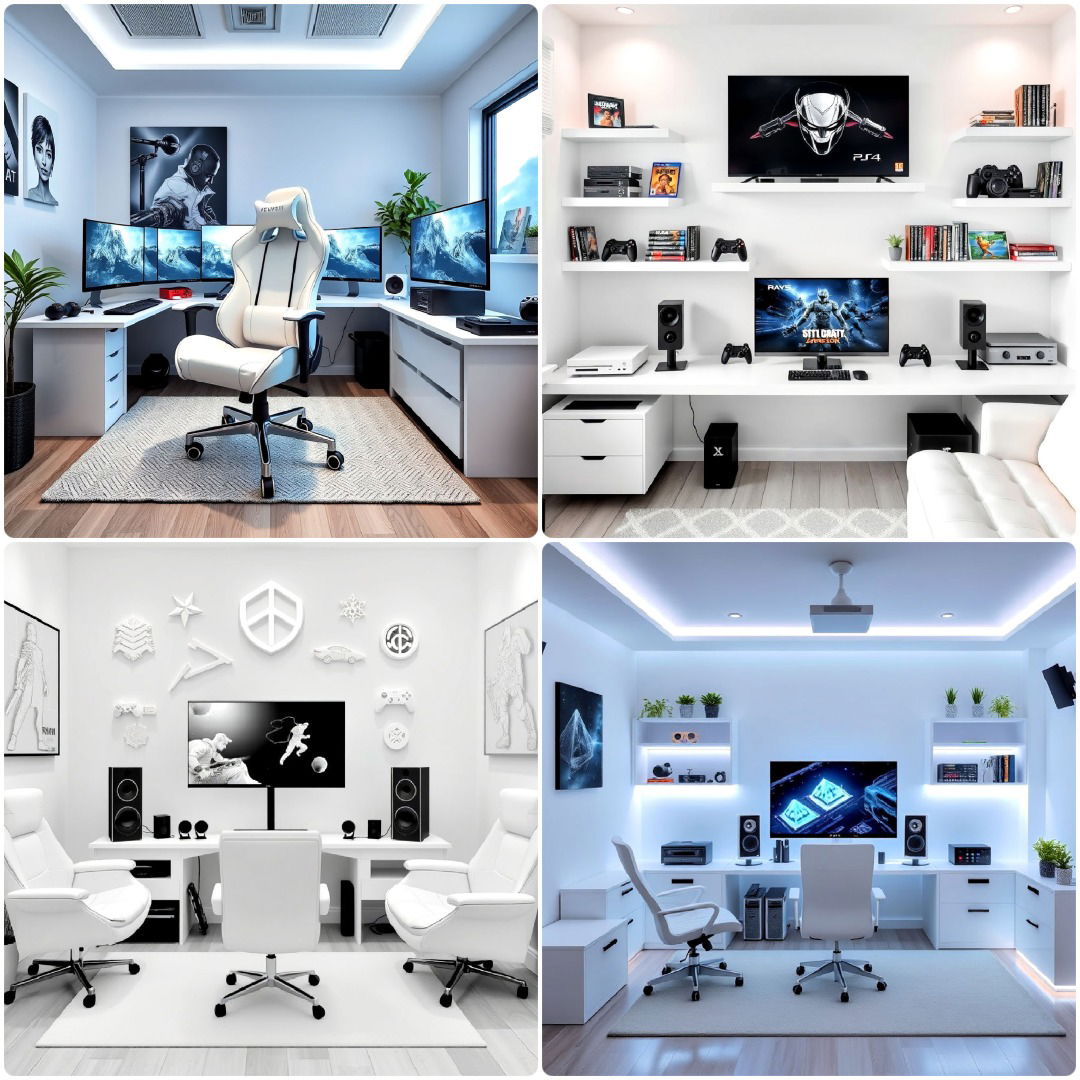
- 25 All White Gaming Setup Ideas You’ll Want To Recreate
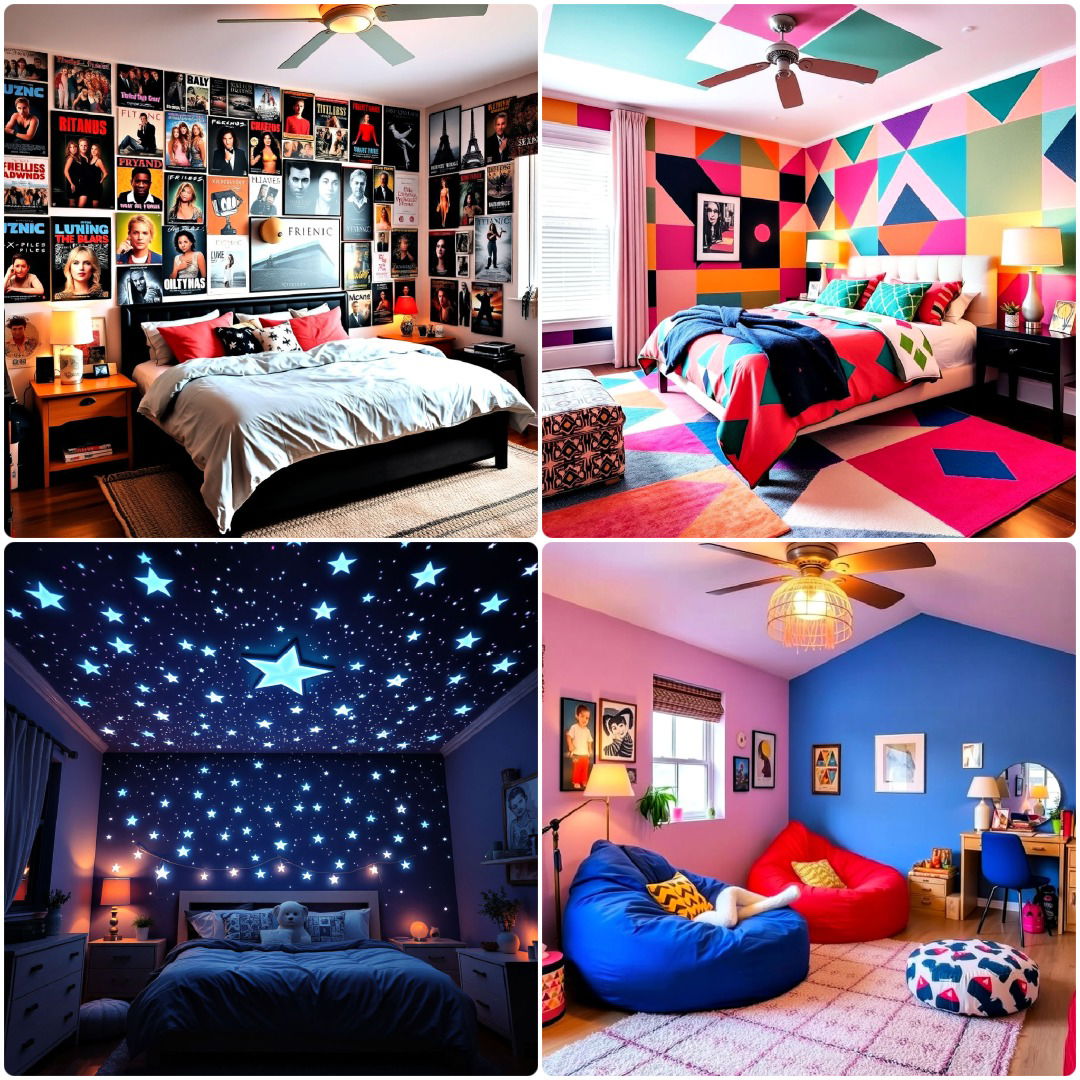
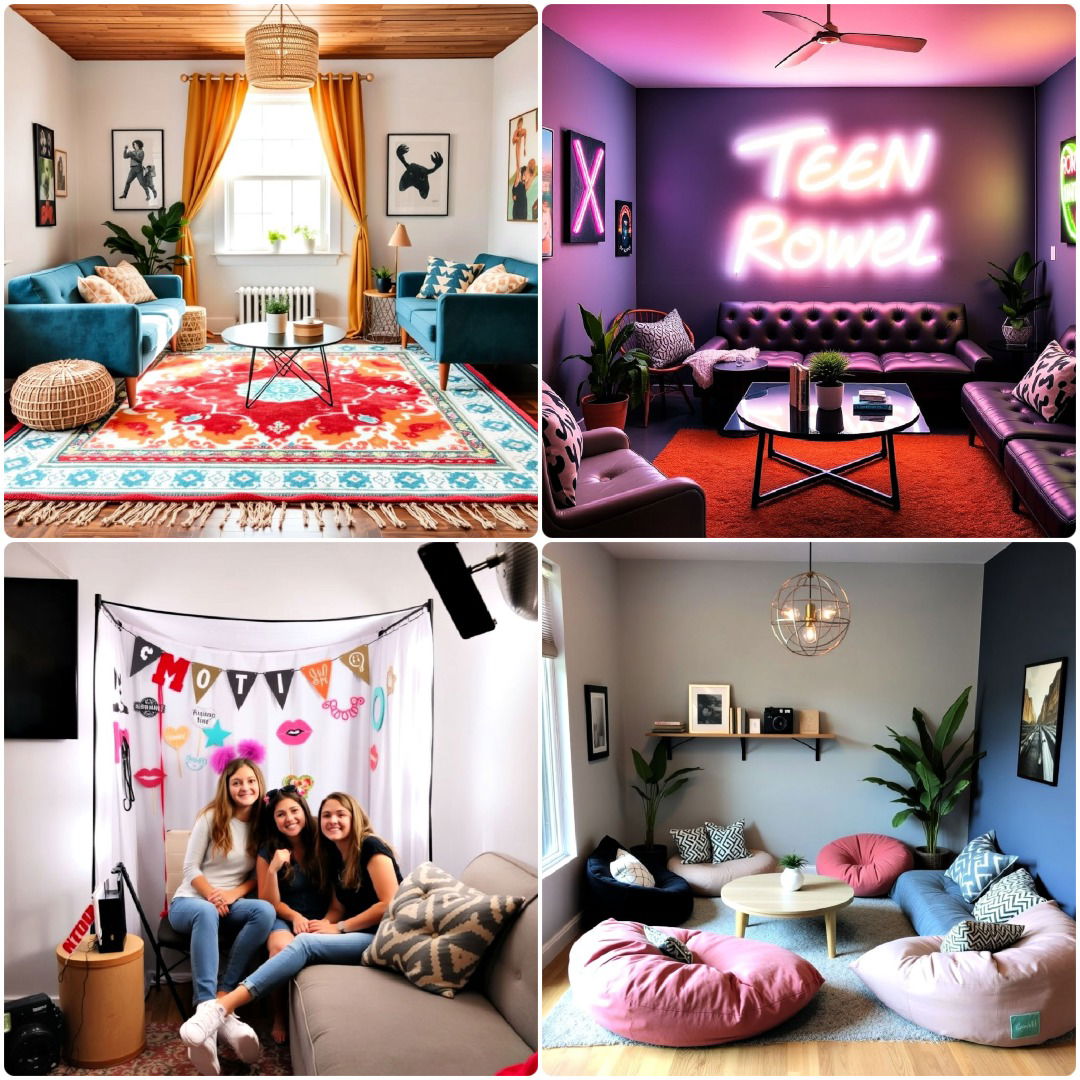
- 40 Teen Hangout Room Ideas That Will Impress Every Teen
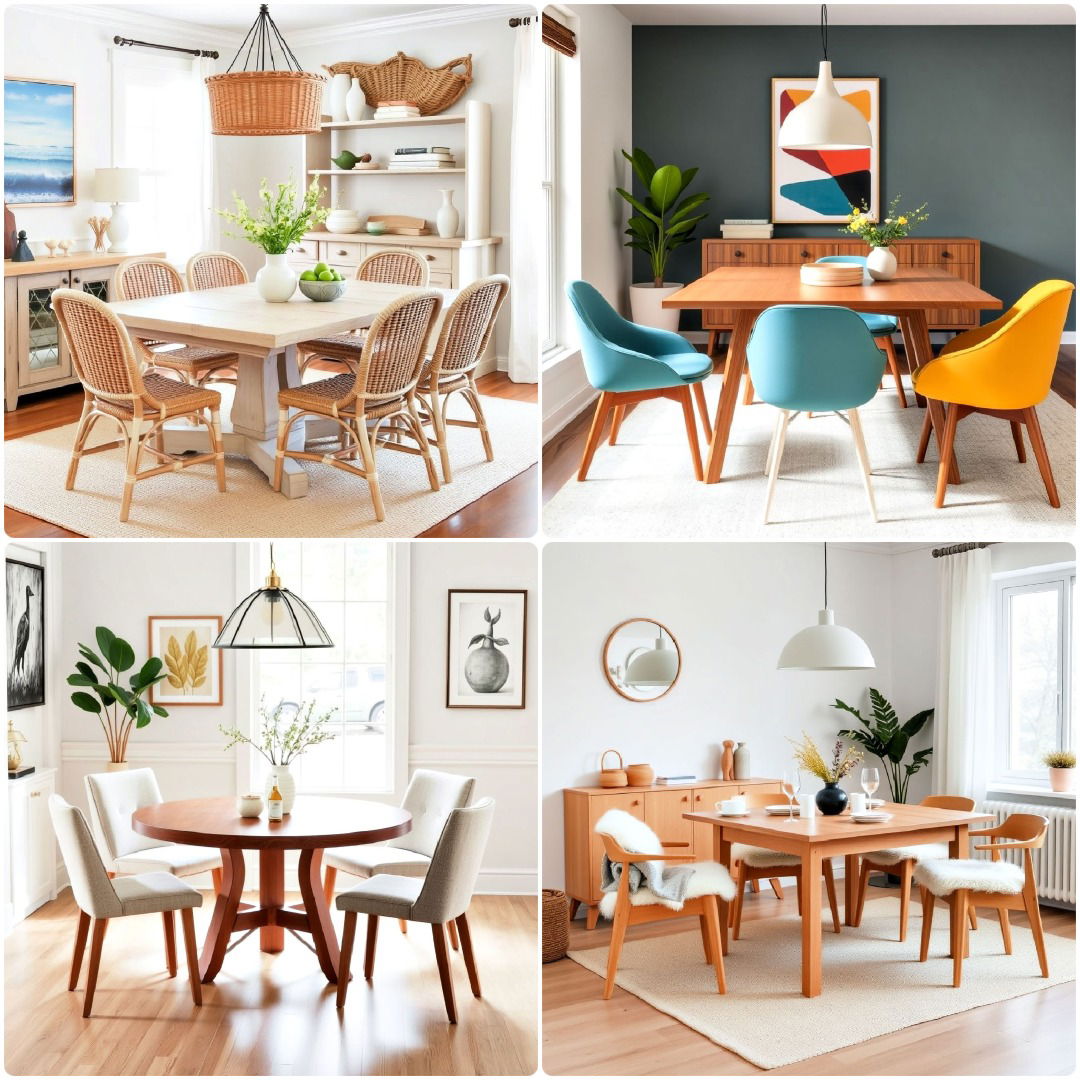
- 15 Casual Dining Room Ideas for A Relaxed Vibe
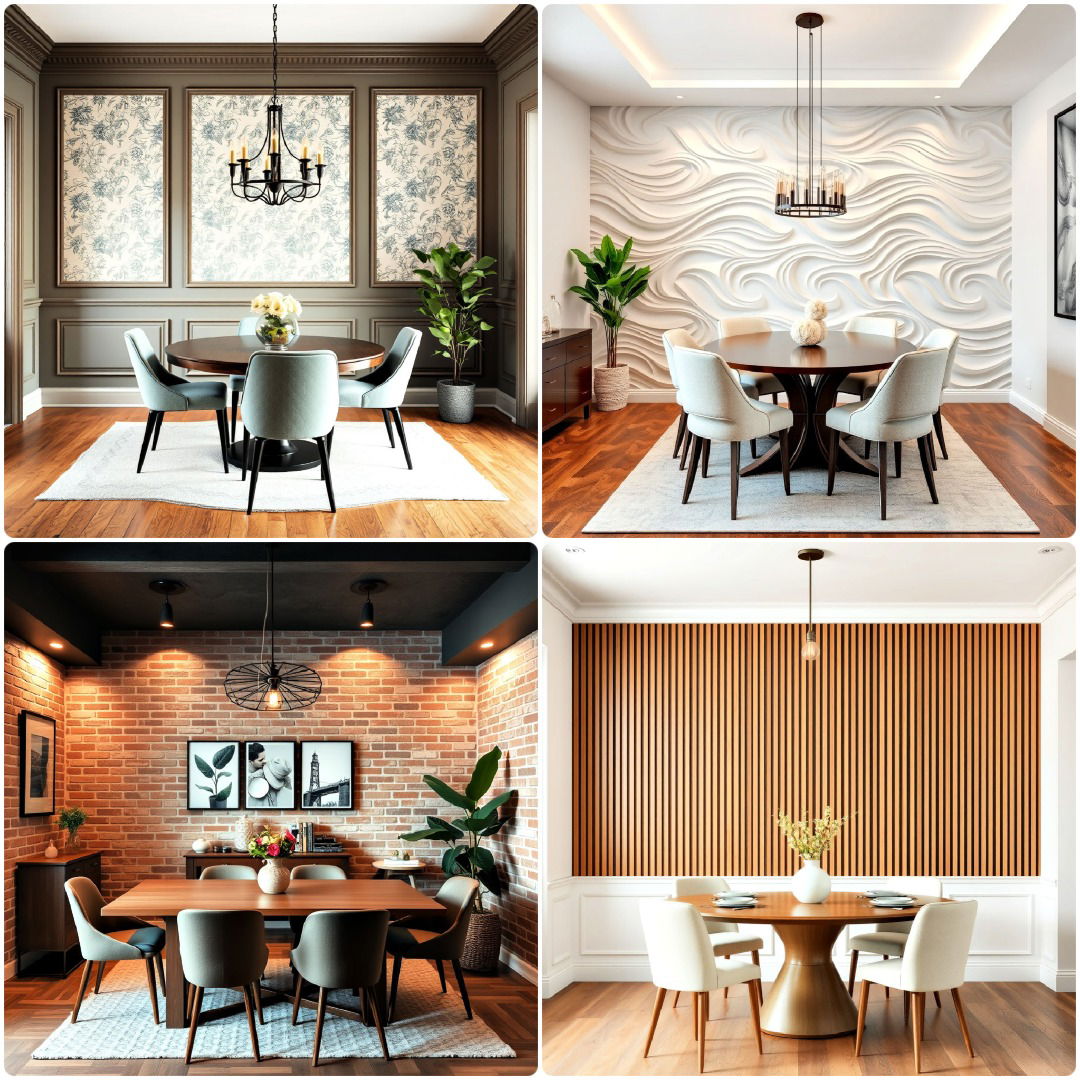
- 20 Dining Room Wall Paneling Ideas for A Stylish Update
DIY Projects
Discover beginner-friendly DIY Projects with step-by-step guides, expert tips, and creative ideas to transform your home and crafts easily.
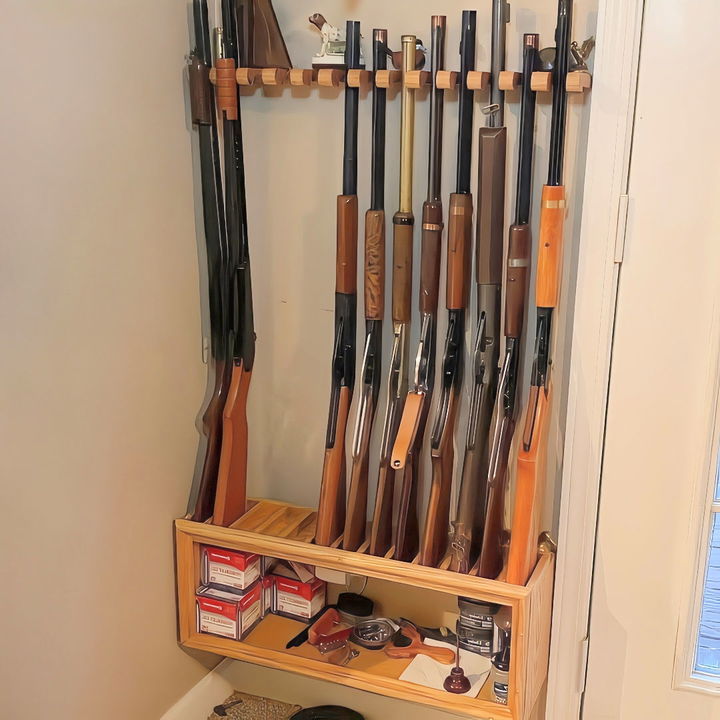
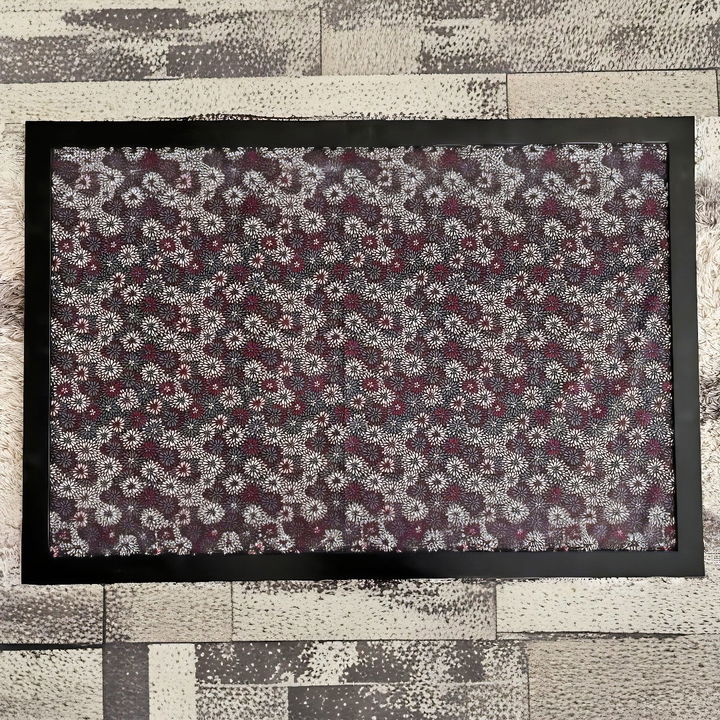
- DIY Gun Rack - Step by Step Guide
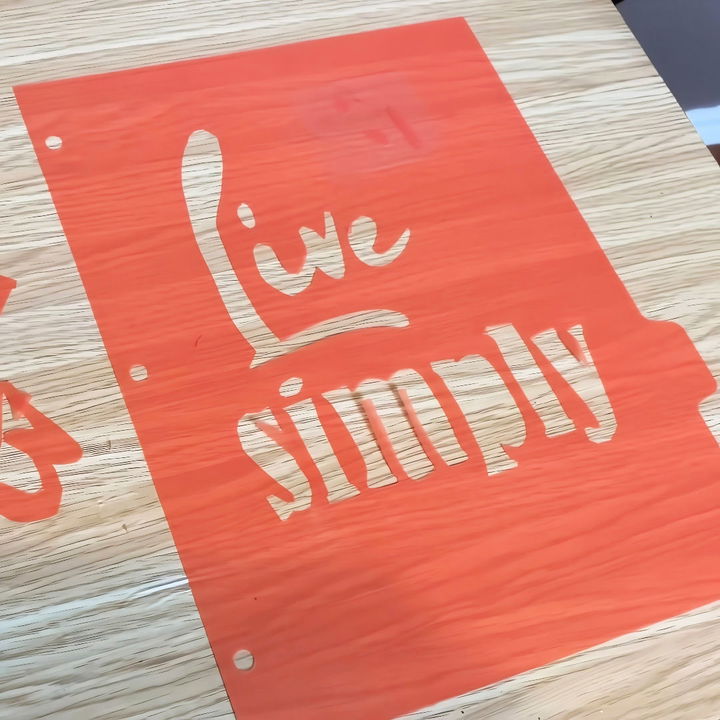
- How to Make a Stencil (For All Skill Levels)
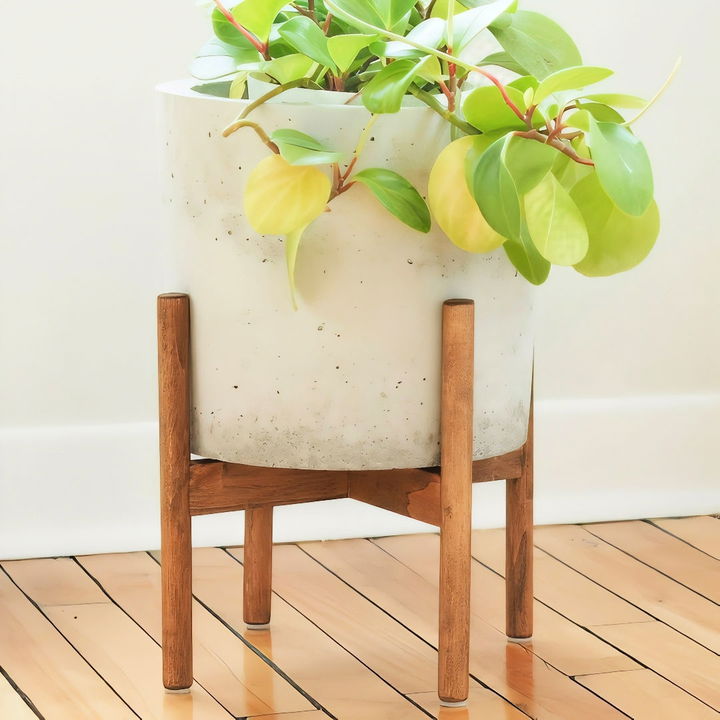
- DIY Plant Stand for Stylish Plant Displays
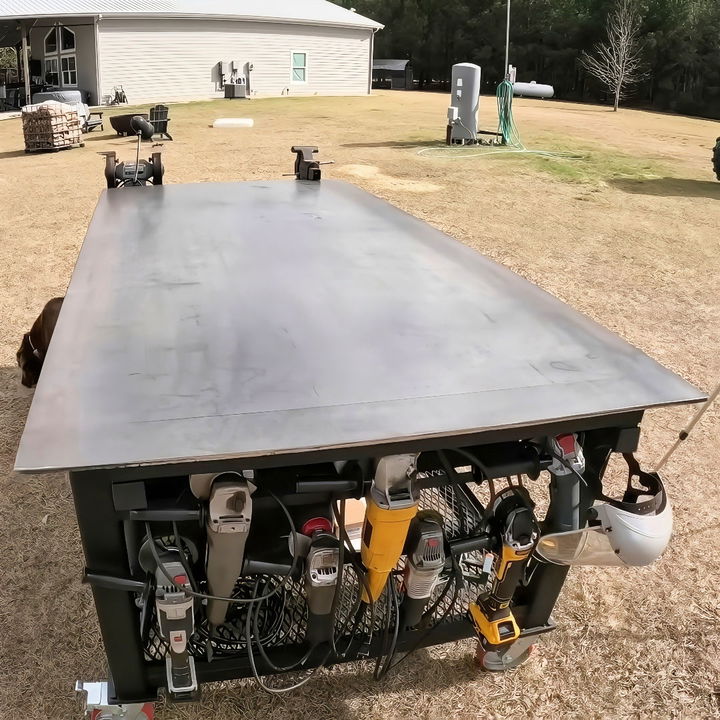
- DIY Welding Table: Easy Steps for Beginners
- Making a DIY Magnetic Board
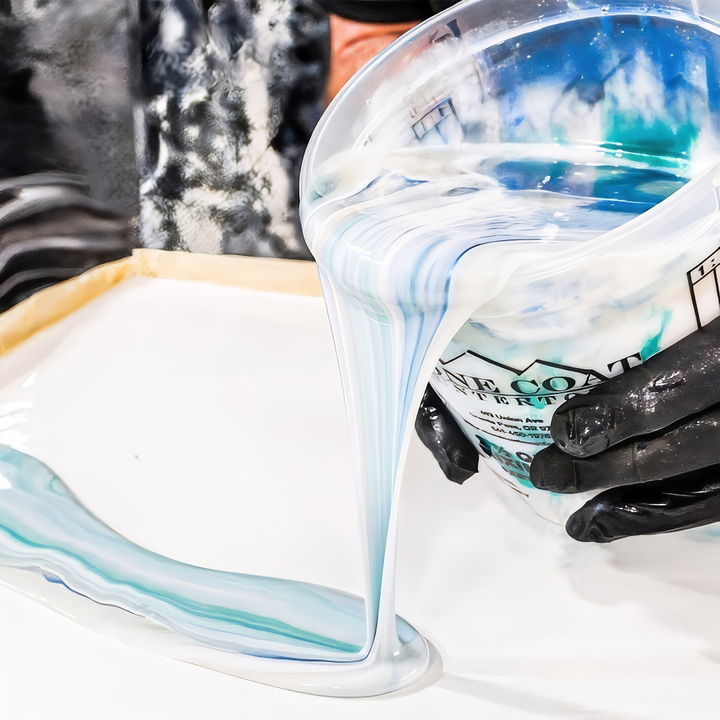
- How To DIY Epoxy Countertops
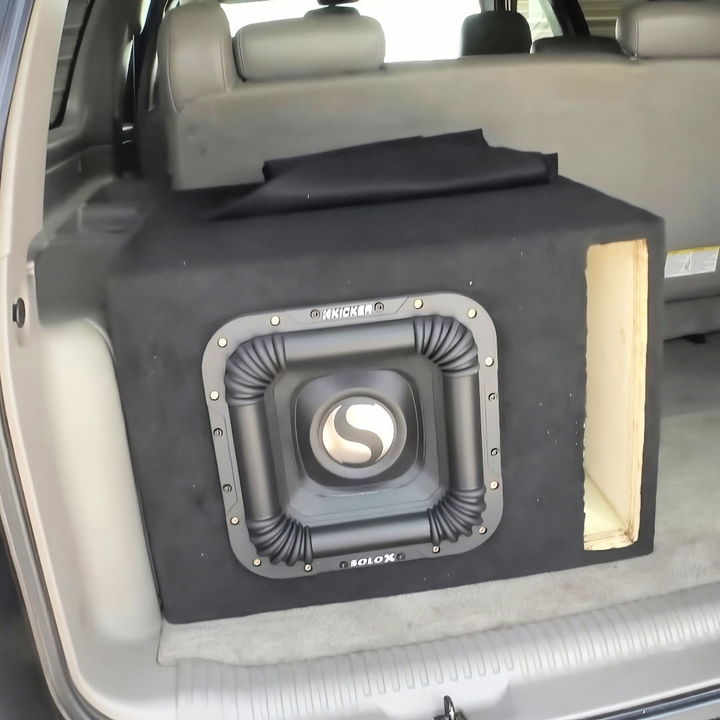
- How to Build a Subwoofer Box for Perfect Sound
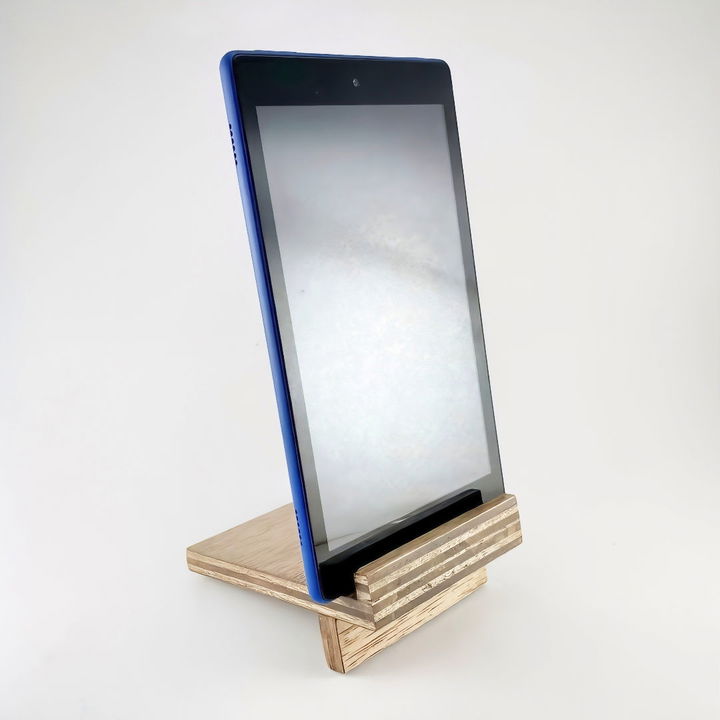
- DIY Tablet Stand: 3 Different Ways
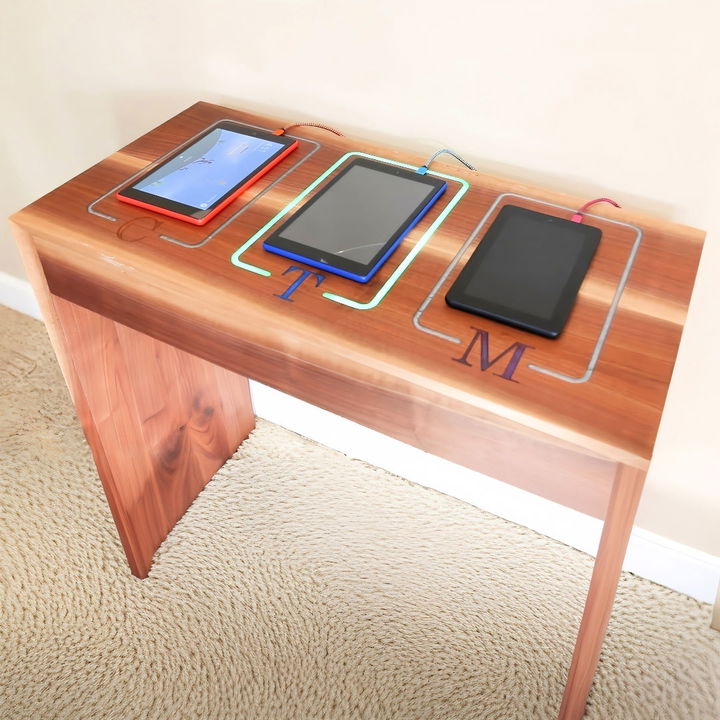
- DIY Charging Station To Power Up Your Devices for Less
- DIY Fog Machine To Level Up Your Parties

Recently Updated: Home Design Ideas and Projects
Discover the latest home design ideas and improvement projects. Get inspired with recently updated ideas for enhancing your living space.
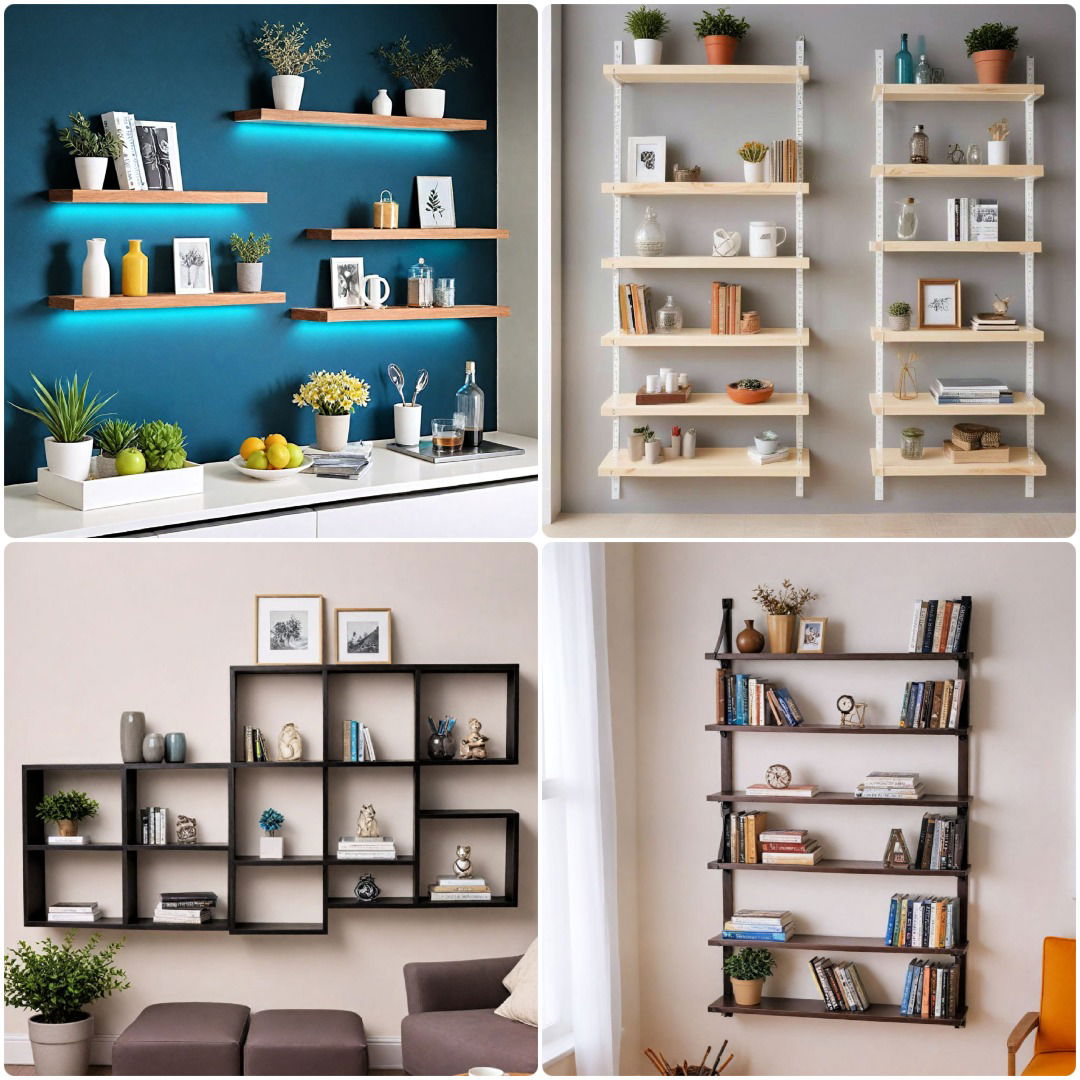
- 15 Wall Shelf Ideas for Every Room
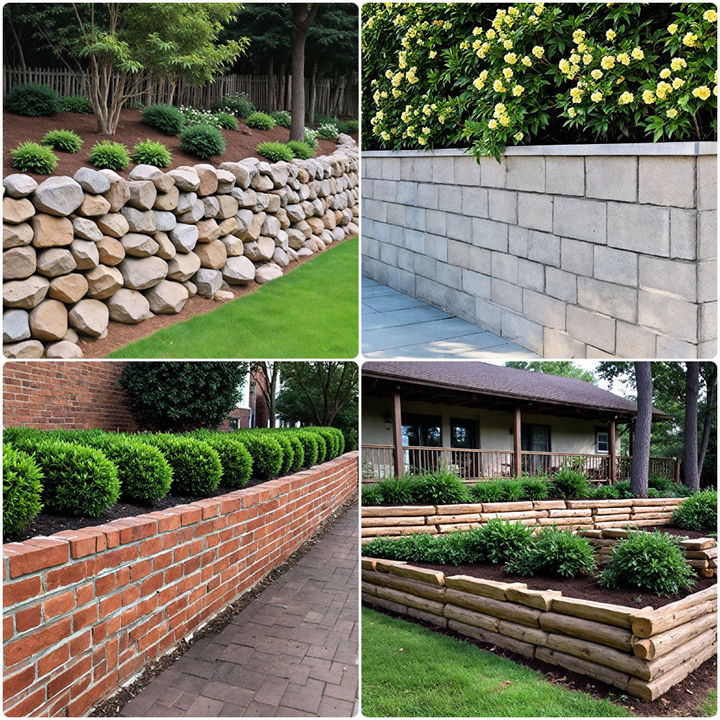
- 15 Inexpensive Retaining Wall Ideas You Need To Know
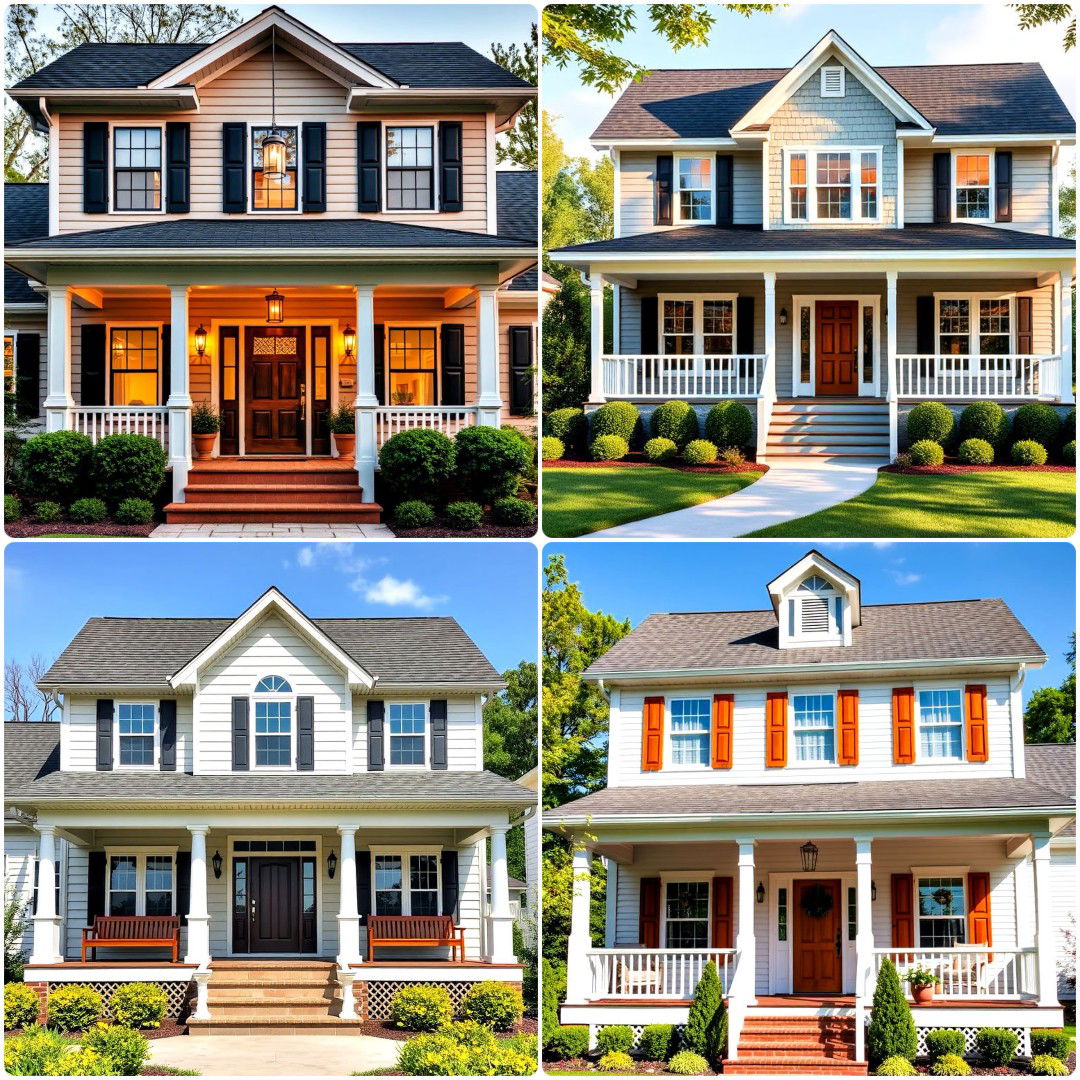
- 30 Spanish Style House Exterior Ideas for Every Budget
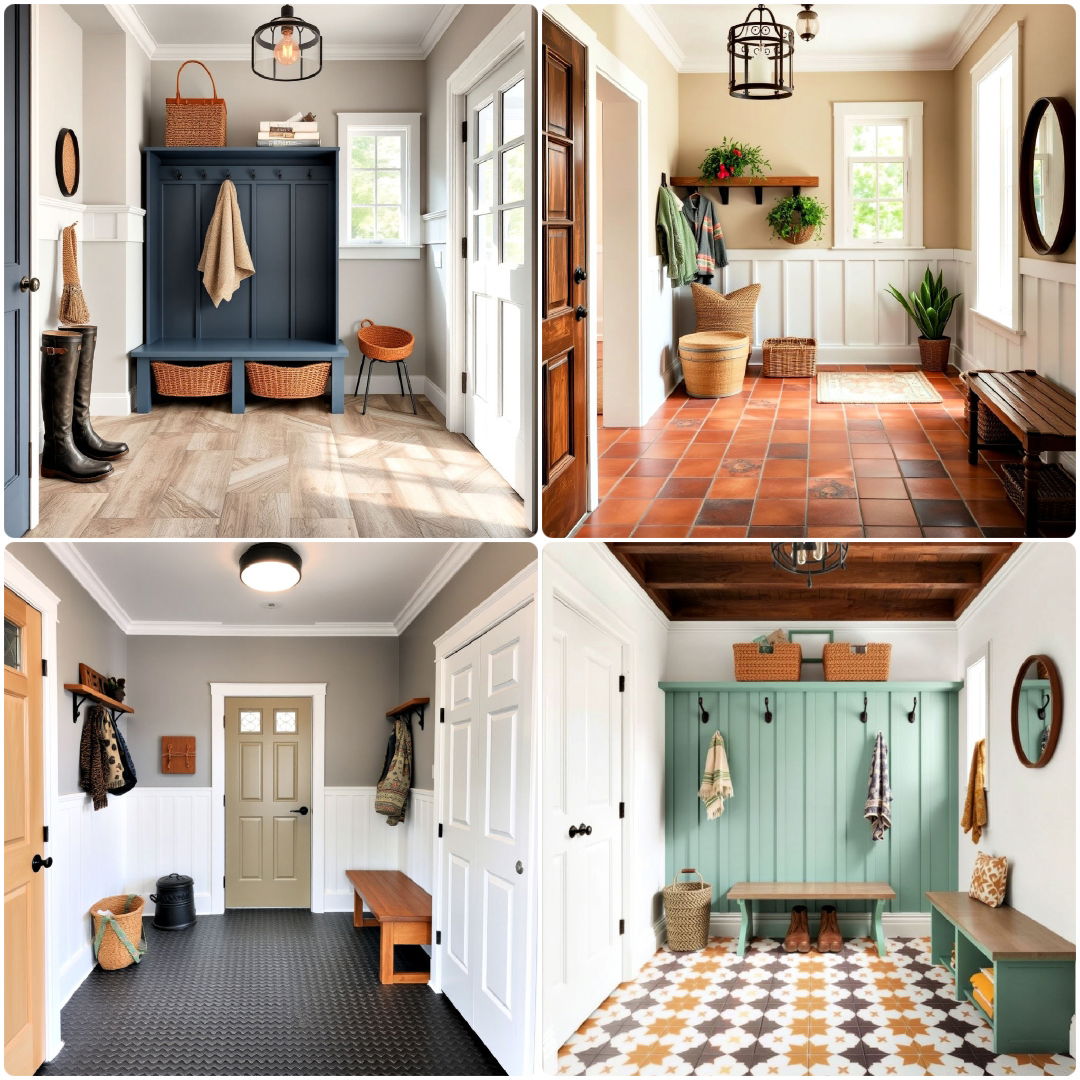
- 15 Mudroom Floor Ideas To Upgrade Your Entryway
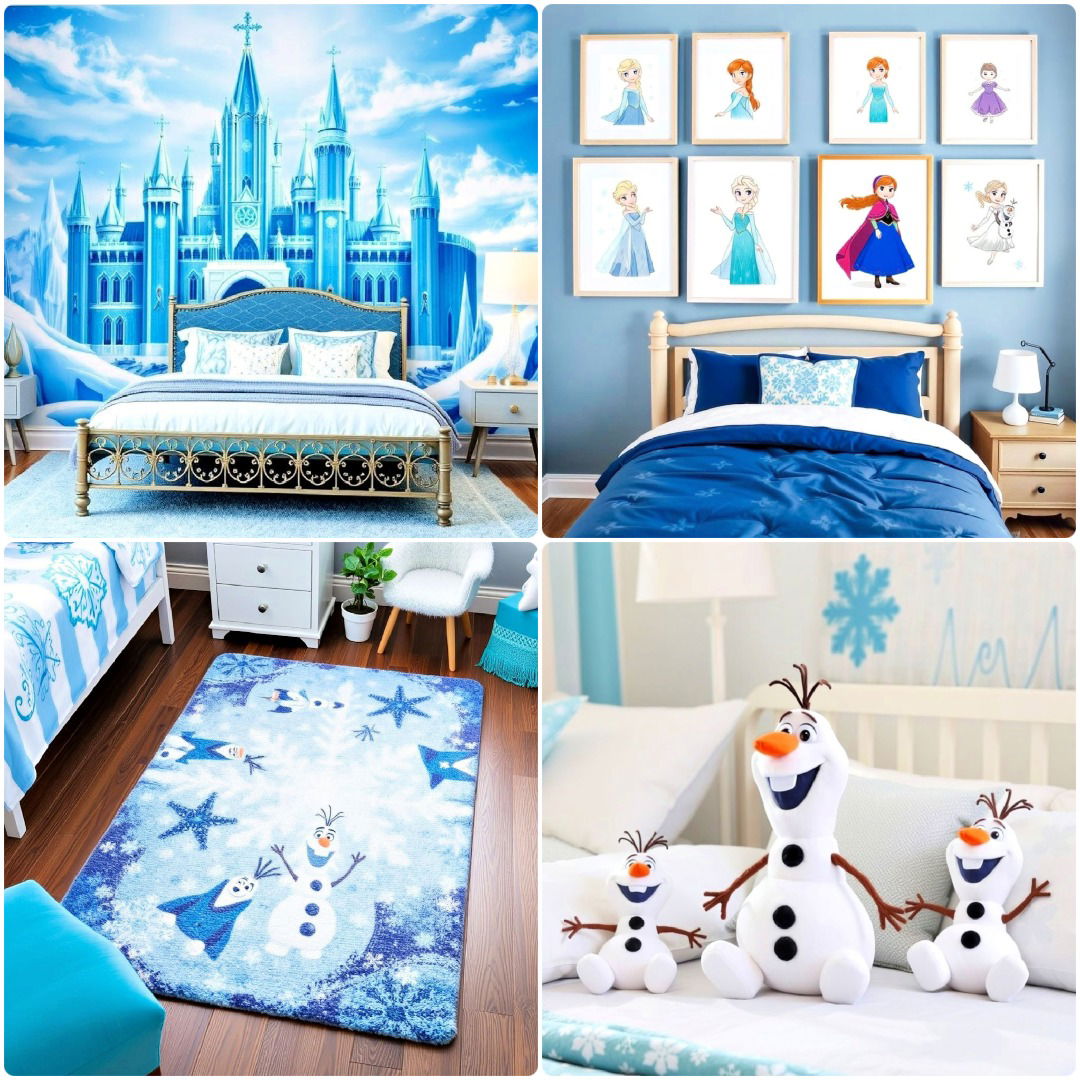
- 15 Frozen Room Decor Ideas for A Chilled-Out Space
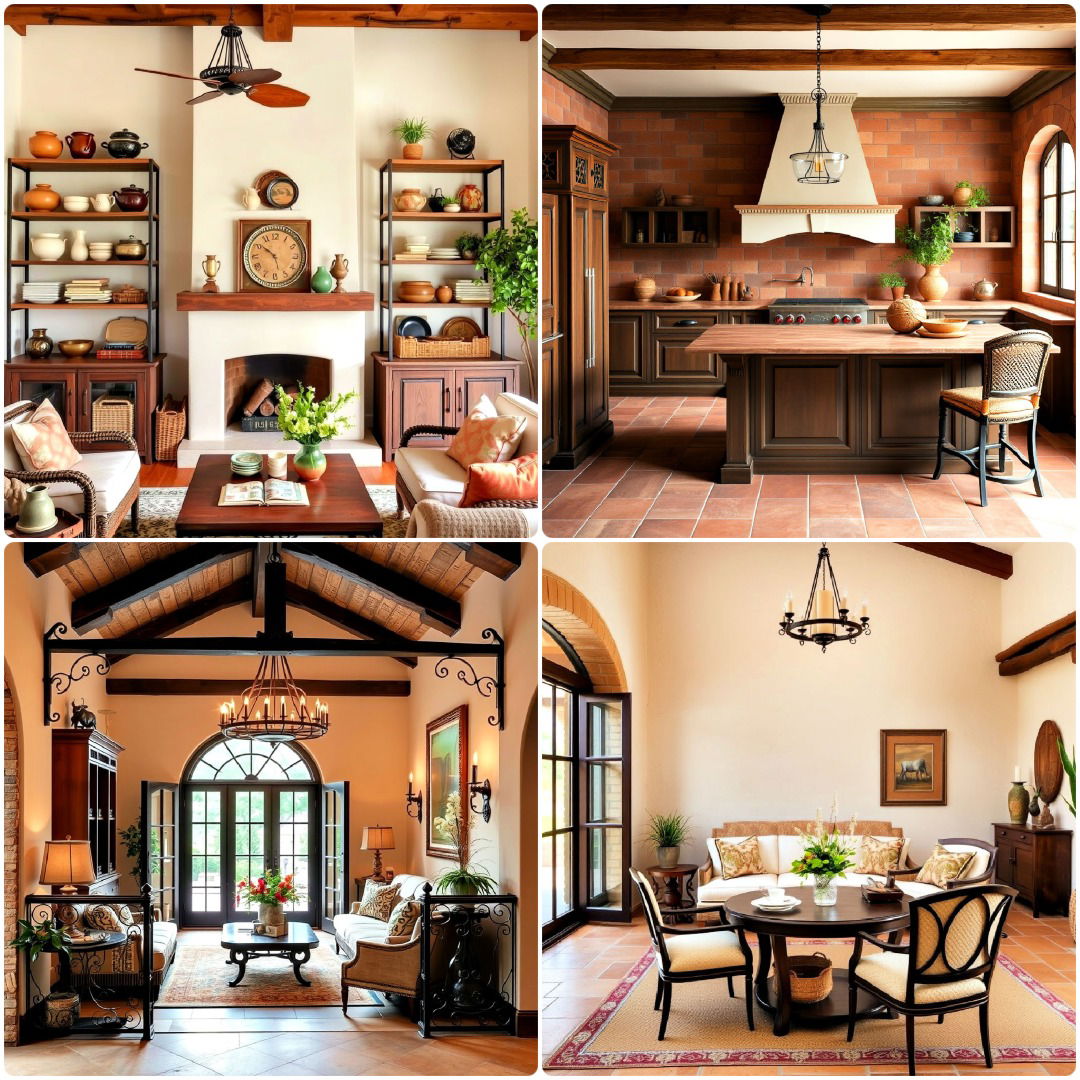
- 25 Tuscan Interior Design Ideas To Elevate Your Decor
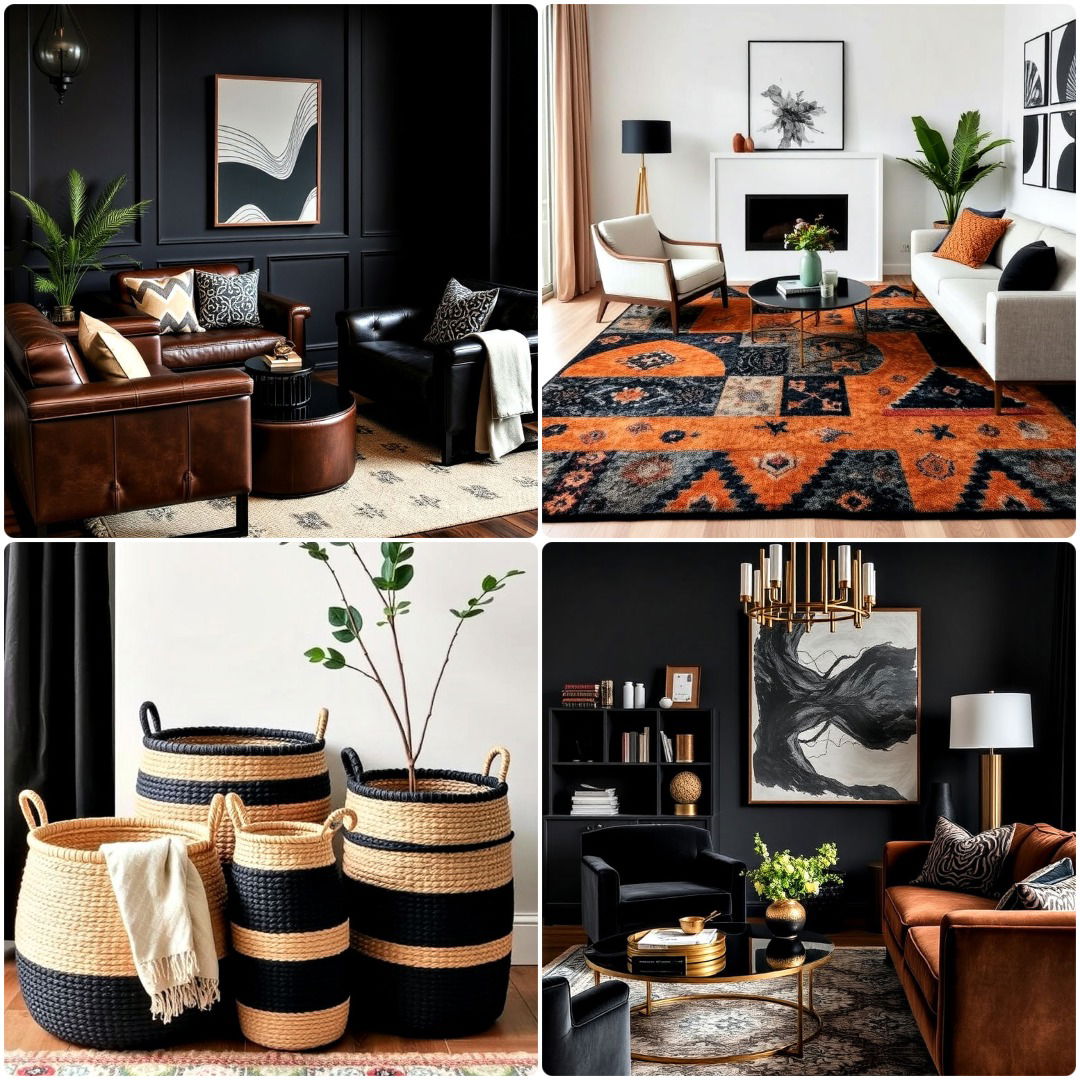
- 20 Black and Brown Interior Design Ideas To Copy
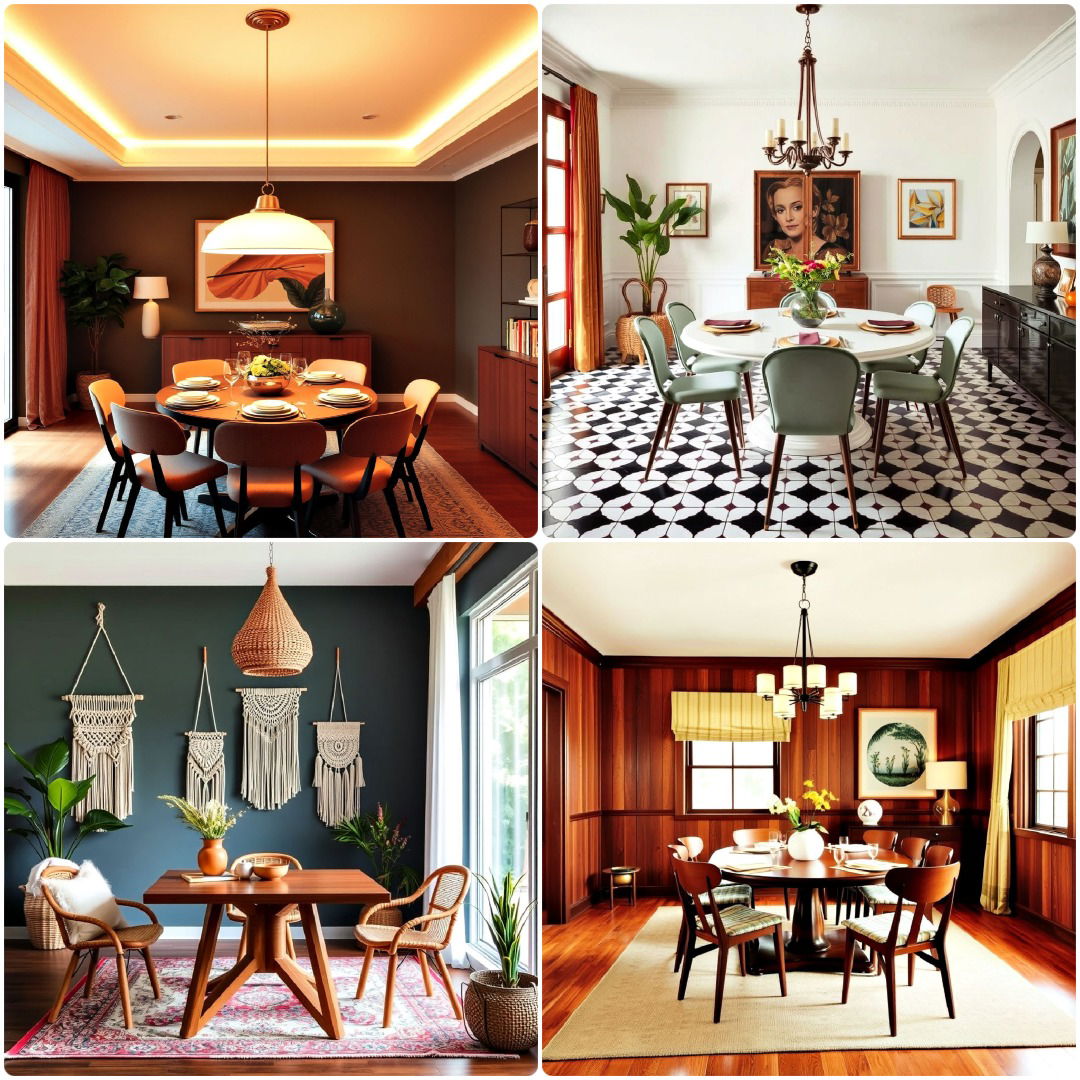
- 20 Groovy 70s Dining Room Design Ideas for A Vintage Touch
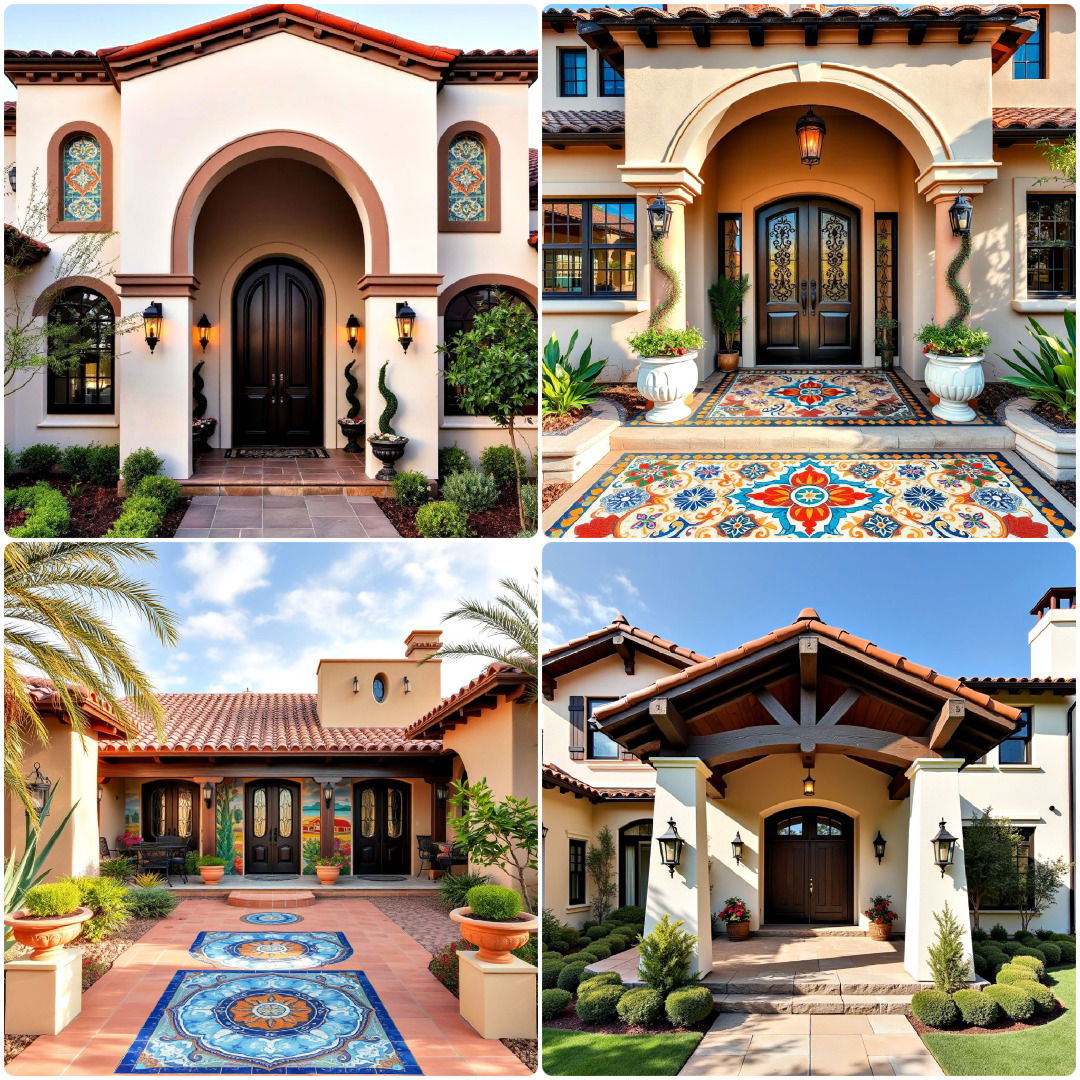
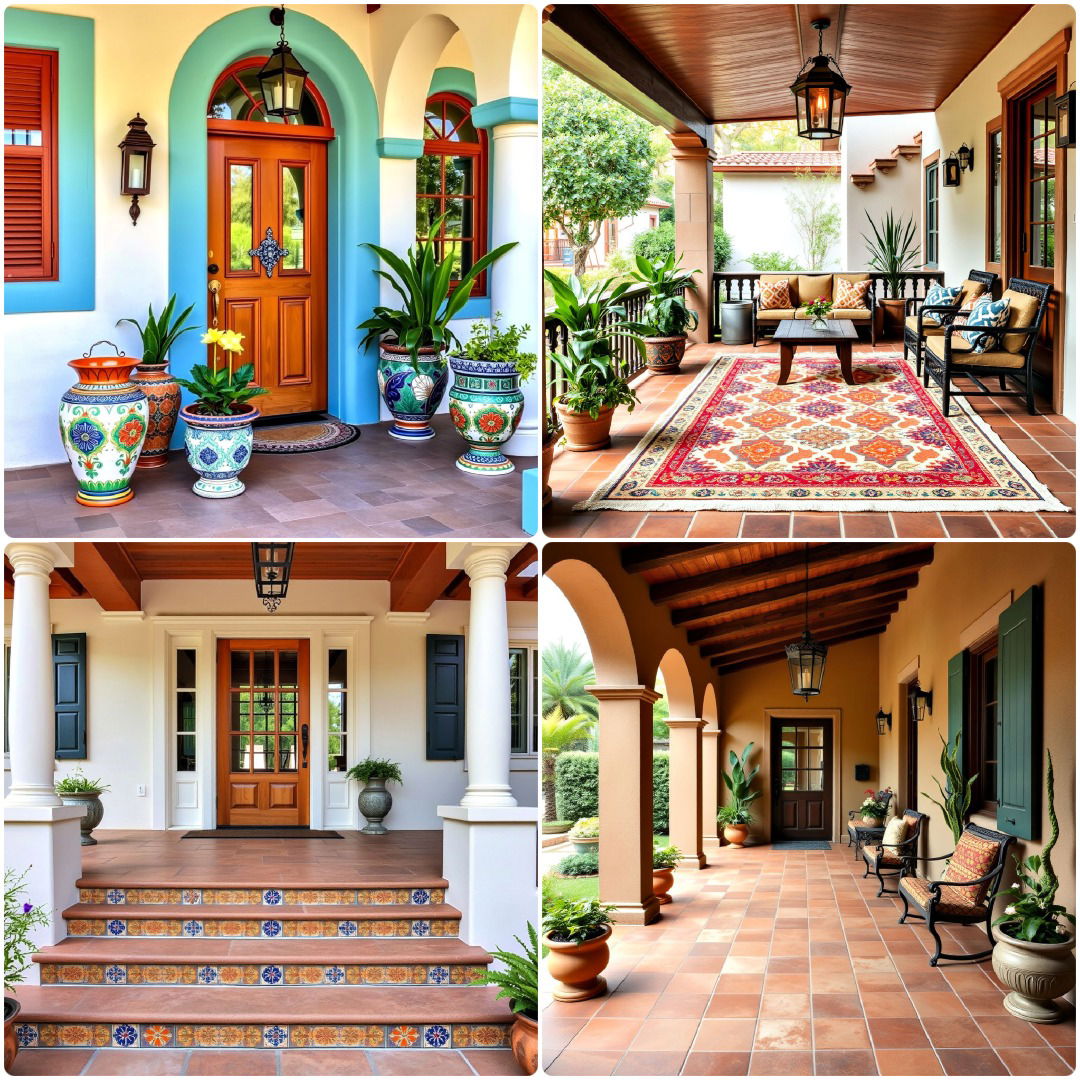
- 25 Spanish Style Front Porch Ideas To Boost Curb Appeal
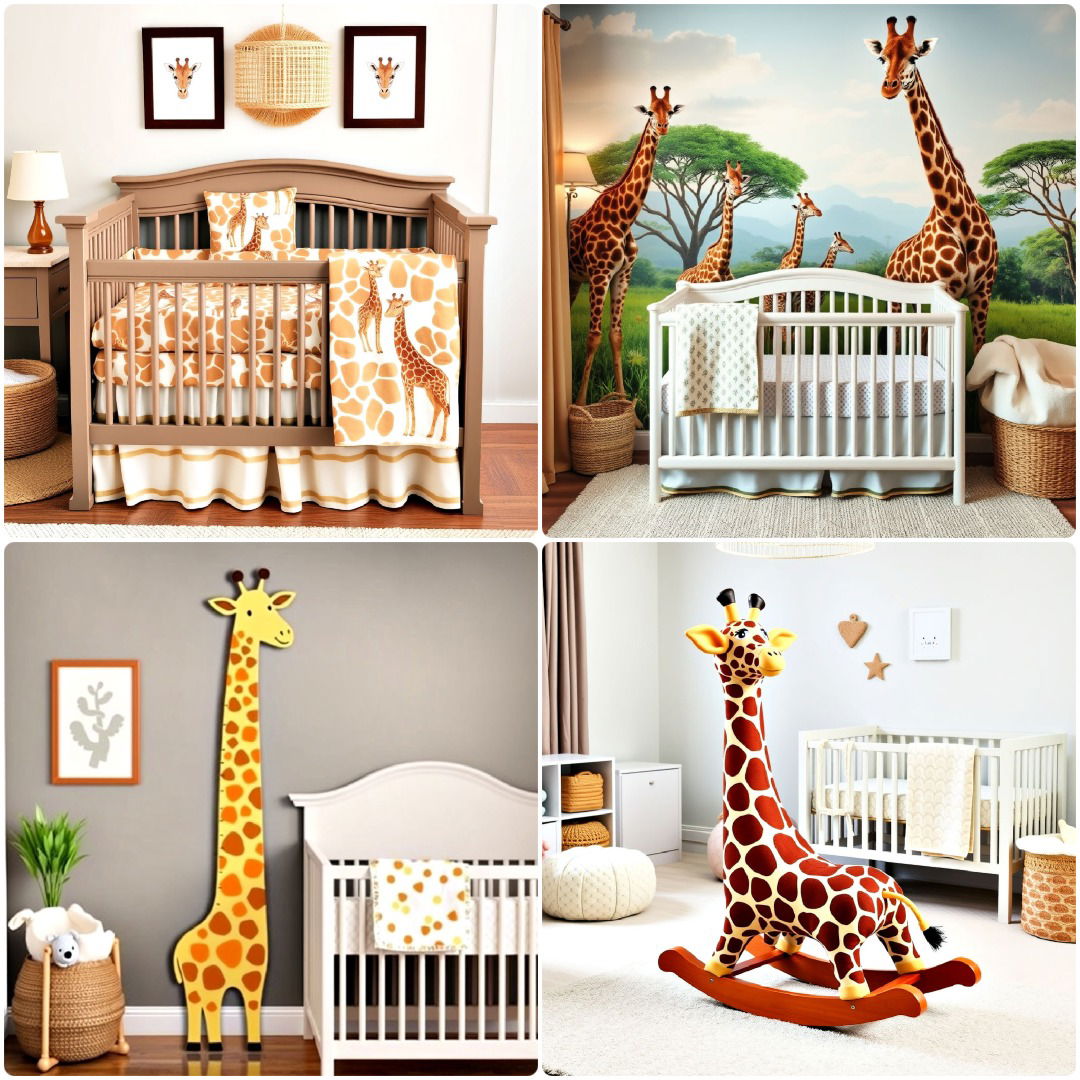
- 15 Giraffe Nursery Ideas for A Perfect Baby Room
- 25 Disney Nursery Ideas for A Fairytale-Inspired Room
- 20 Content Creator Room Ideas for The Perfect Setup
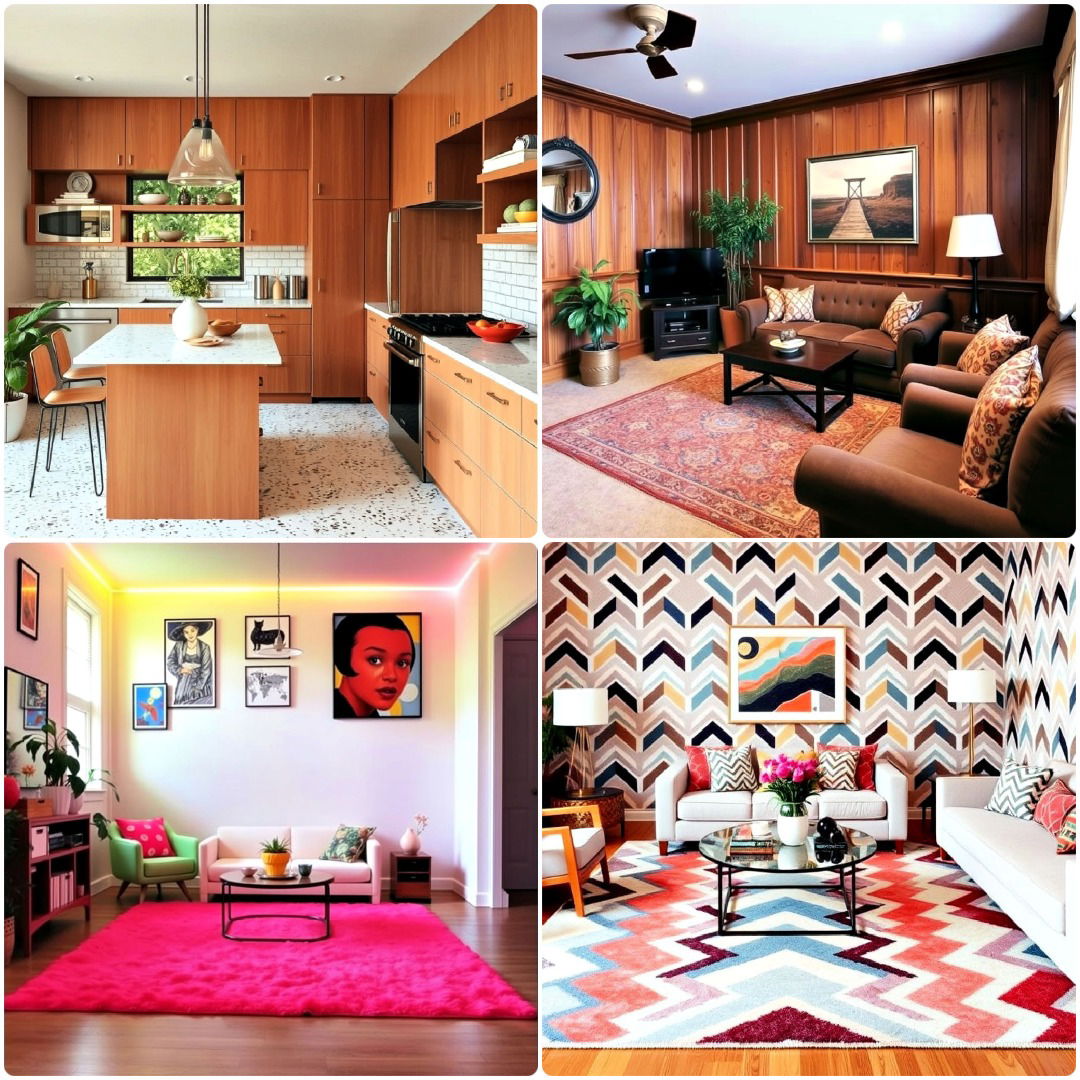
- 25 Best 1990s Interior Design Ideas To Recreate the Era
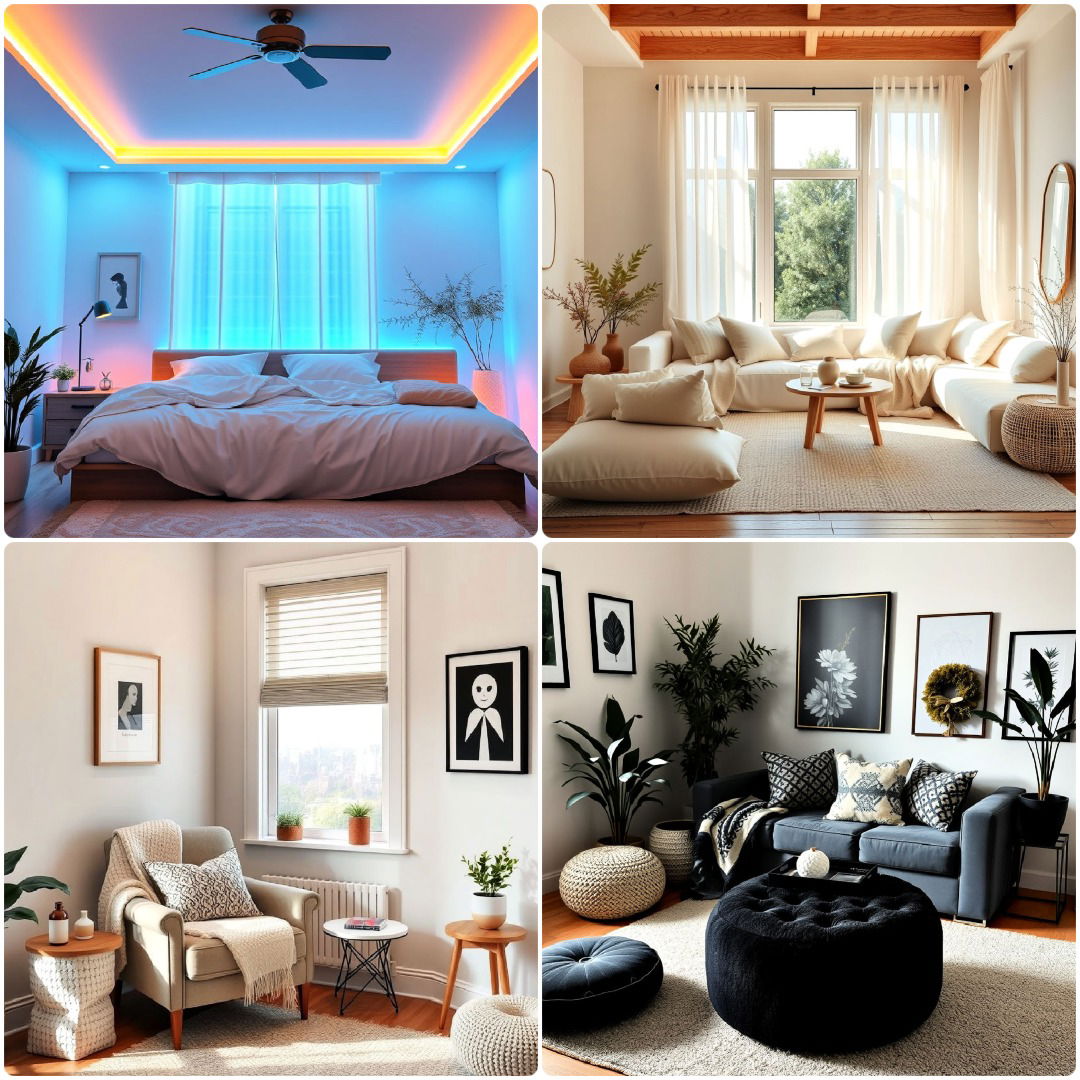
- 25 Chill Aesthetic Room Ideas for A Relaxing Vibe
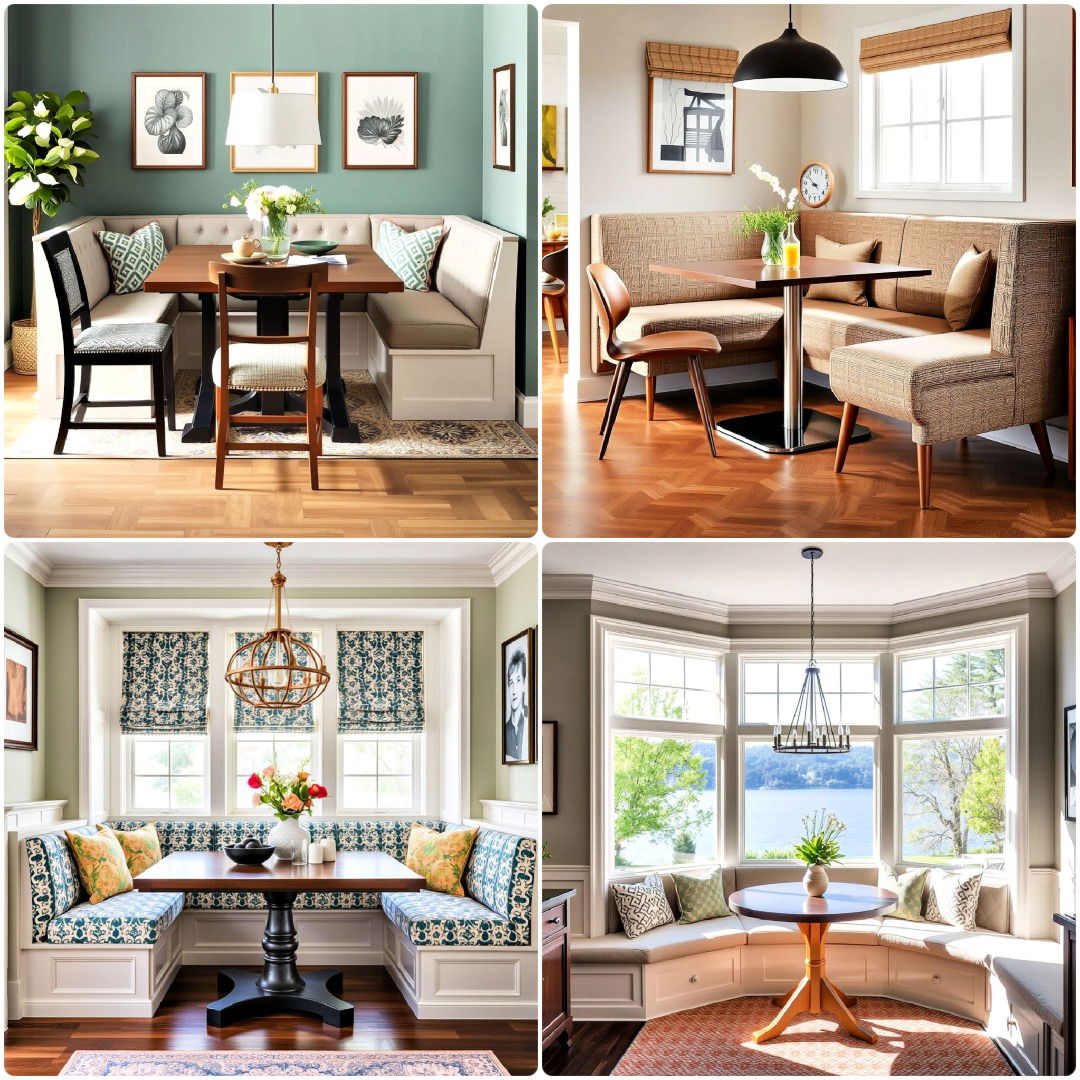
- 40 Banquette Seating Ideas To Upgrade Your Dining Area
- 25 Gamer Girl Room Ideas To Level Up Your Space
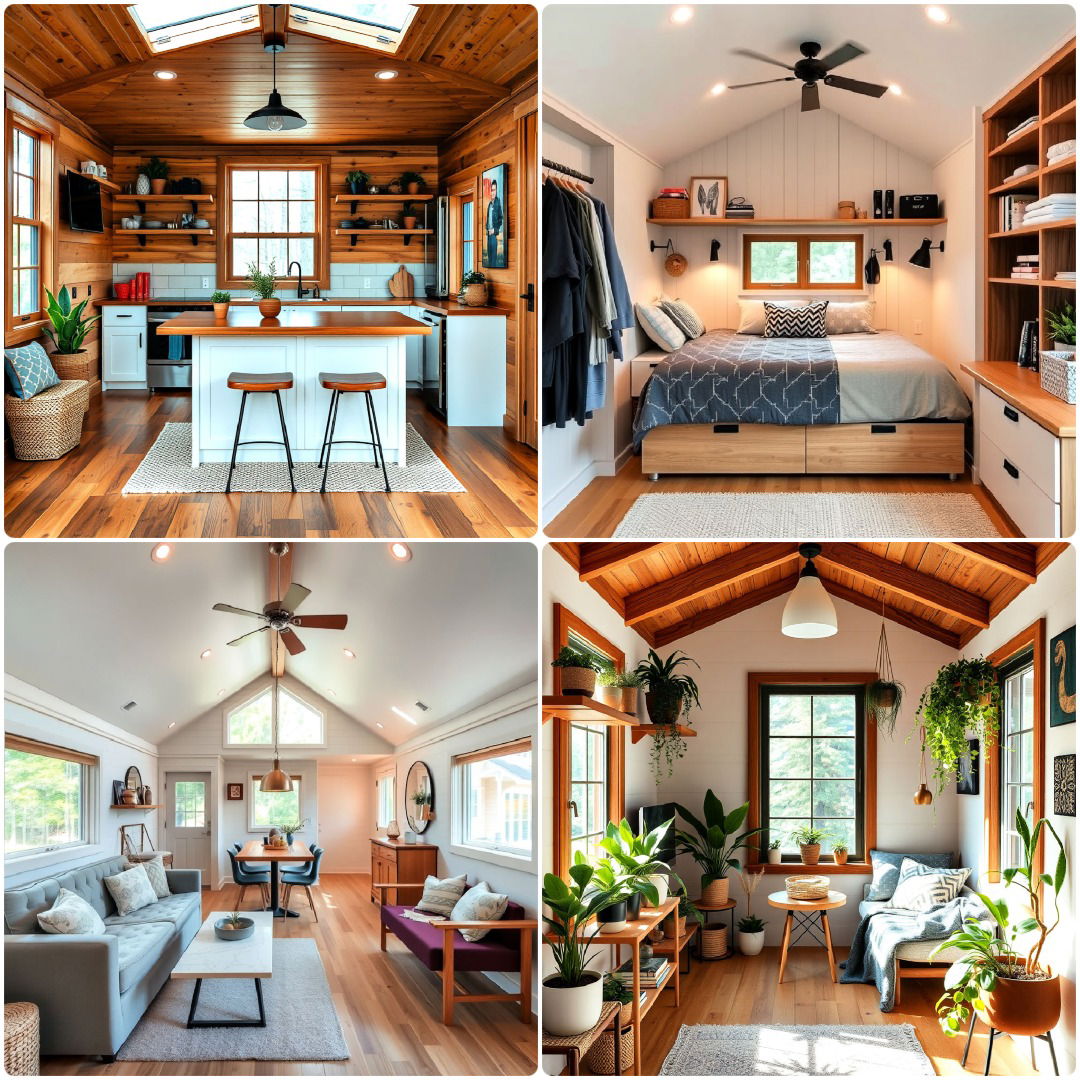
- 25 One Room Cabin Ideas for Cozy Living
- 25 Home Theater Paint Colors To Match Any Decor
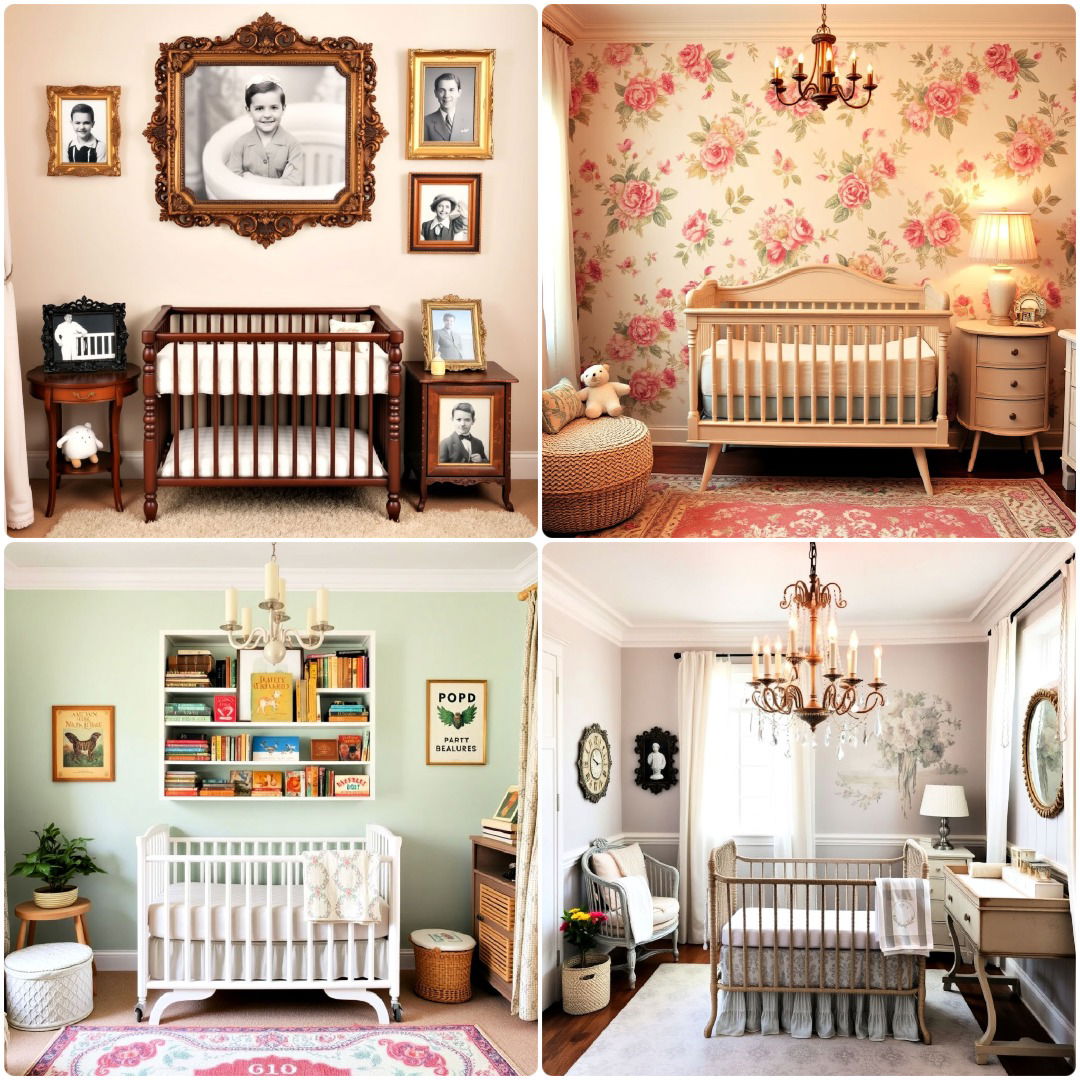
- 25 Vintage Nursery Ideas That Feel Warm and Inviting
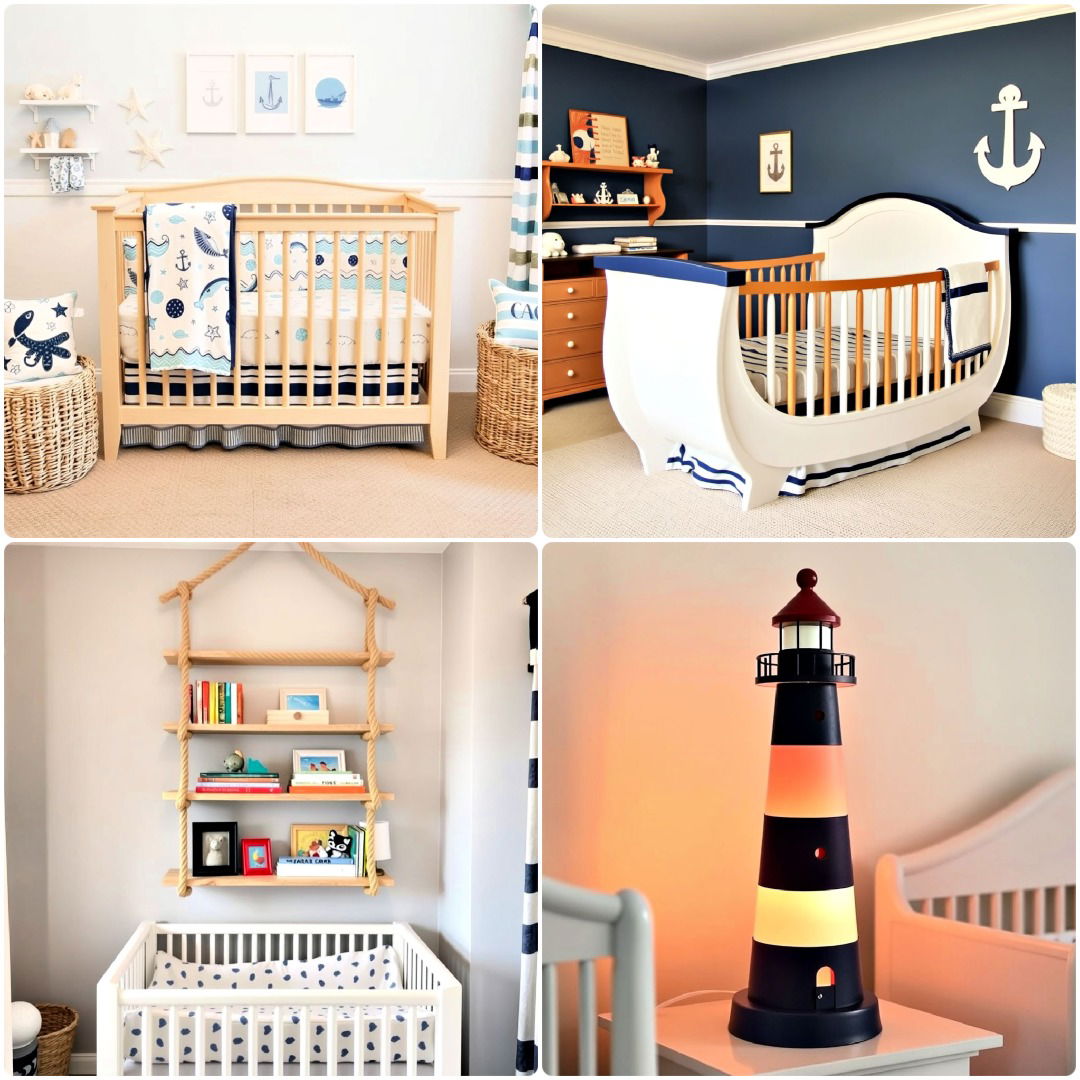
- 20 Nautical Nursery Ideas To Sail into Sweet Dreams
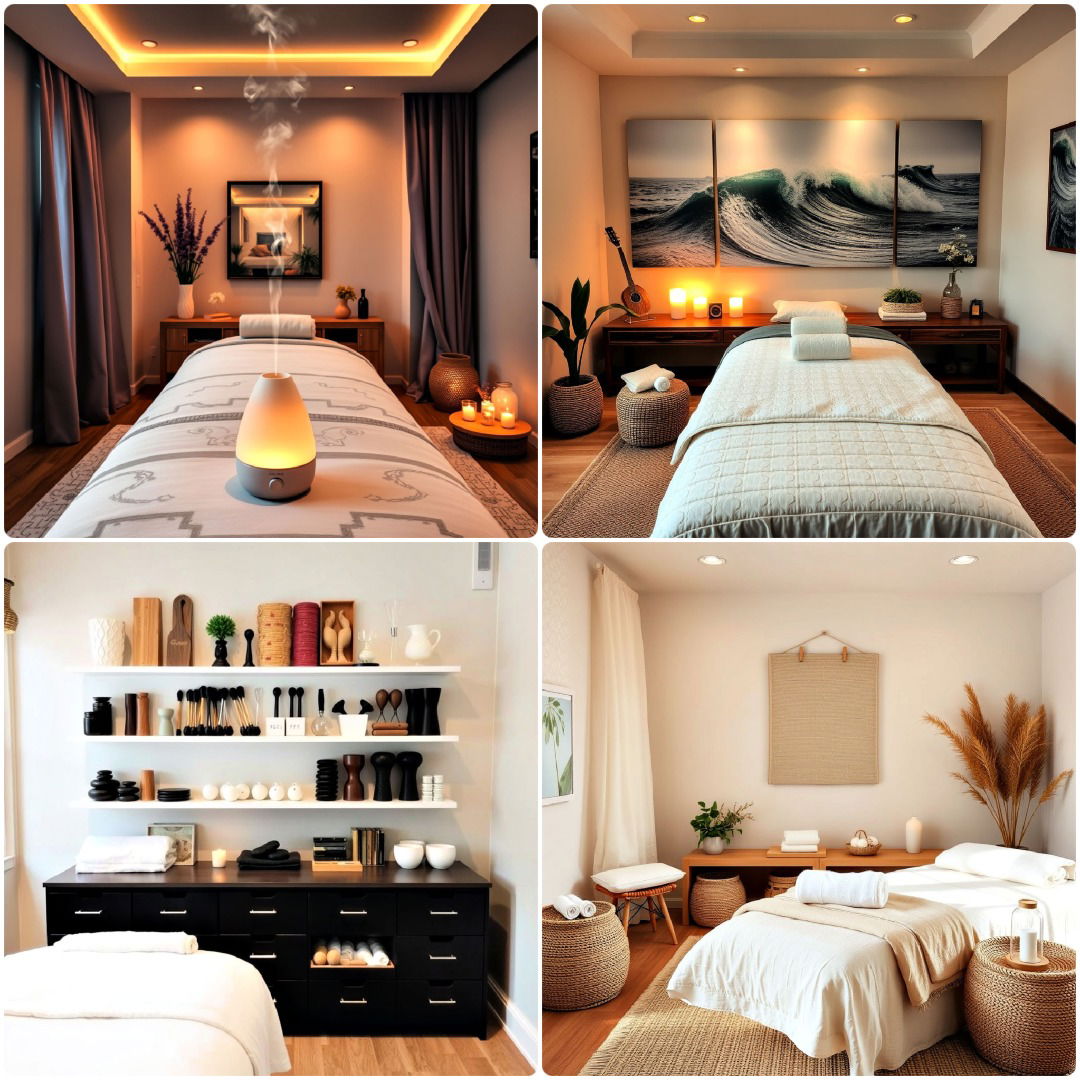
- 25 Massage Room Ideas for Comfort and Style
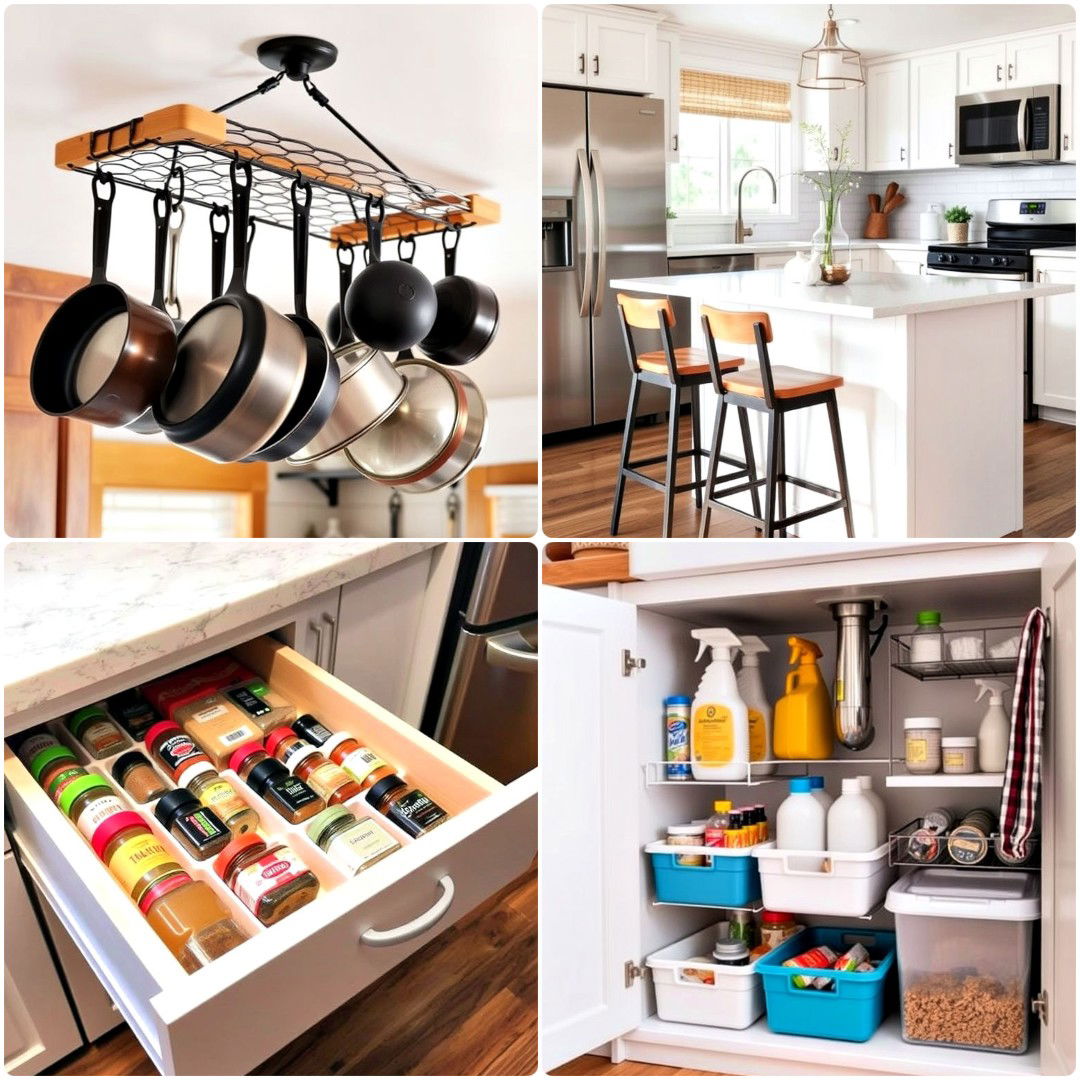
- 30 Mobile Home Kitchen Ideas for A Modern Touch
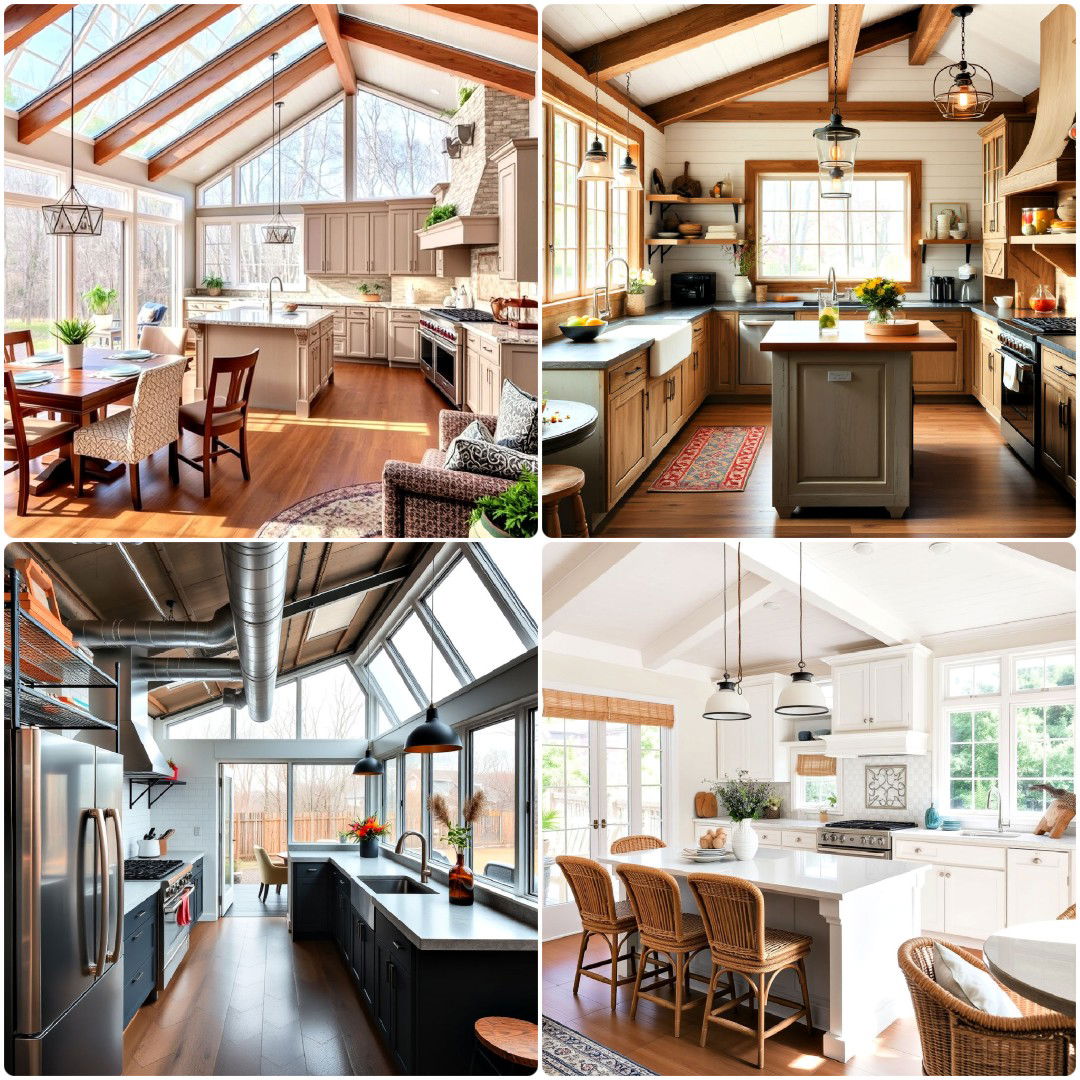
- 15 Sunroom Kitchen Ideas for Bright and Airy Spaces
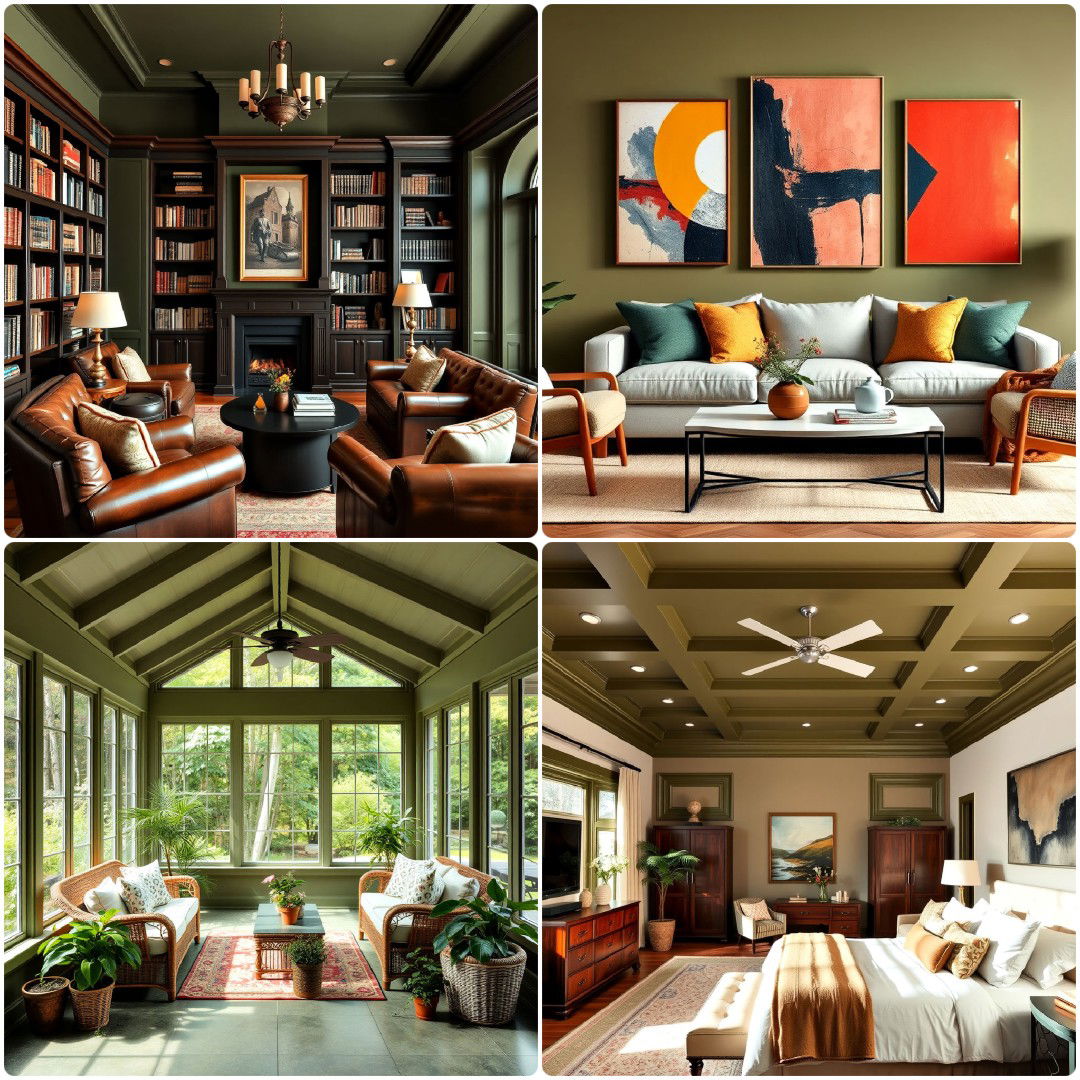
- 20 Olive Green Room Ideas for A Chic Makeover